
Soundproof Studio Build
28th January 2021
A step by step guide as to how I built my soundproof studio
Last year I built a soundproof studio for the business. It would chiefly be a mix room but would also double as a rehearsal space. I wanted it to be soundproof from the outside and as acoustically neutral as possible inside. I didn’t know how well the first part would work but I’m happy to report that it is adequately soundproof. If there’s a rock band at full tilt inside then it’s below the level of conversation outside so it’s reducing the intensity by 50dB or 60dB.
The room is around 3.5m x 5.5m inside with an internal height of 2.8m. It was built in an industrial unit (9m x 11m), the unit is brick built and very sturdy so does provide some sound insulation. There are neighbors nearby so I needed to make sure that outside the brick unit there is no sound at all. I can’t tell you what a pleasure it is to jam in there all night long knowing that I’m not bothering anyone!
Soundproof wall construction
The basic construction of the soundproof walls and ceiling looked like this:
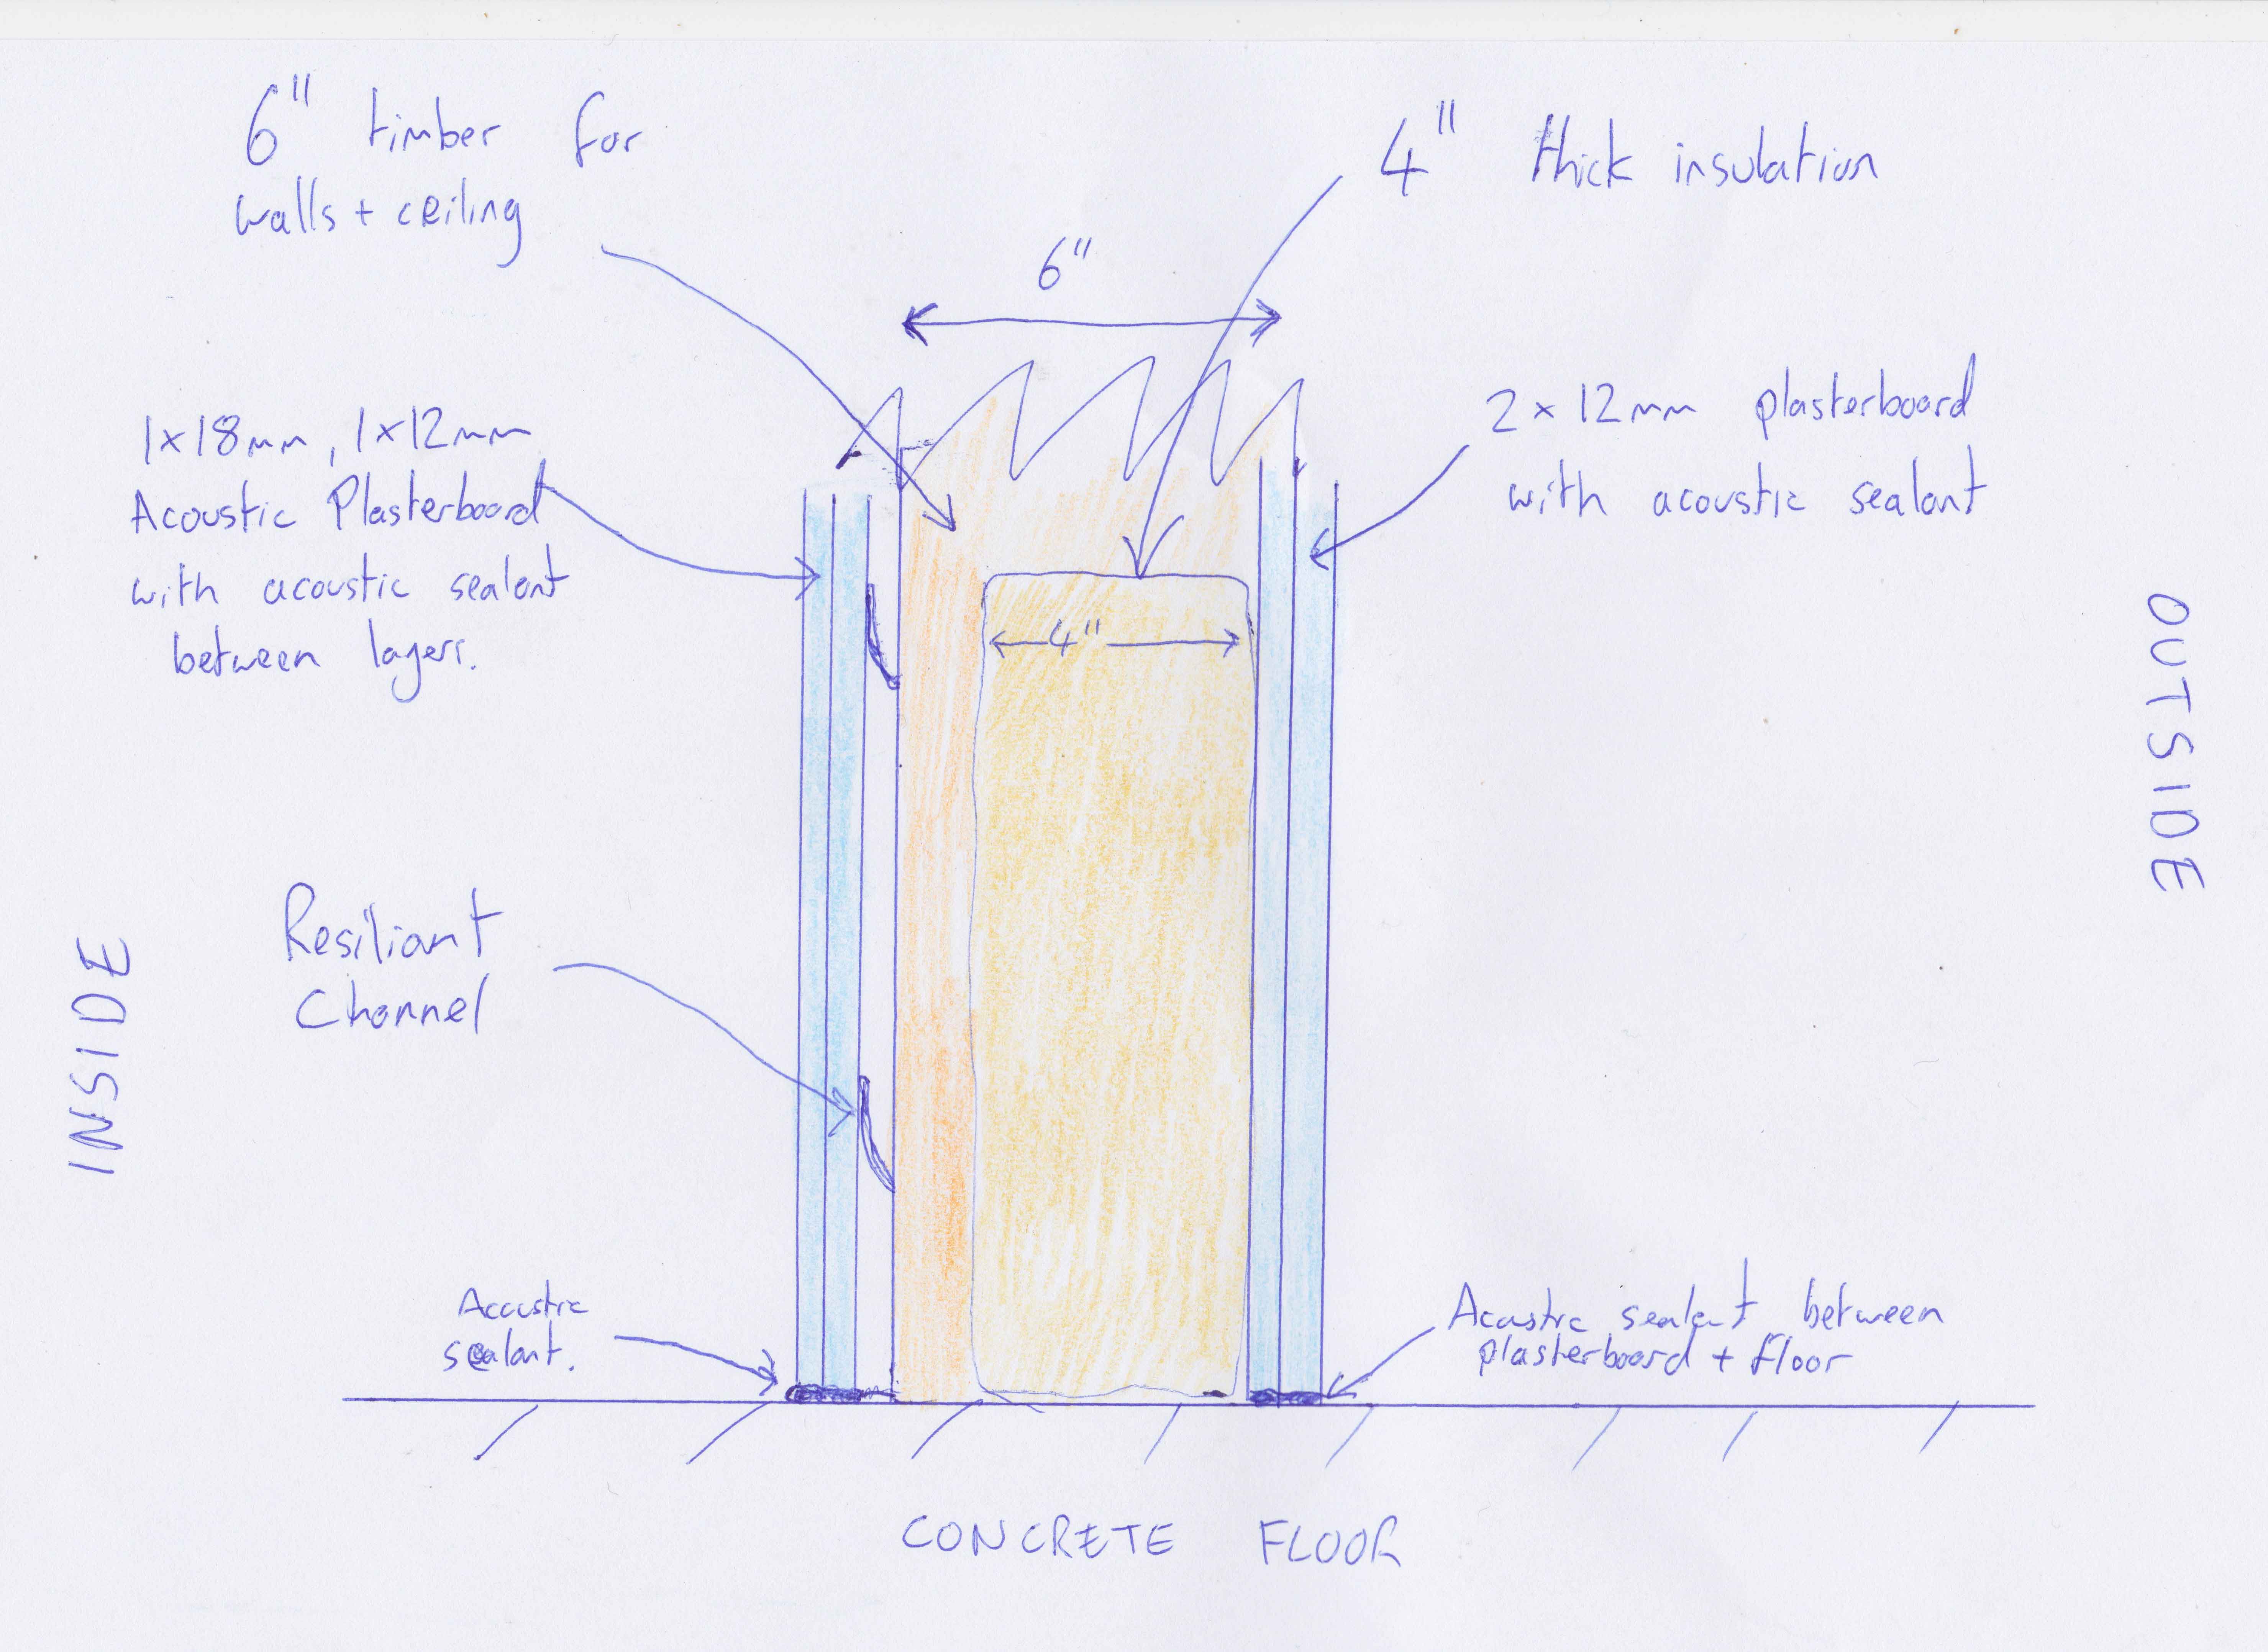
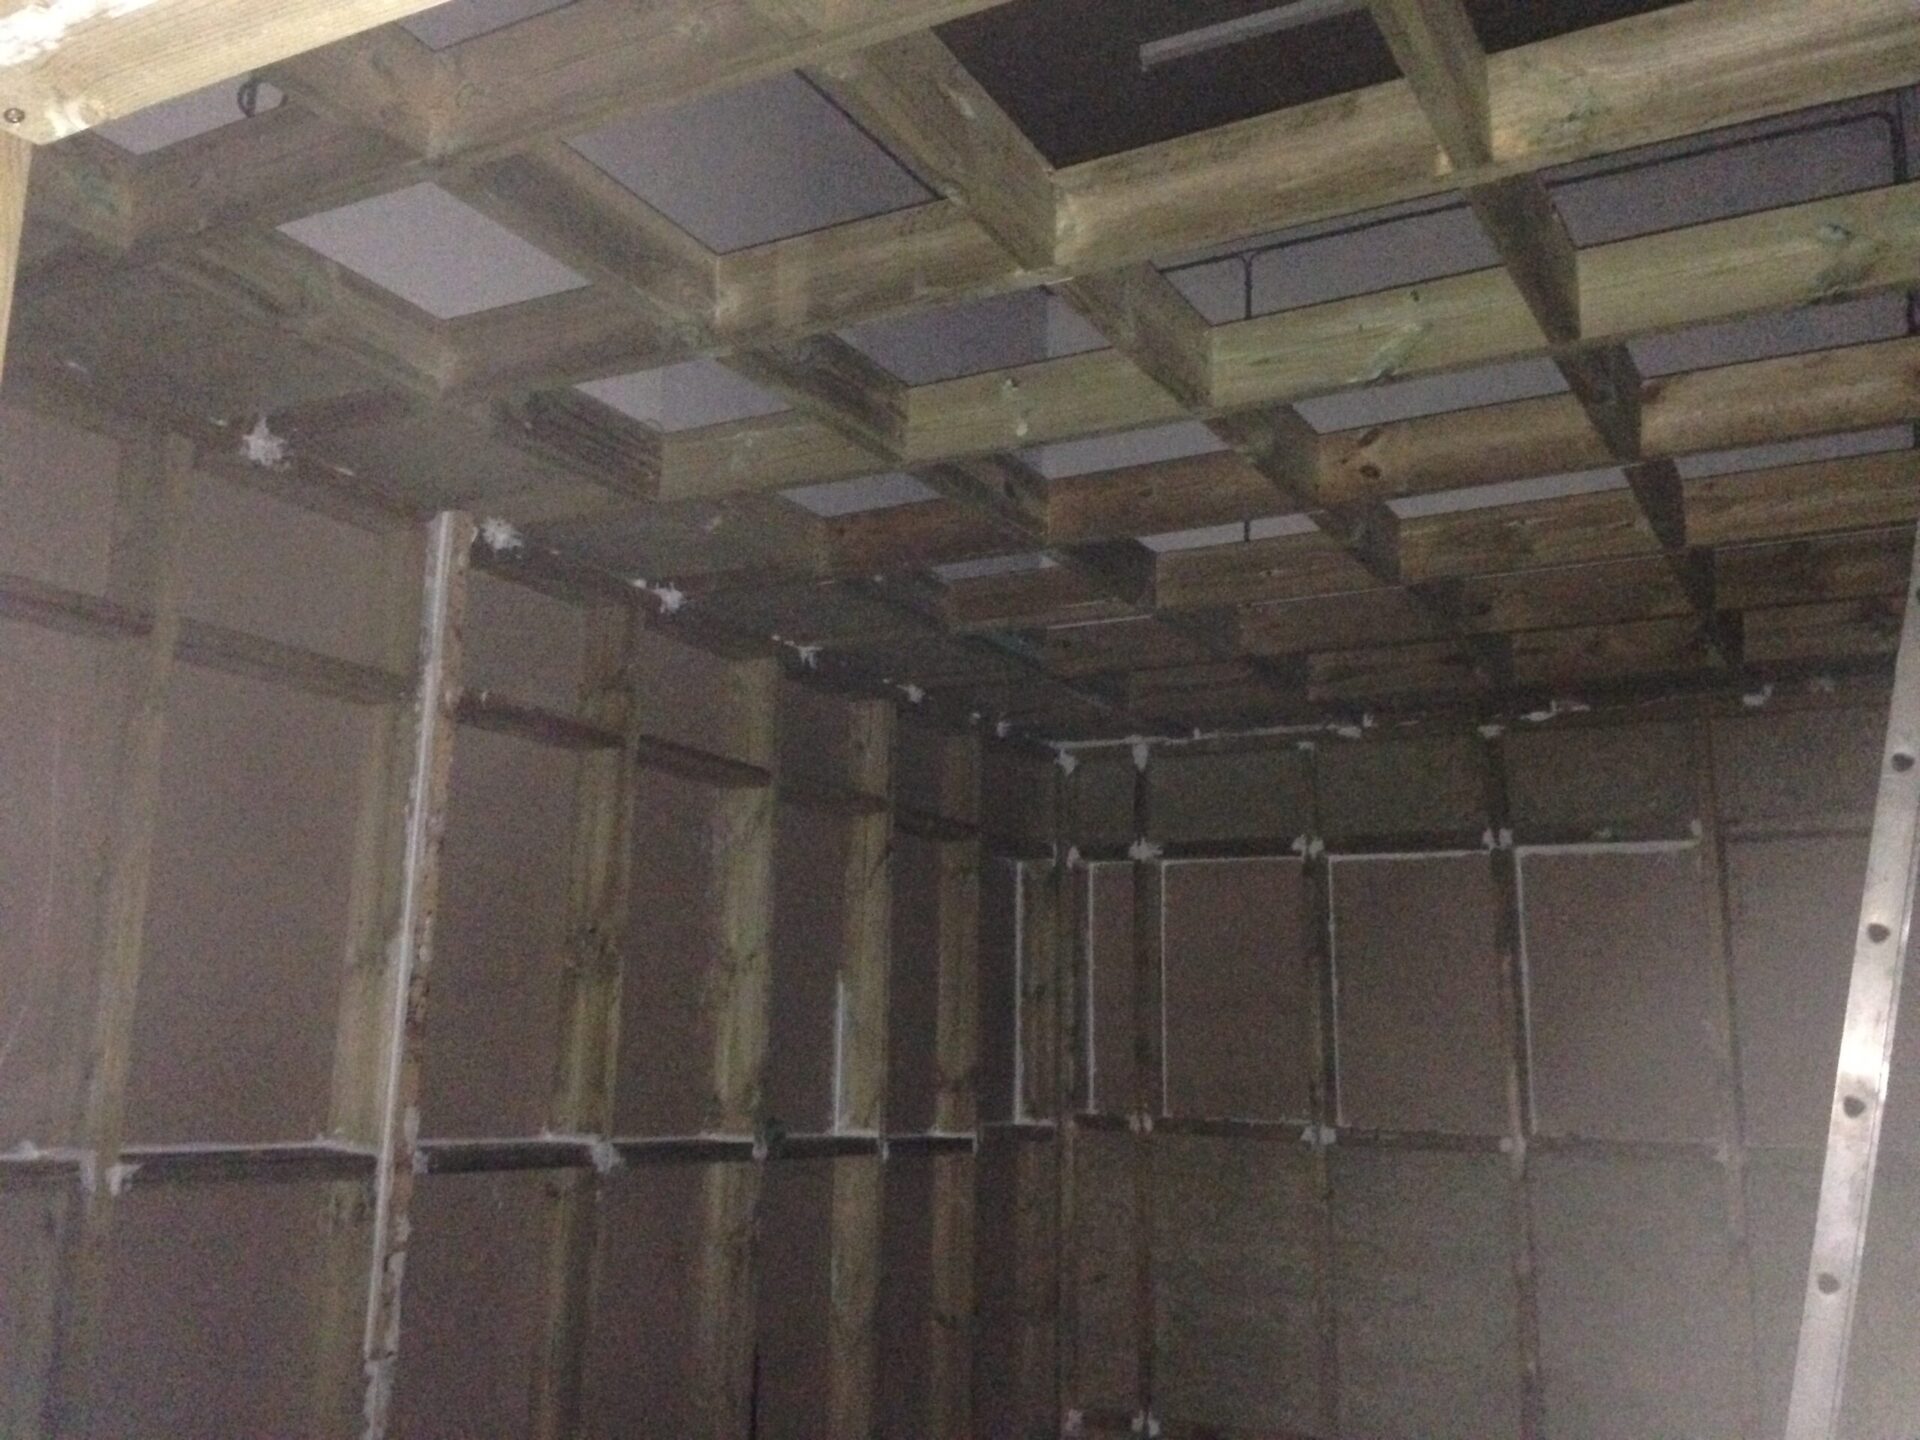
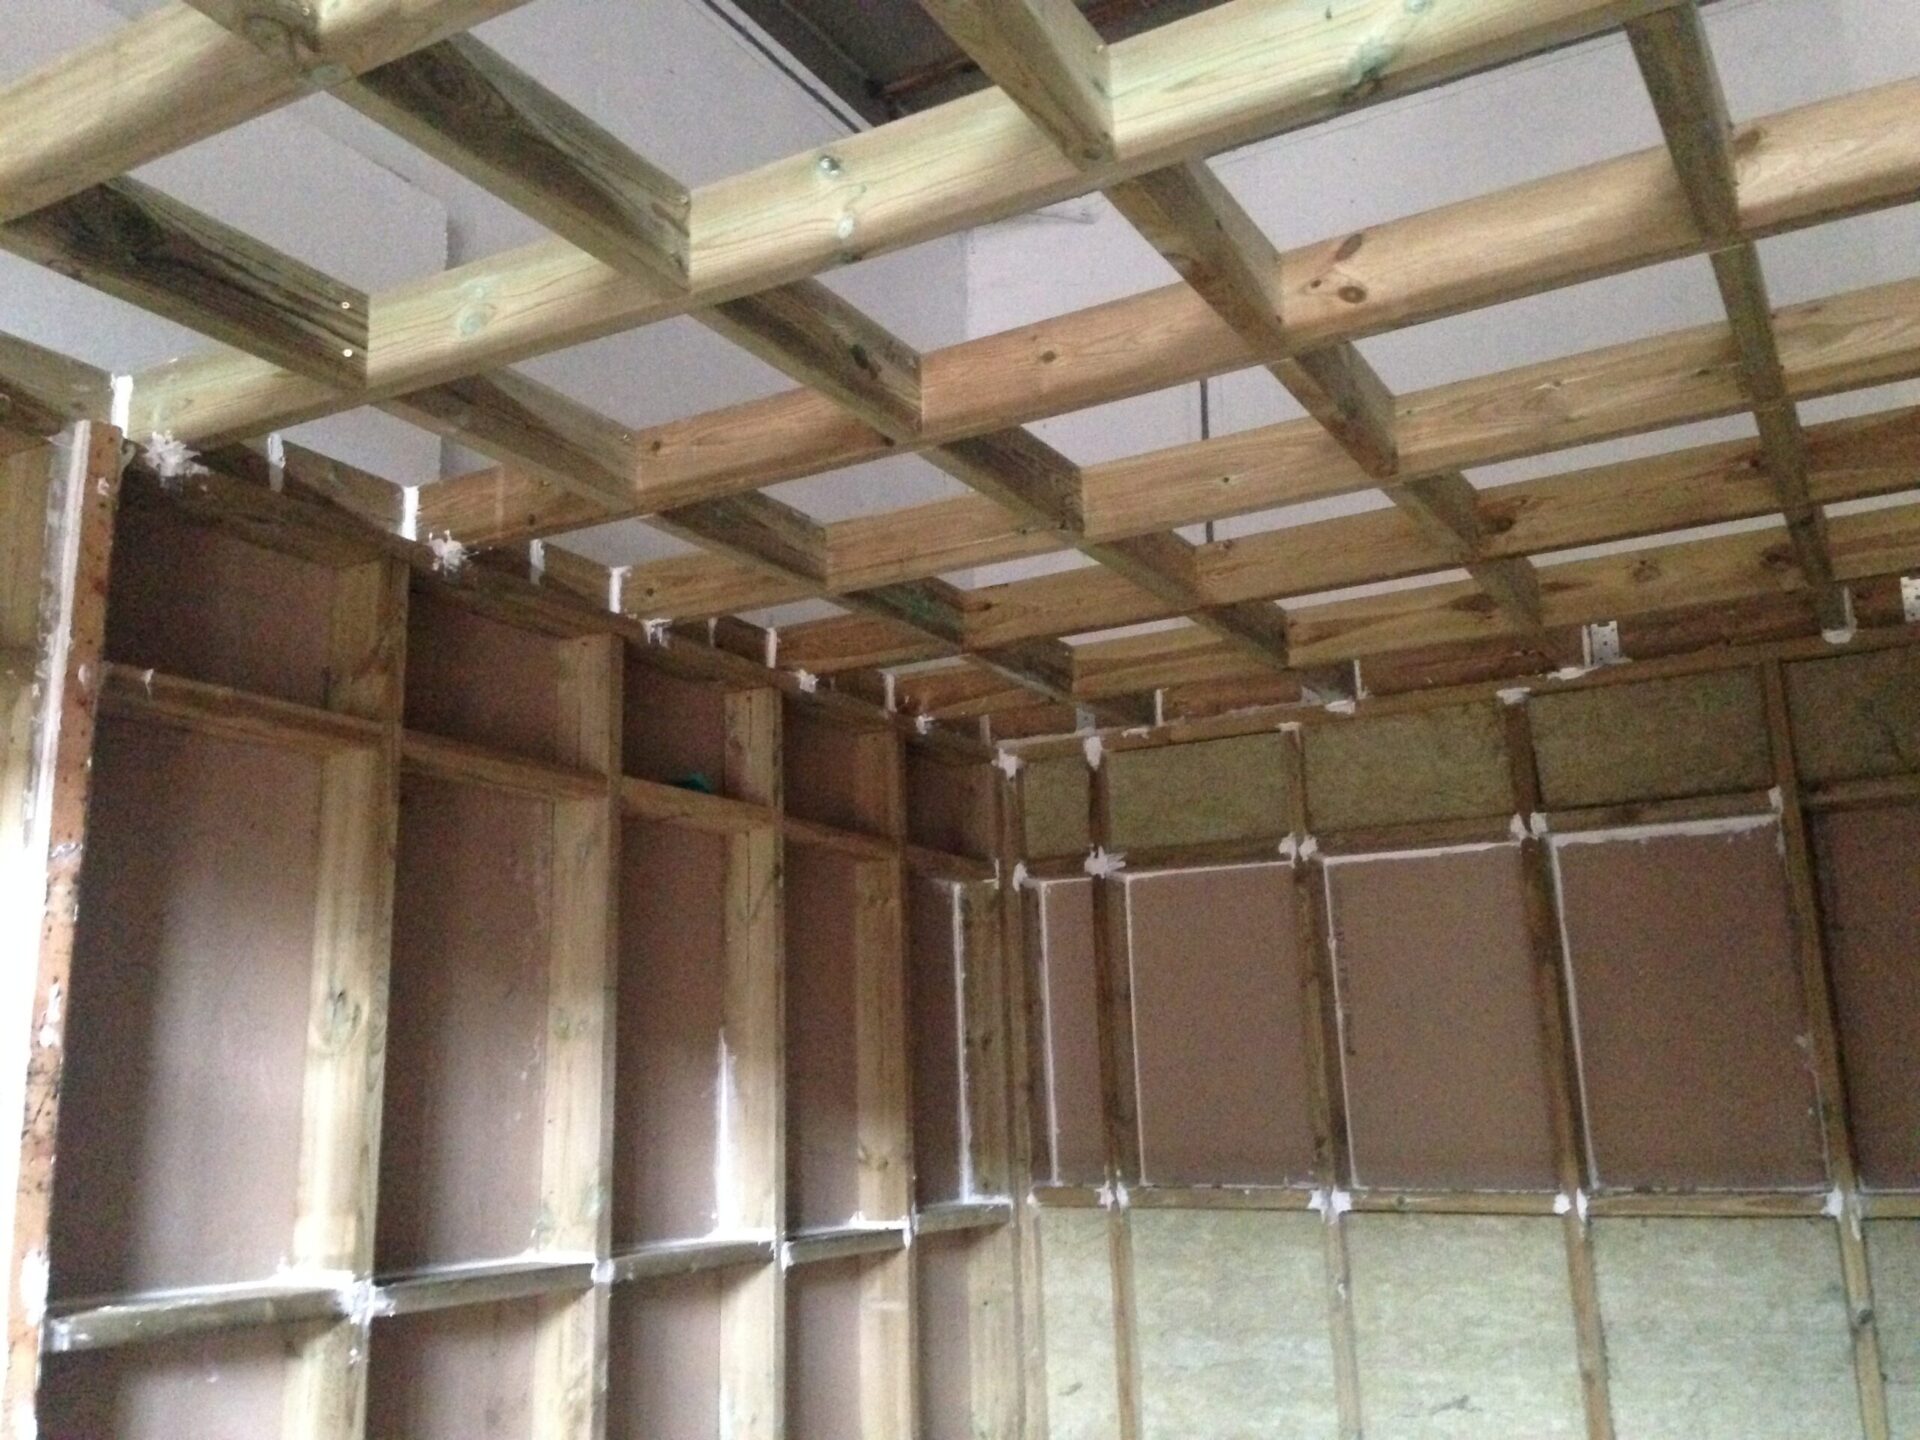
As you can see it was all made from 6″ x 2″ timber. This was to make the room strong enough to have storage (and tea making facilities!) on top. The 6″ timber also gives an extra 2″ air space which helps with sound isolation. The resilient channel is an important feature. It’s a thin metal rail that runs parallel to the floor which you then fix the plasterboard to. Basically, this detaches the internal walls from the wooden structure and makes them slightly springy to the touch. This absorbs some of the sonic energy and stops the structure from vibrating.
Acoustic sealant
Acoustic sealant is used to make the room air tight but also separates the layers of plasterboard. This creates a small air gap as well as giving some flex between the layers, acting as a dampener. ‘Green Glue’ was the brand recommended by most people online but I opted for the much cheaper AC50 from Toolstation. It was 1/4 the price and I must have spent £200 on this stuff alone. I used the sealant everywhere. Not just to make the room air tight (which is important for soundproofing) but also to create sealed air pockets between plasterboard which give flex to the structure. Think of a spring that absorbs sonic energy. Sealant was also used where the walls meet each other and the floor. This meant that vibration could not easily travel across the flanks and ultimately out of the space.
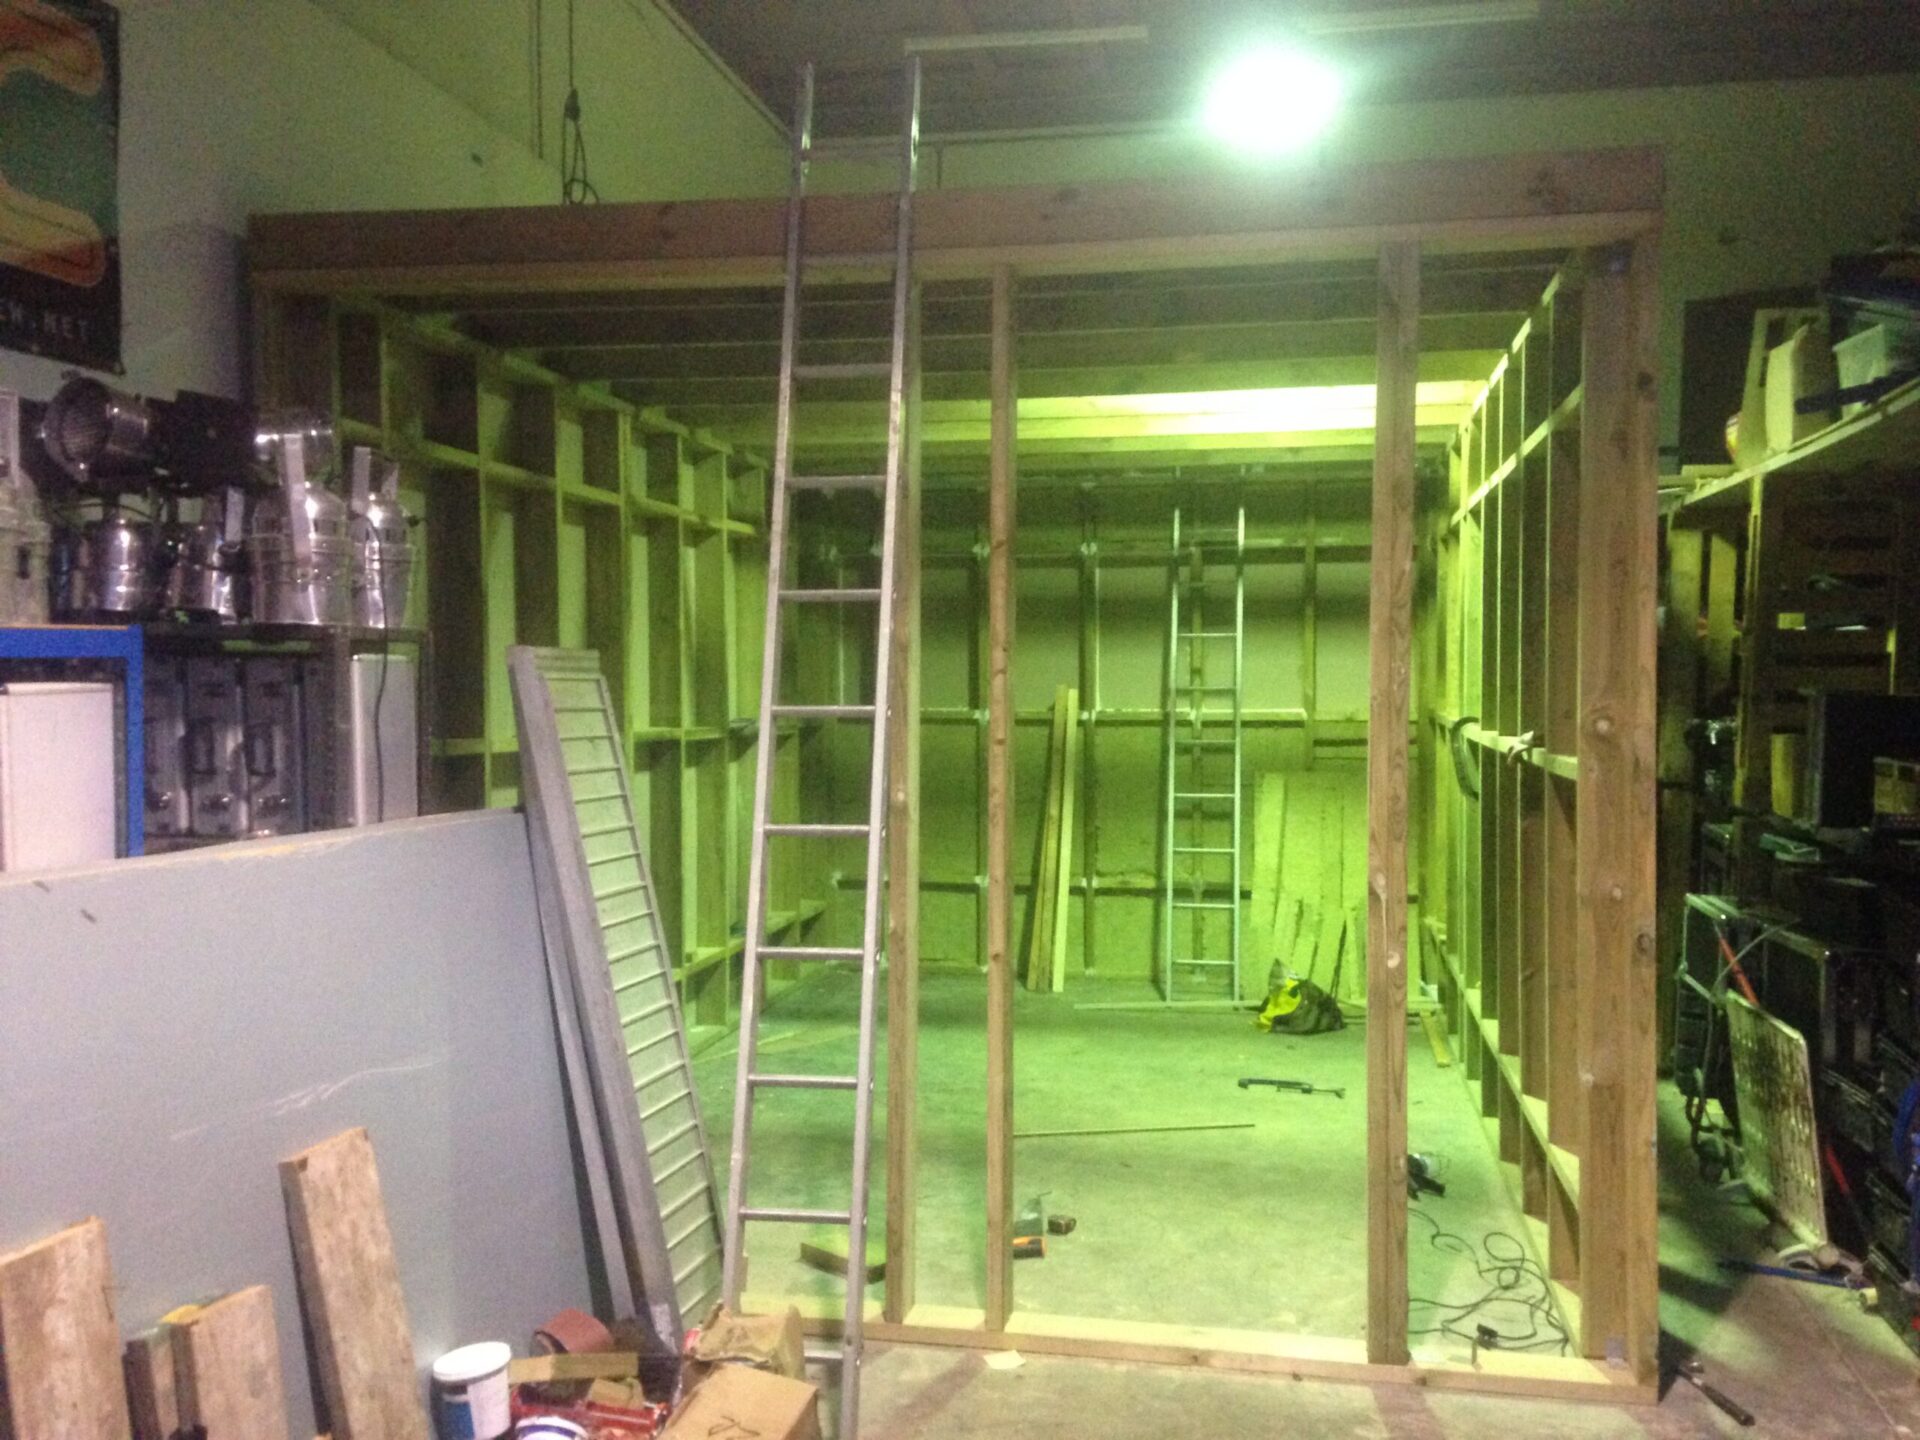
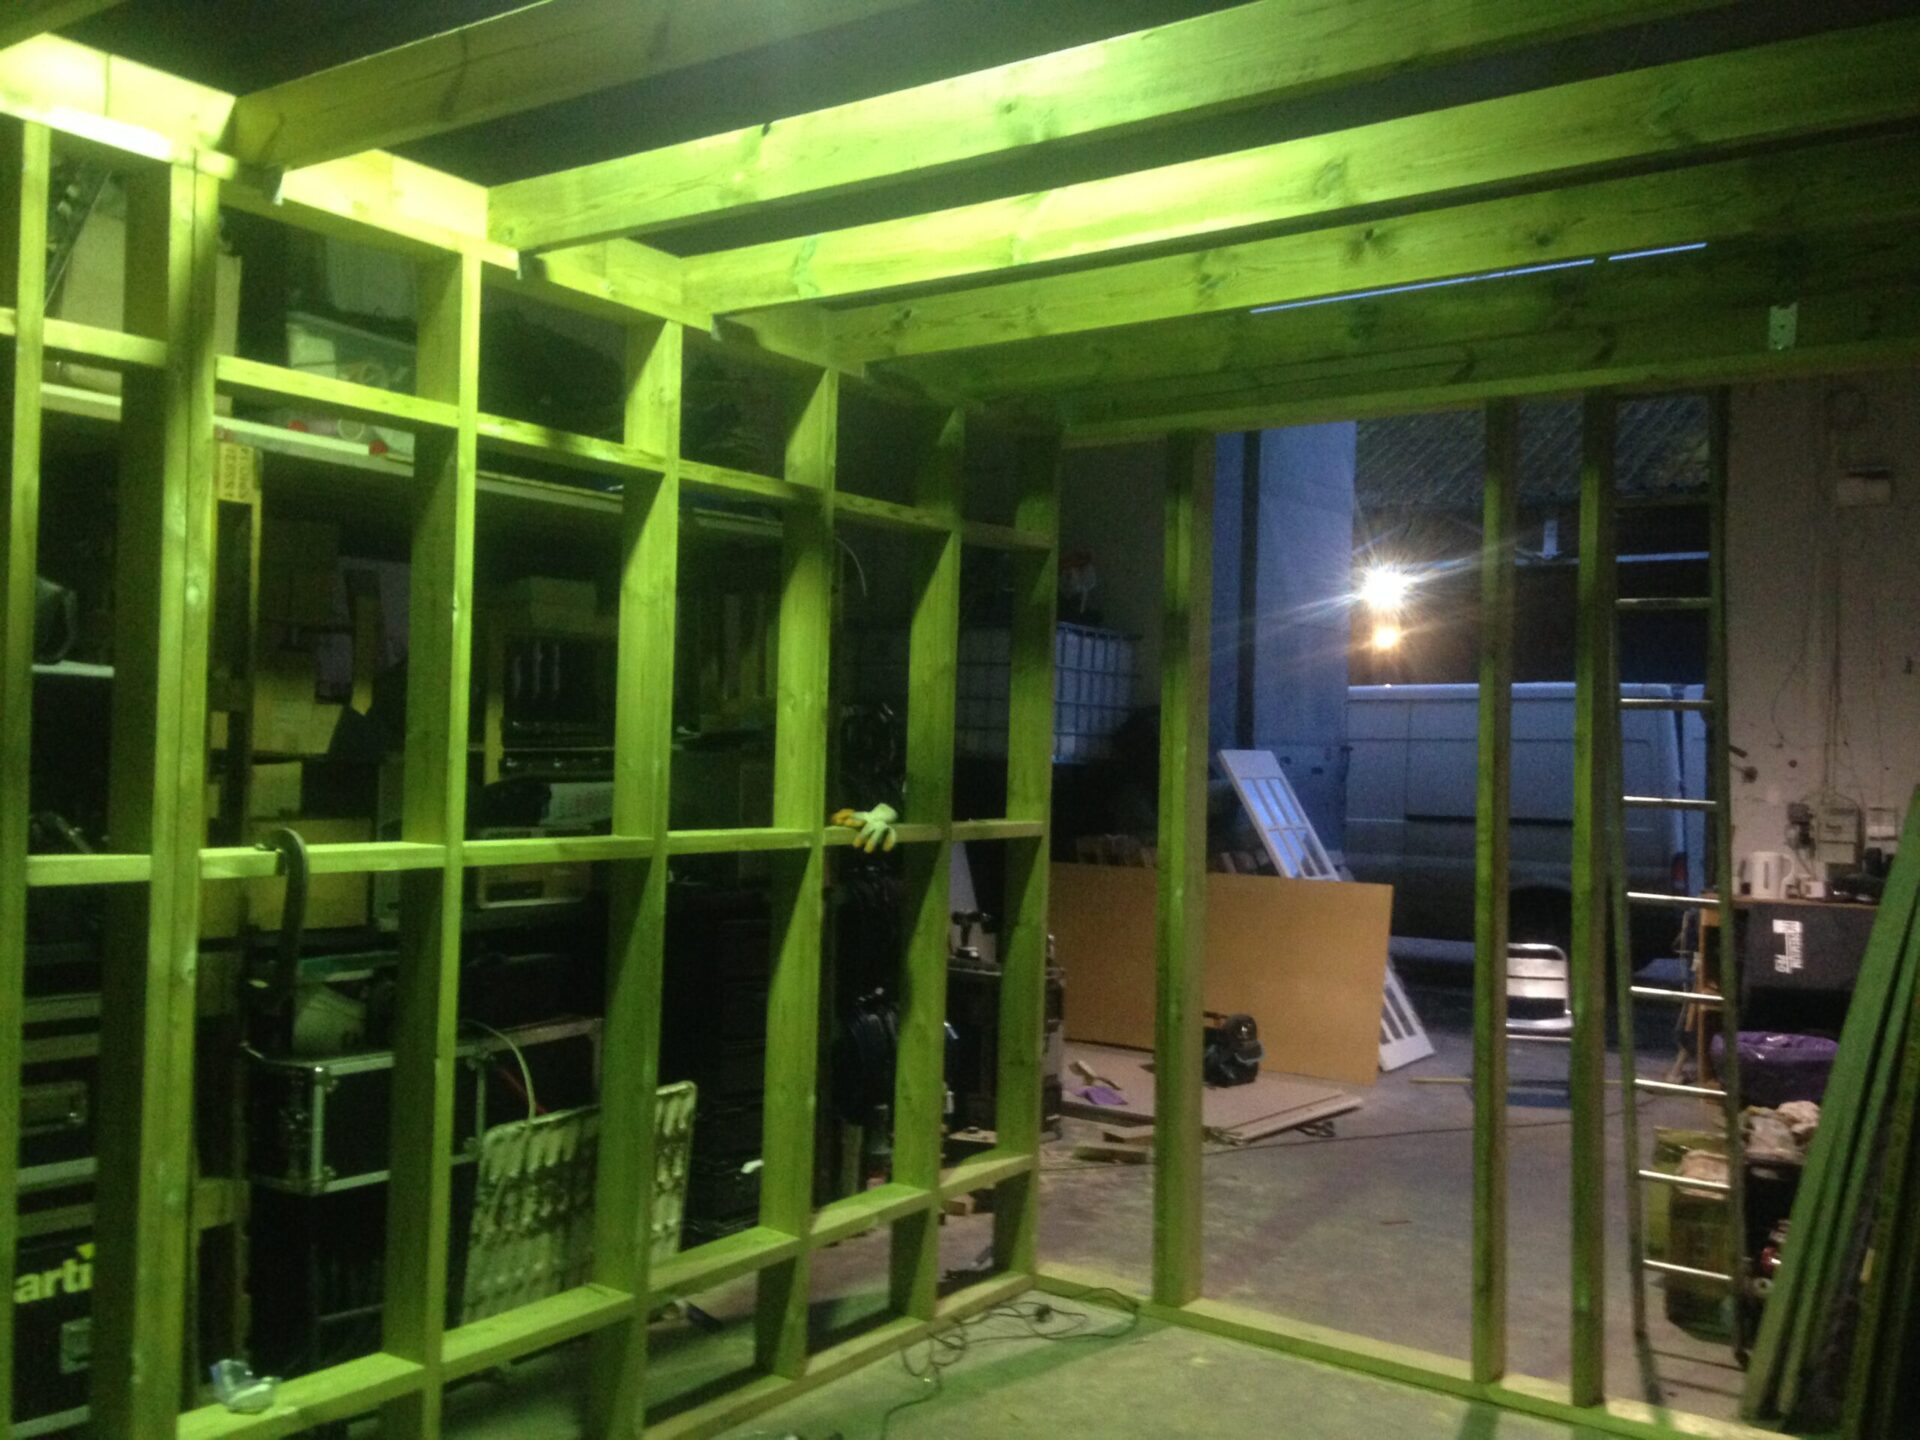
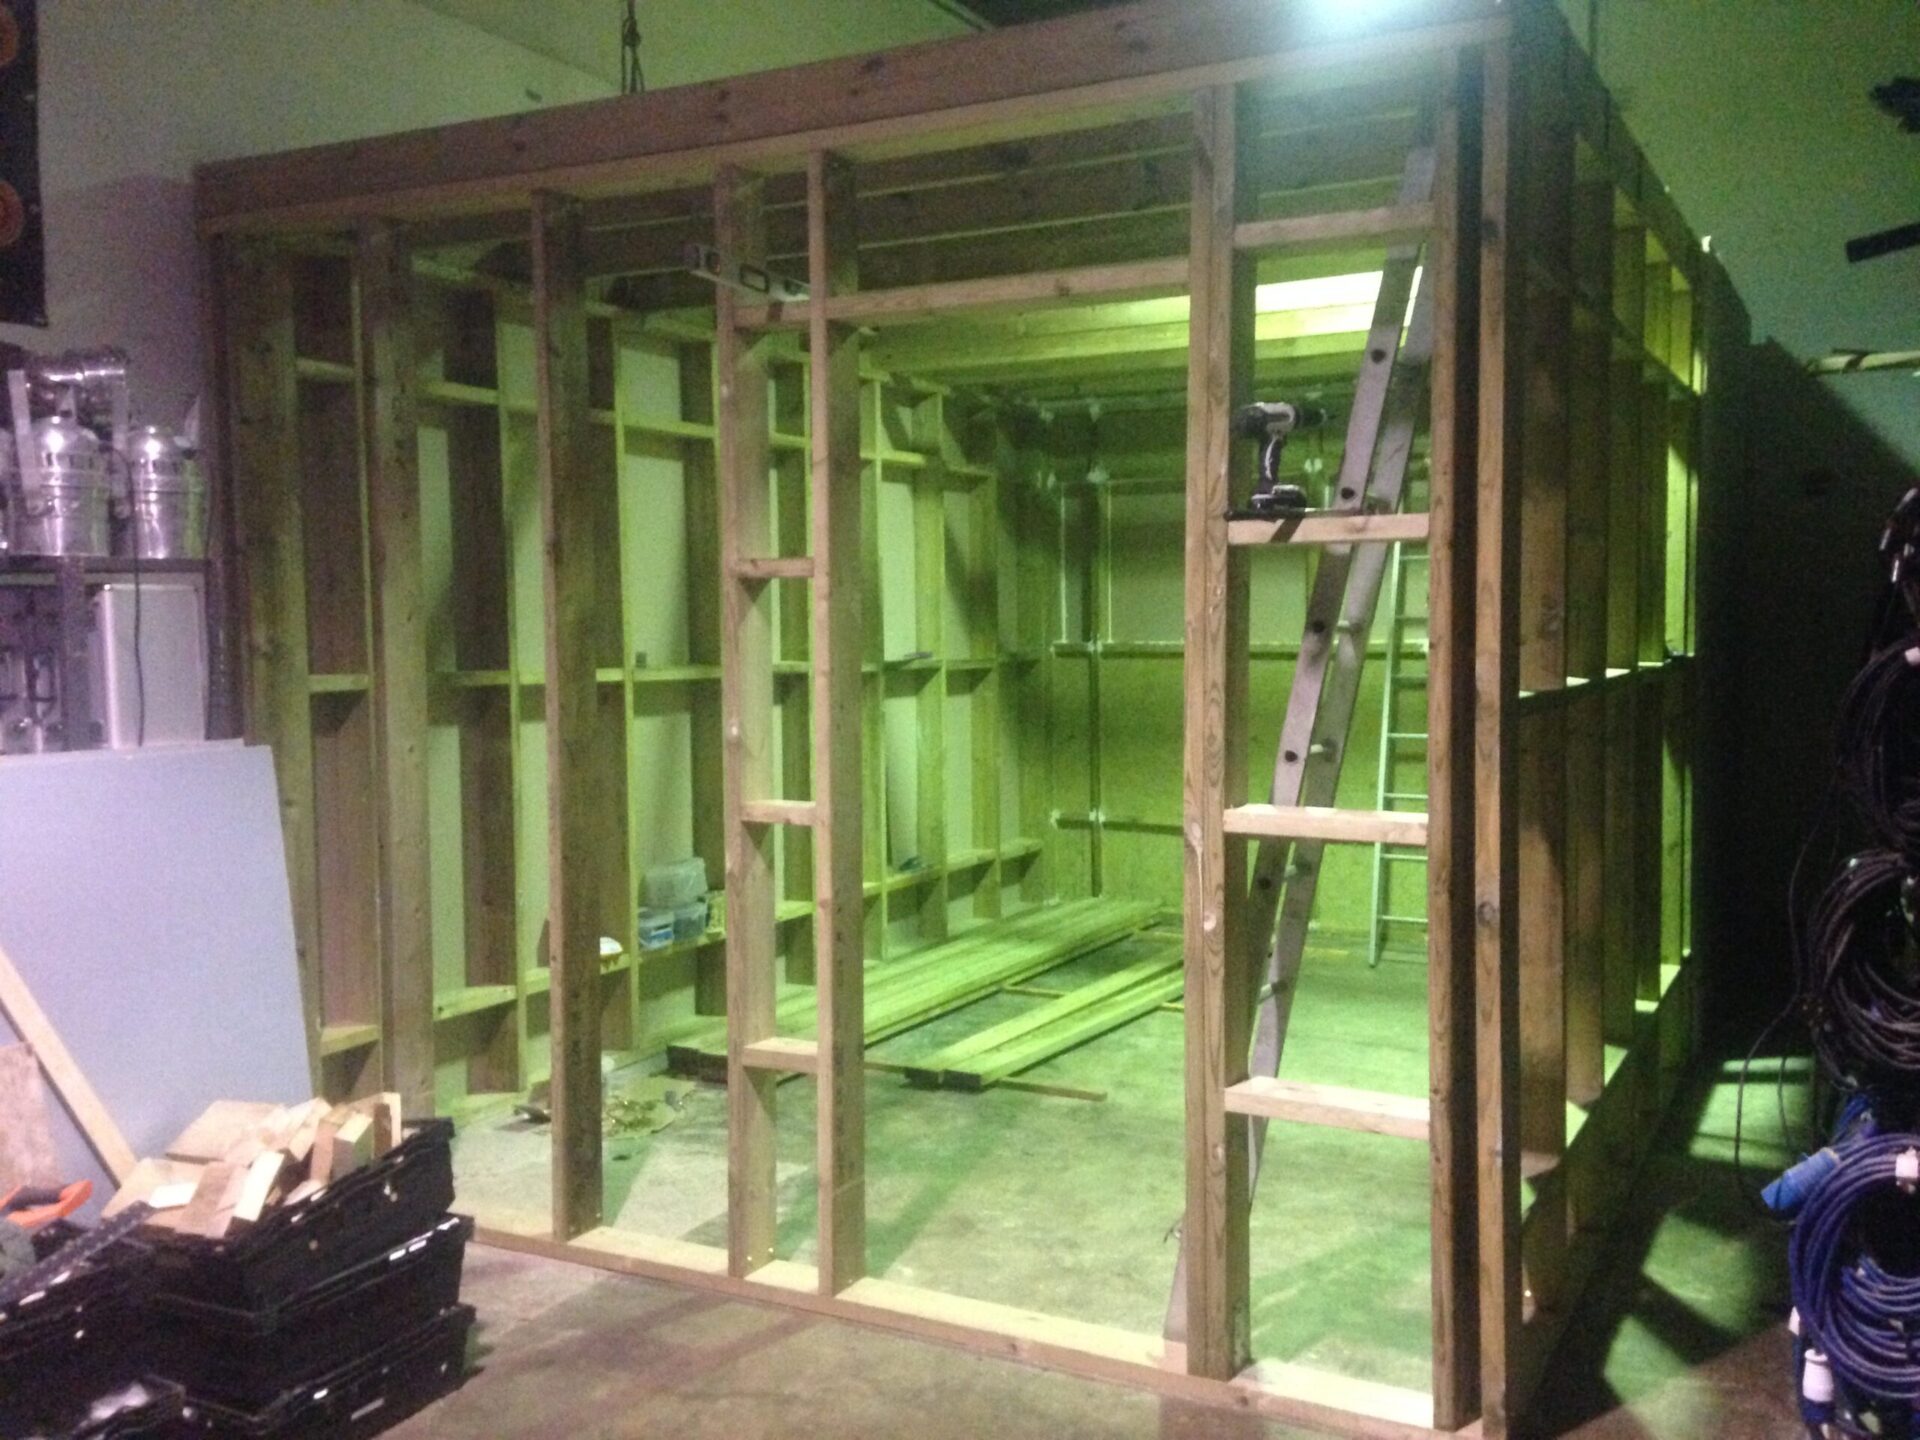
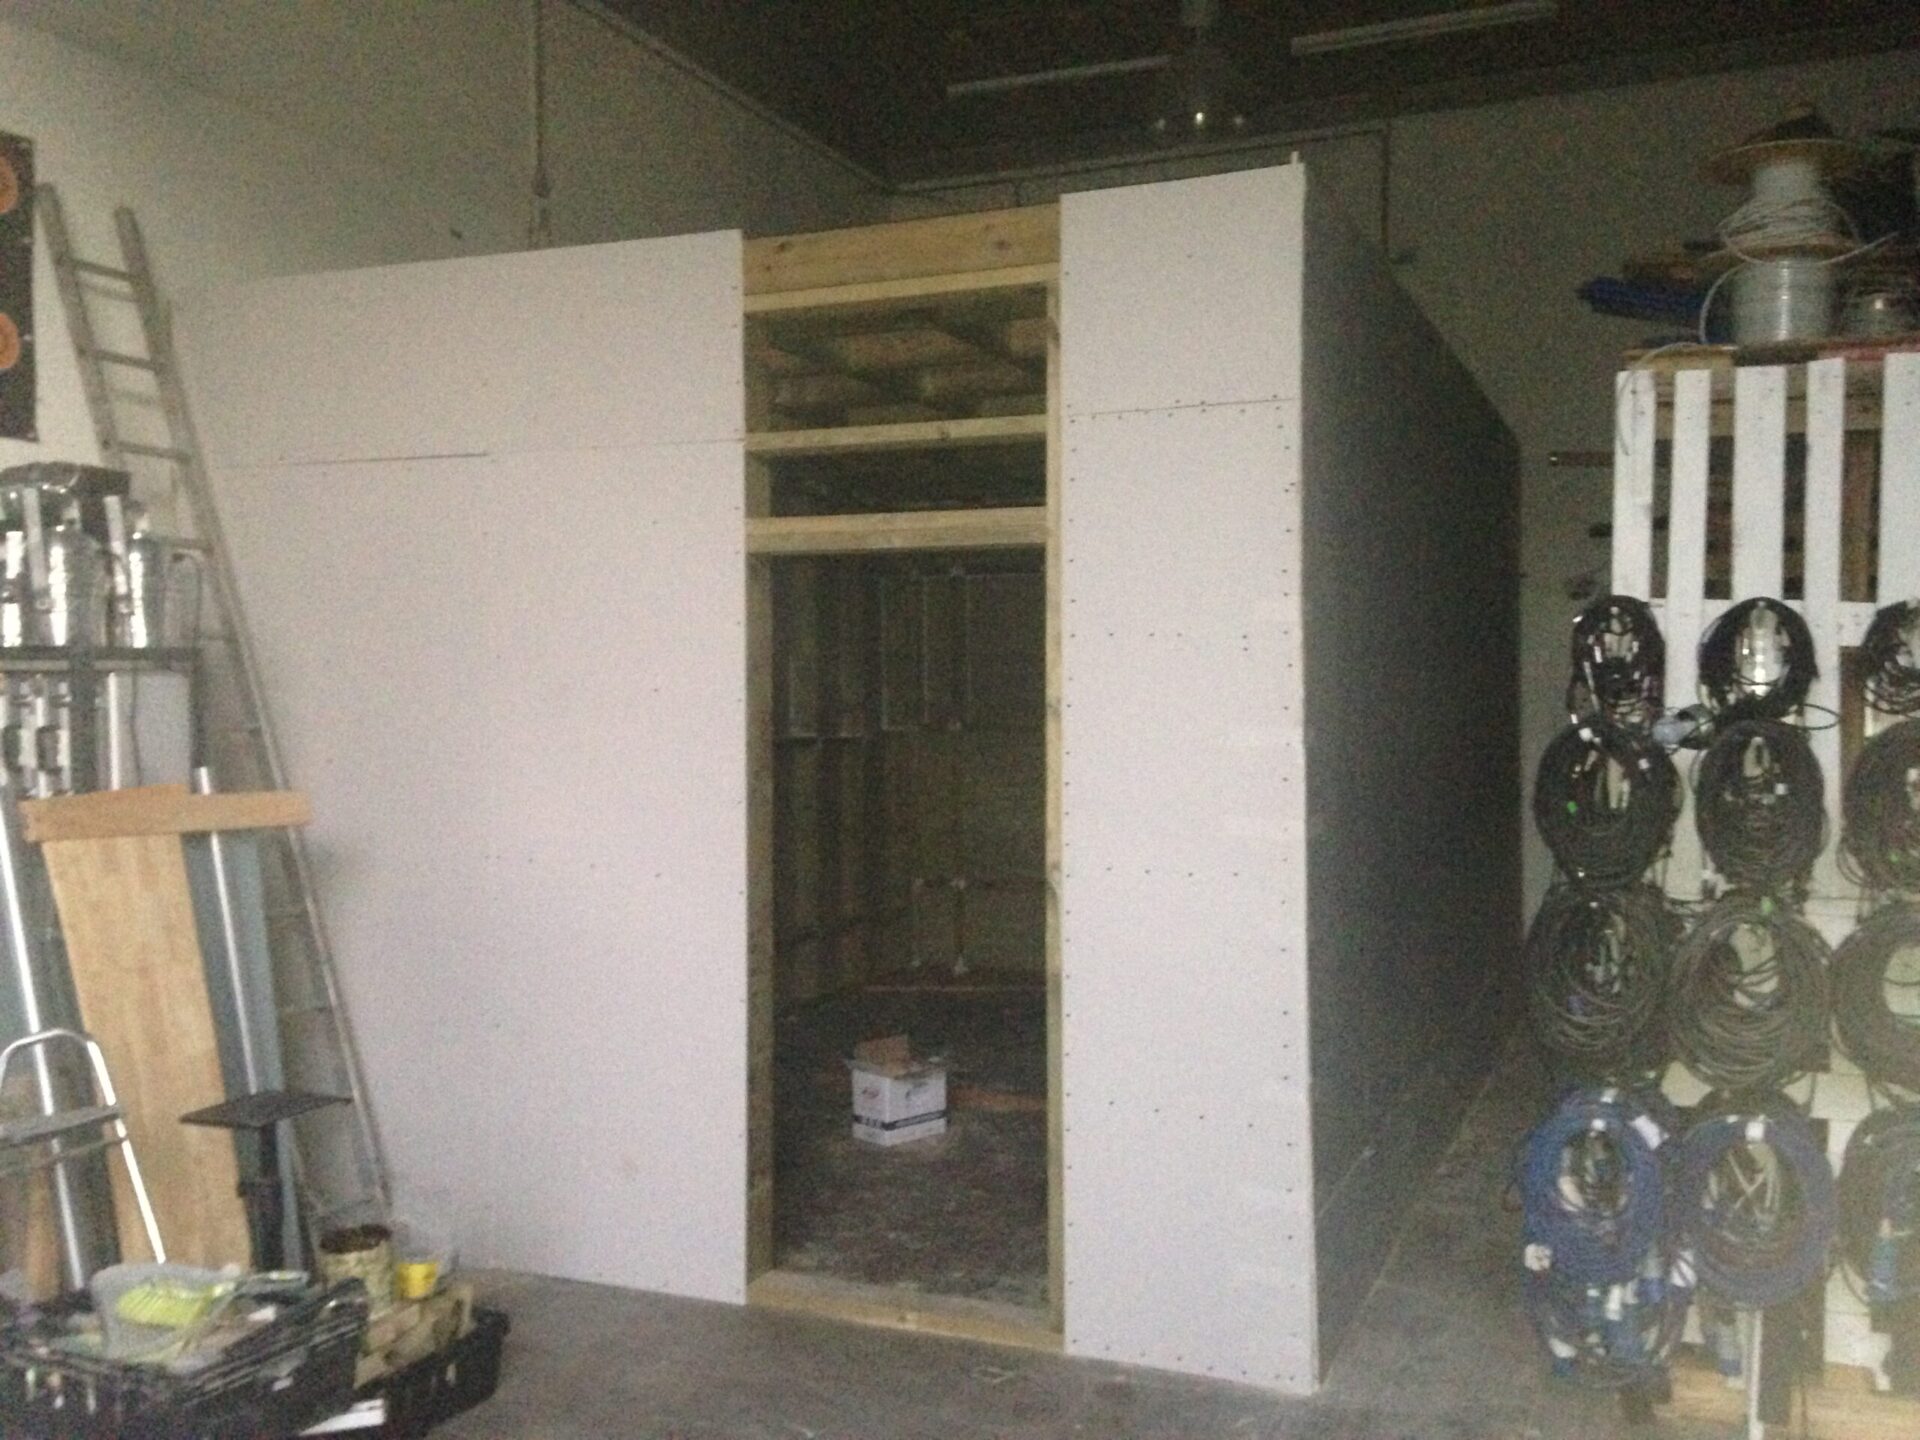
Building the studio walls
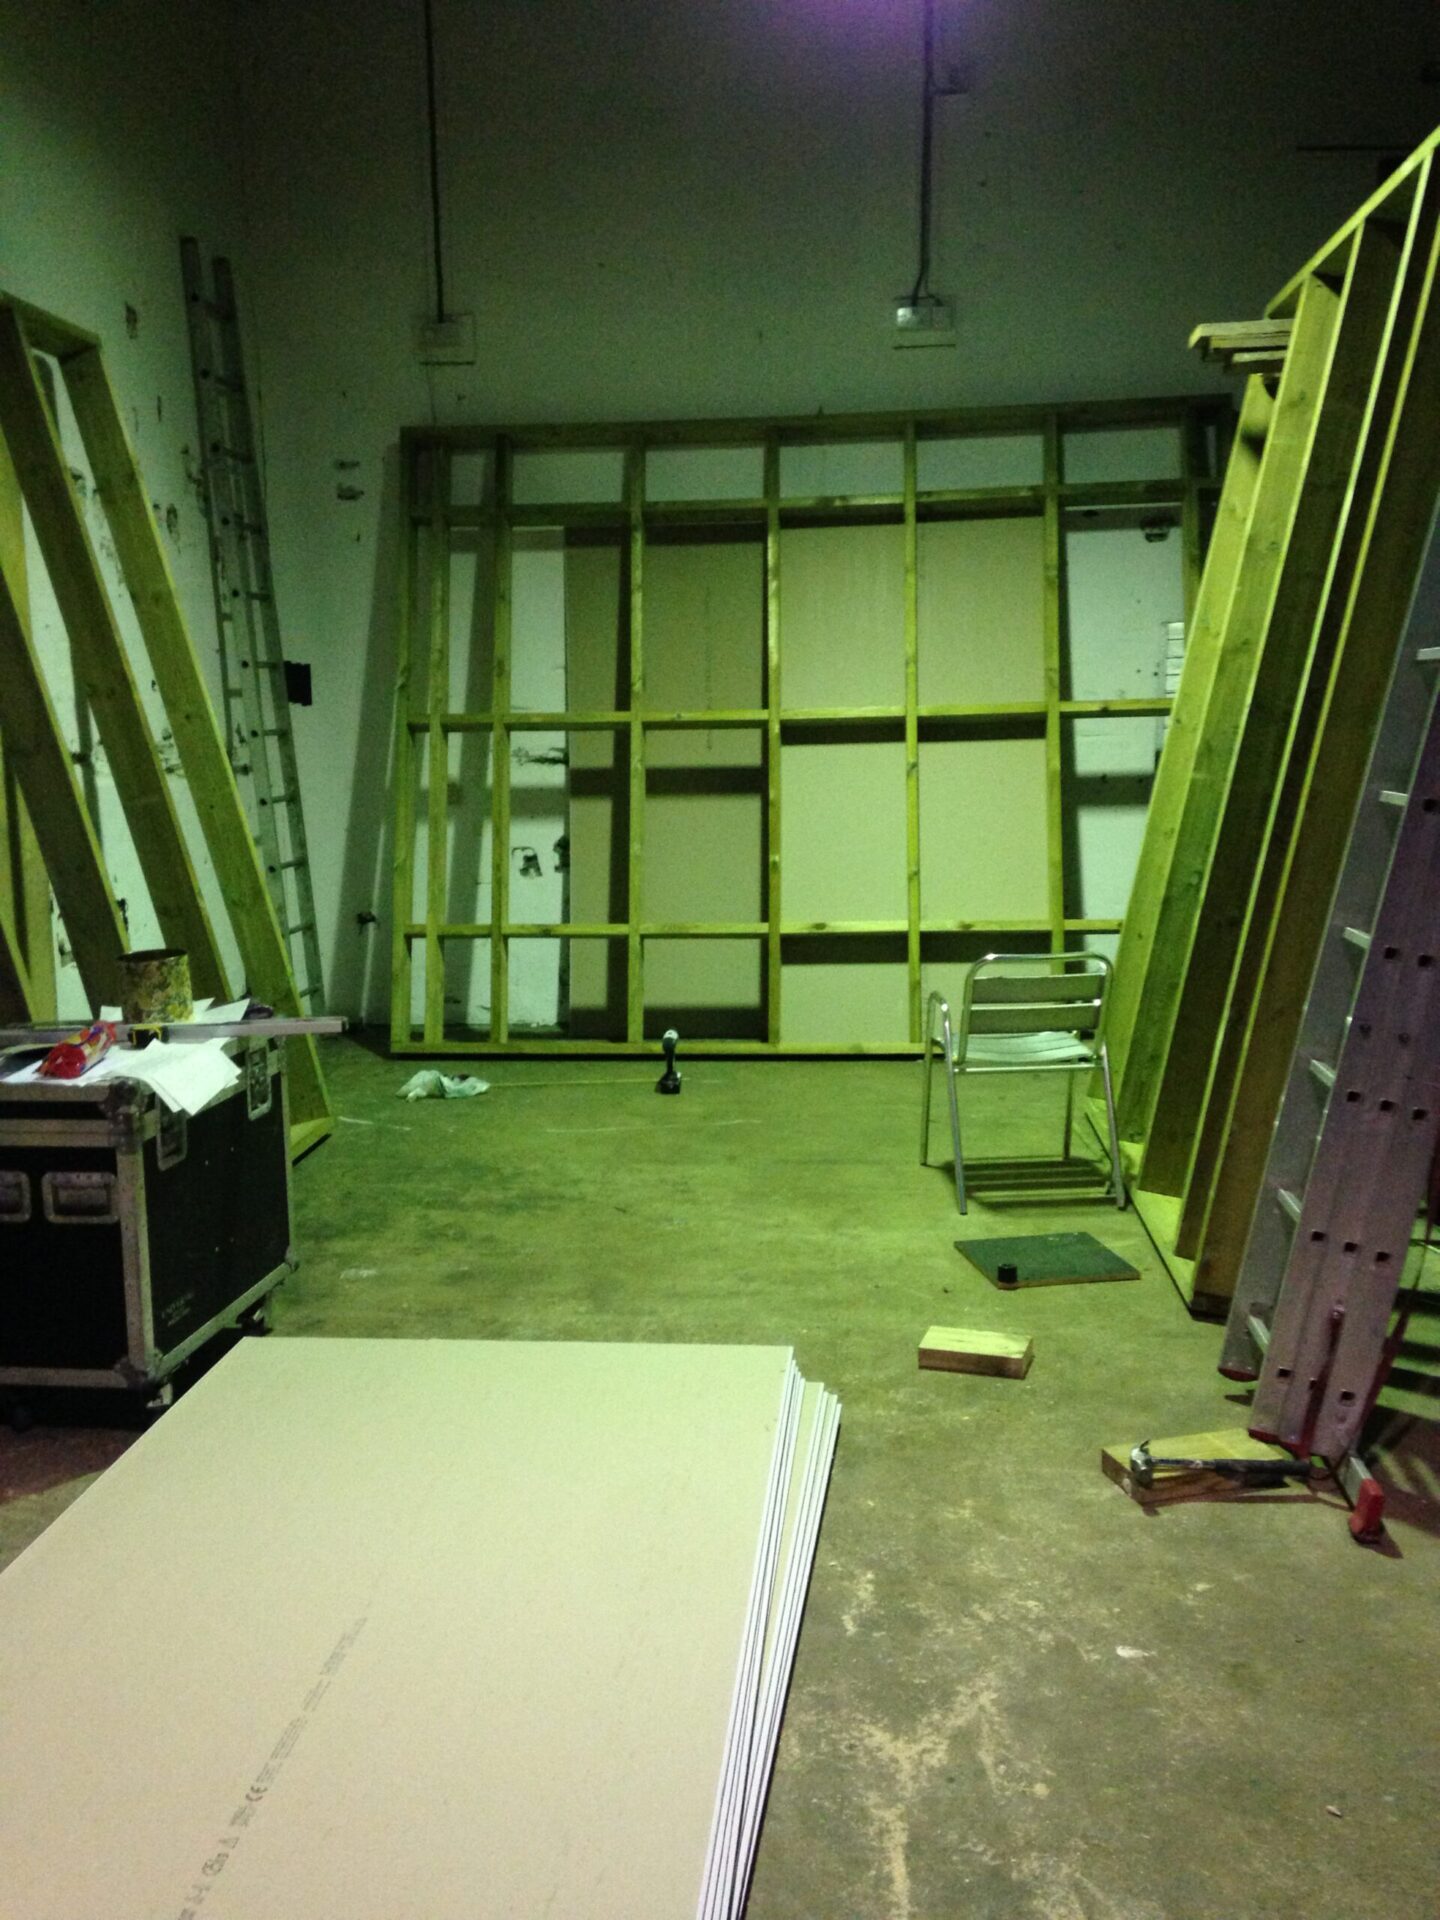
The soundproof walls had to be built away from the edge of the room and maneuvered into place. First I made the stud frames on the floor trying my best to keep them square. Then I added the plasterboard on the outside and hoisted them into place.
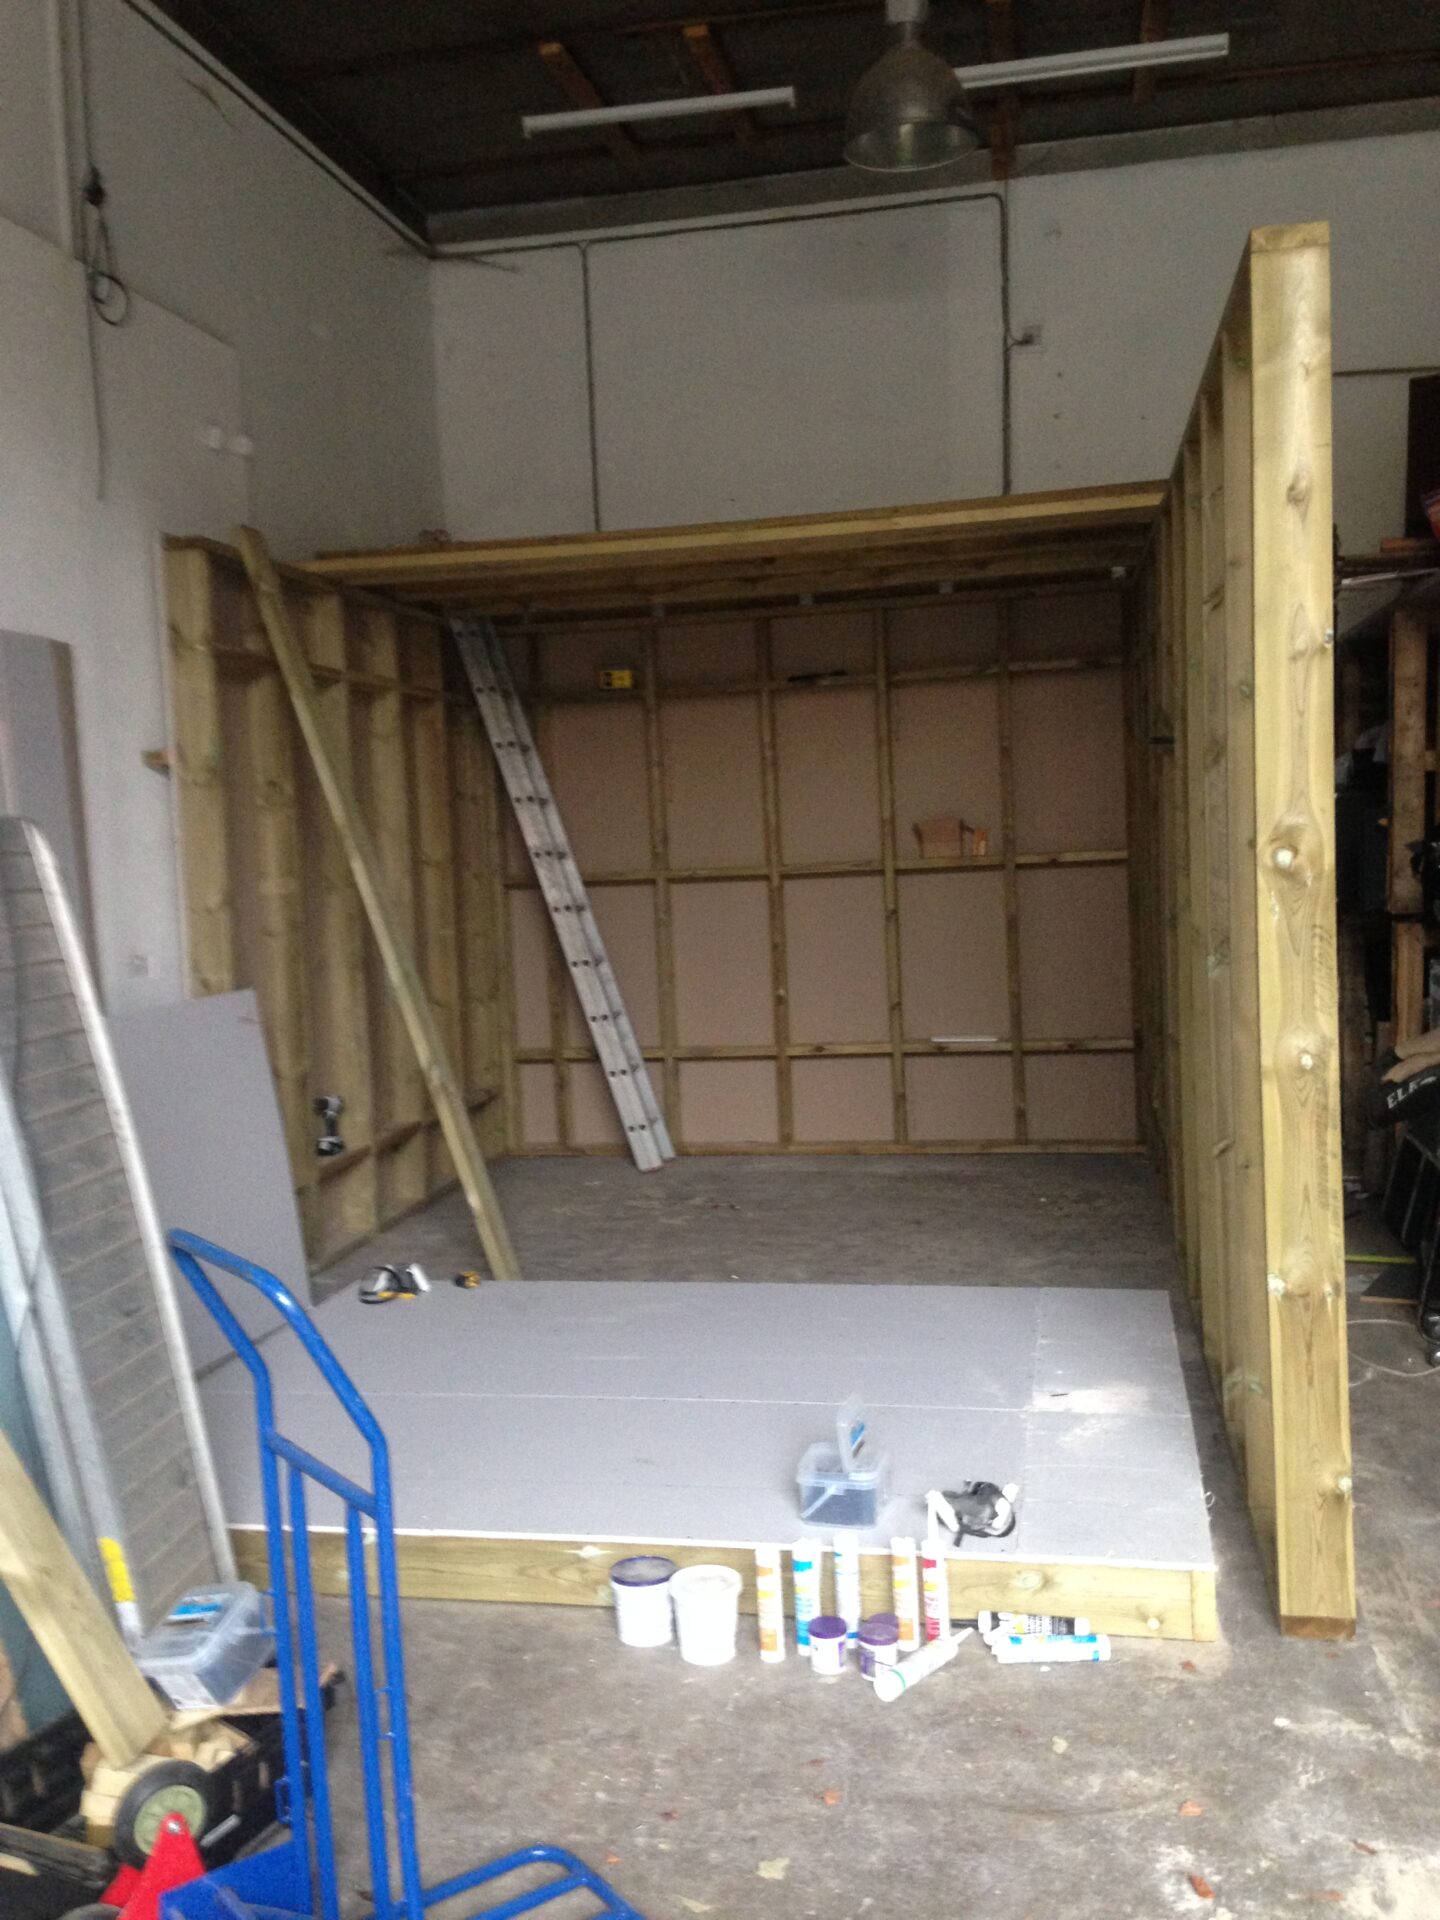
Once the roof joists were up and the side walls were completed the structure was quite solid. I built the front wall In situ by first adding the top and bottom horizontal beams then putting in the uprights. I put a double upright on both sides of the door for extra support as it was going to be very heavy,
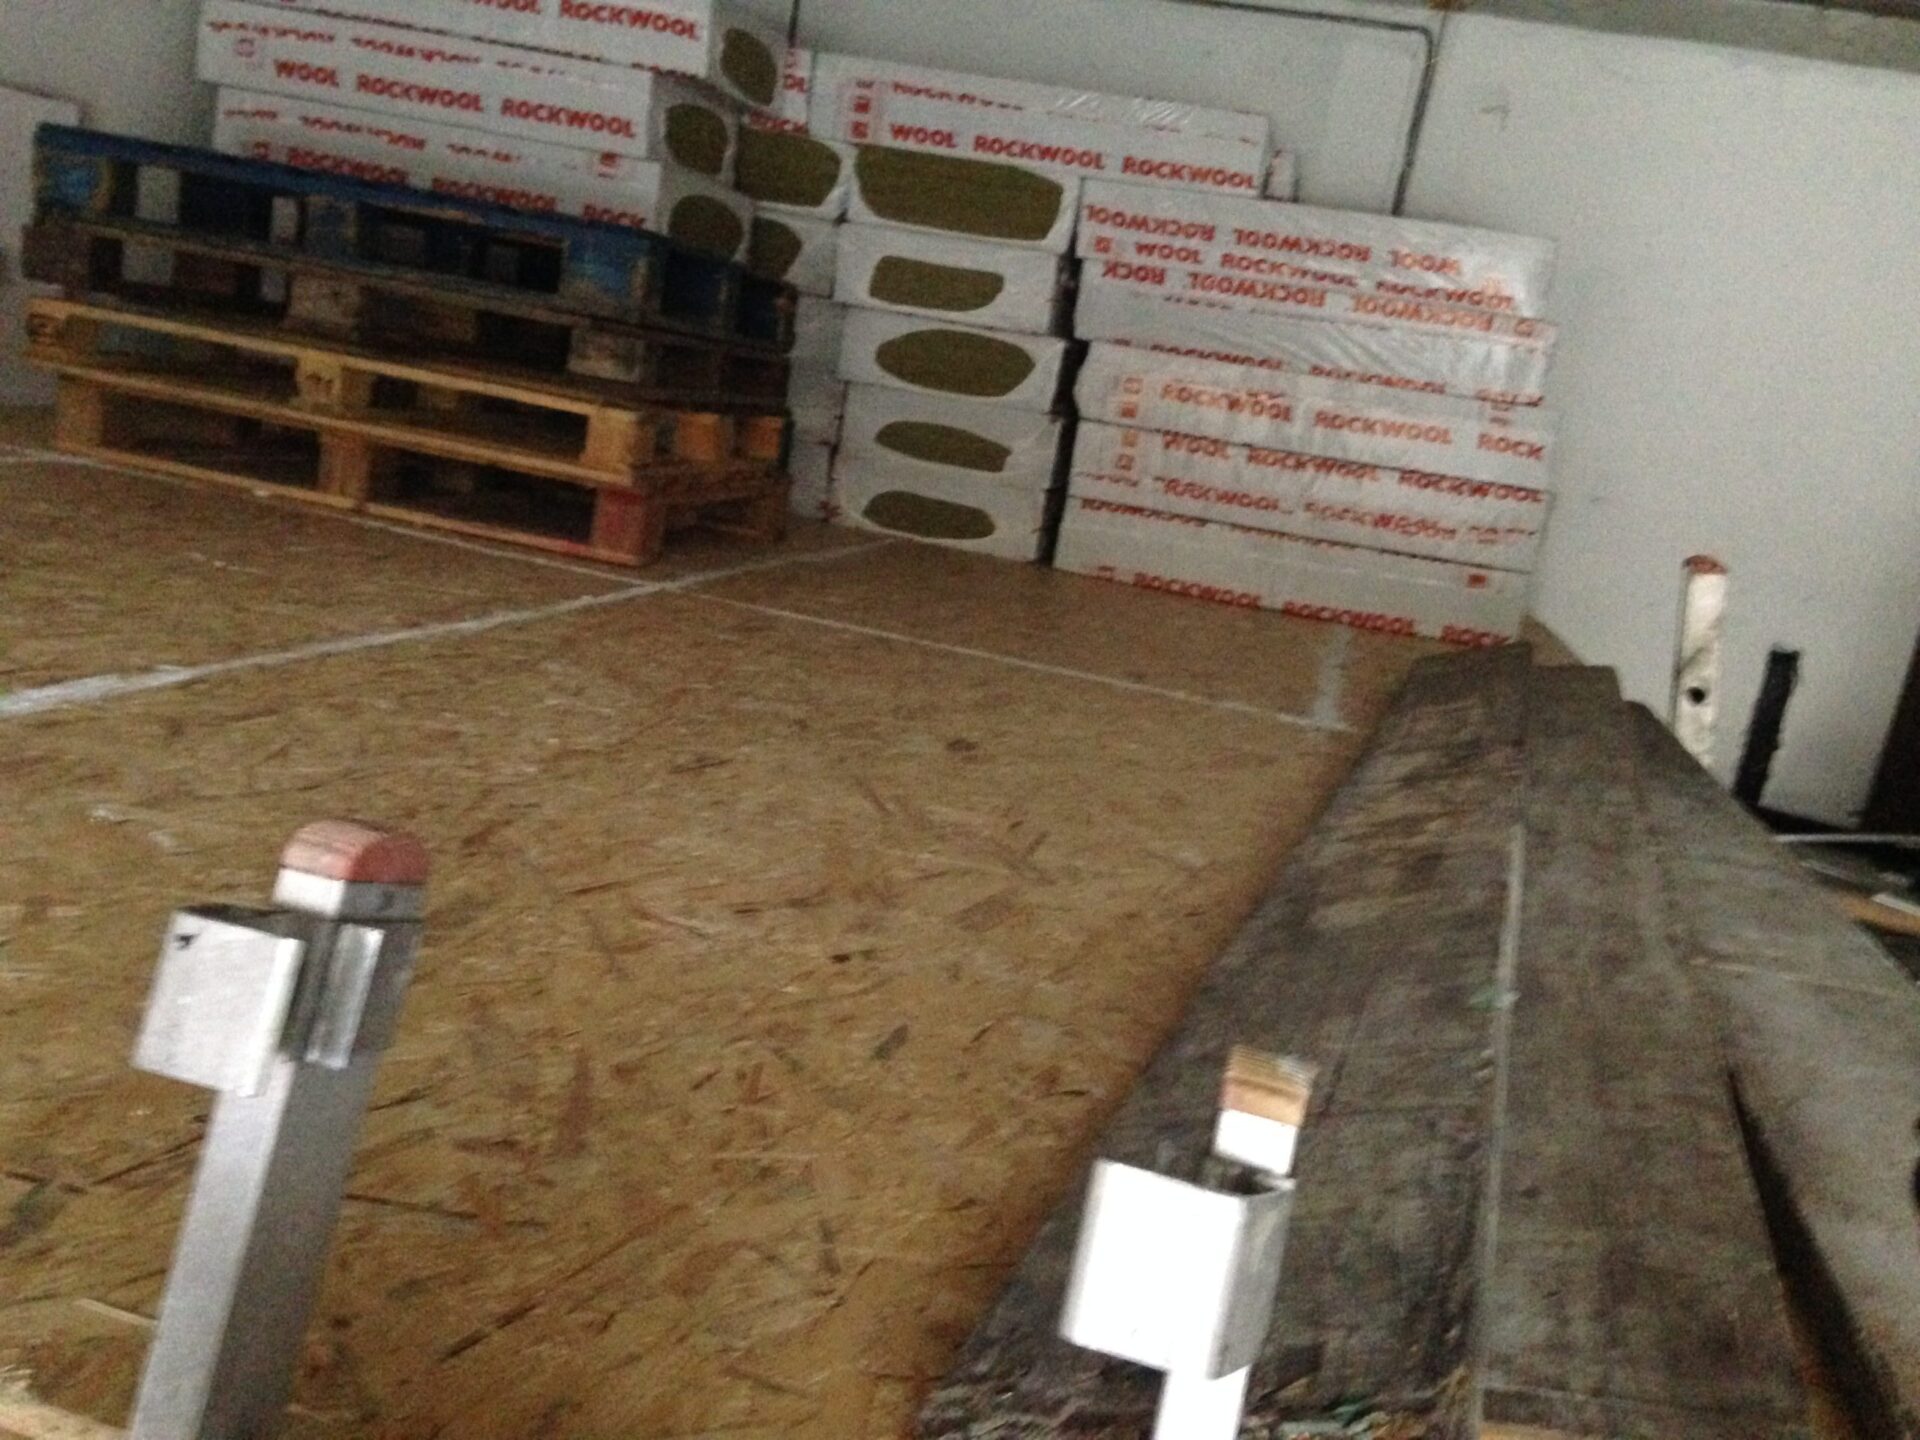
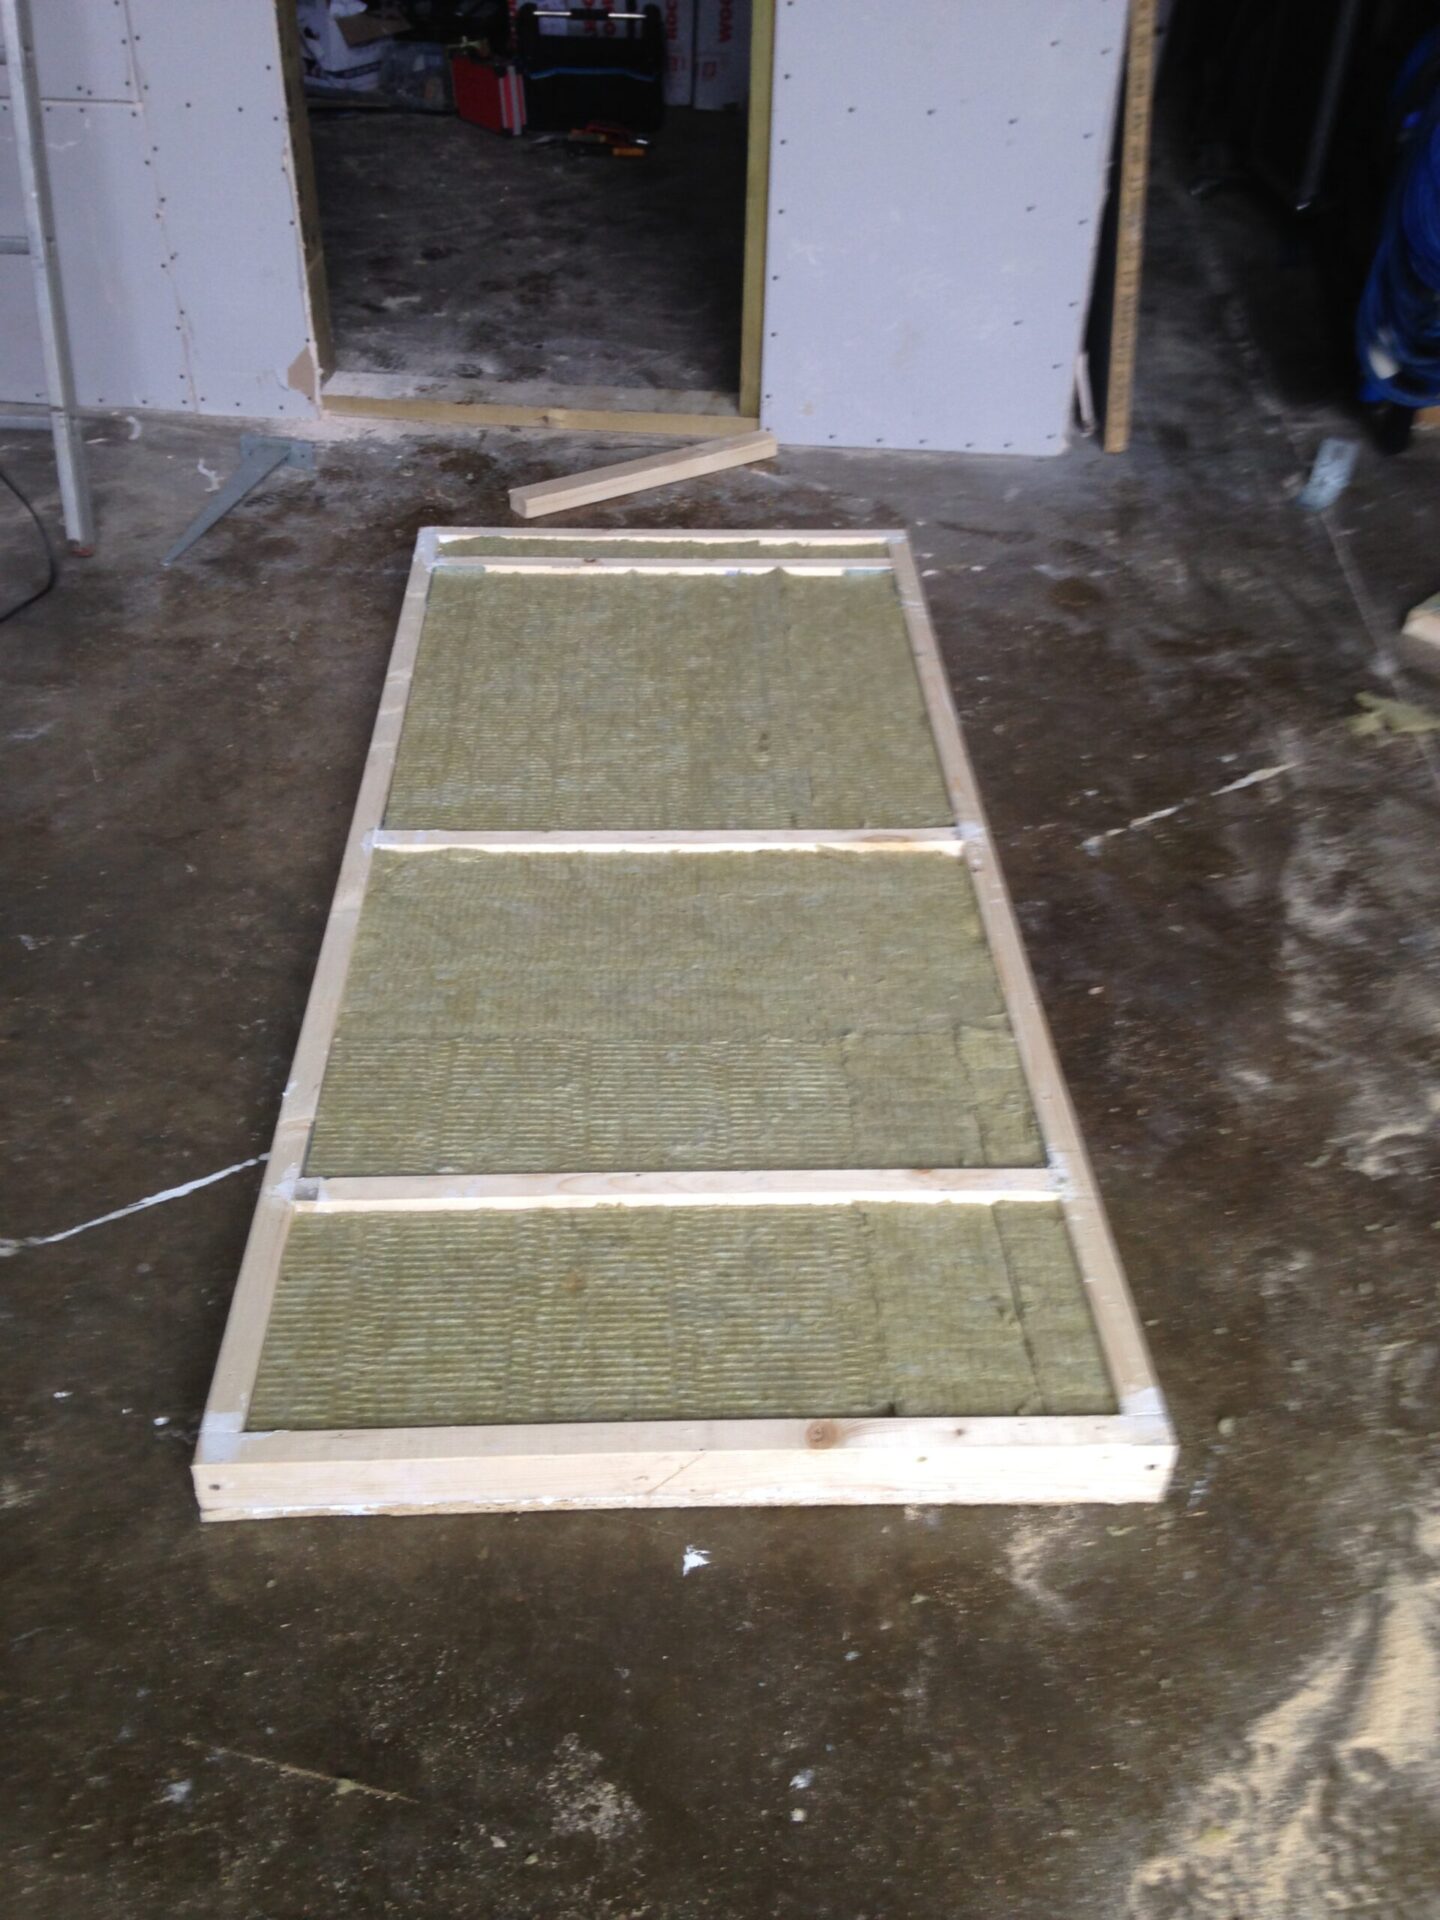
Rockwool insulation for soundproofing
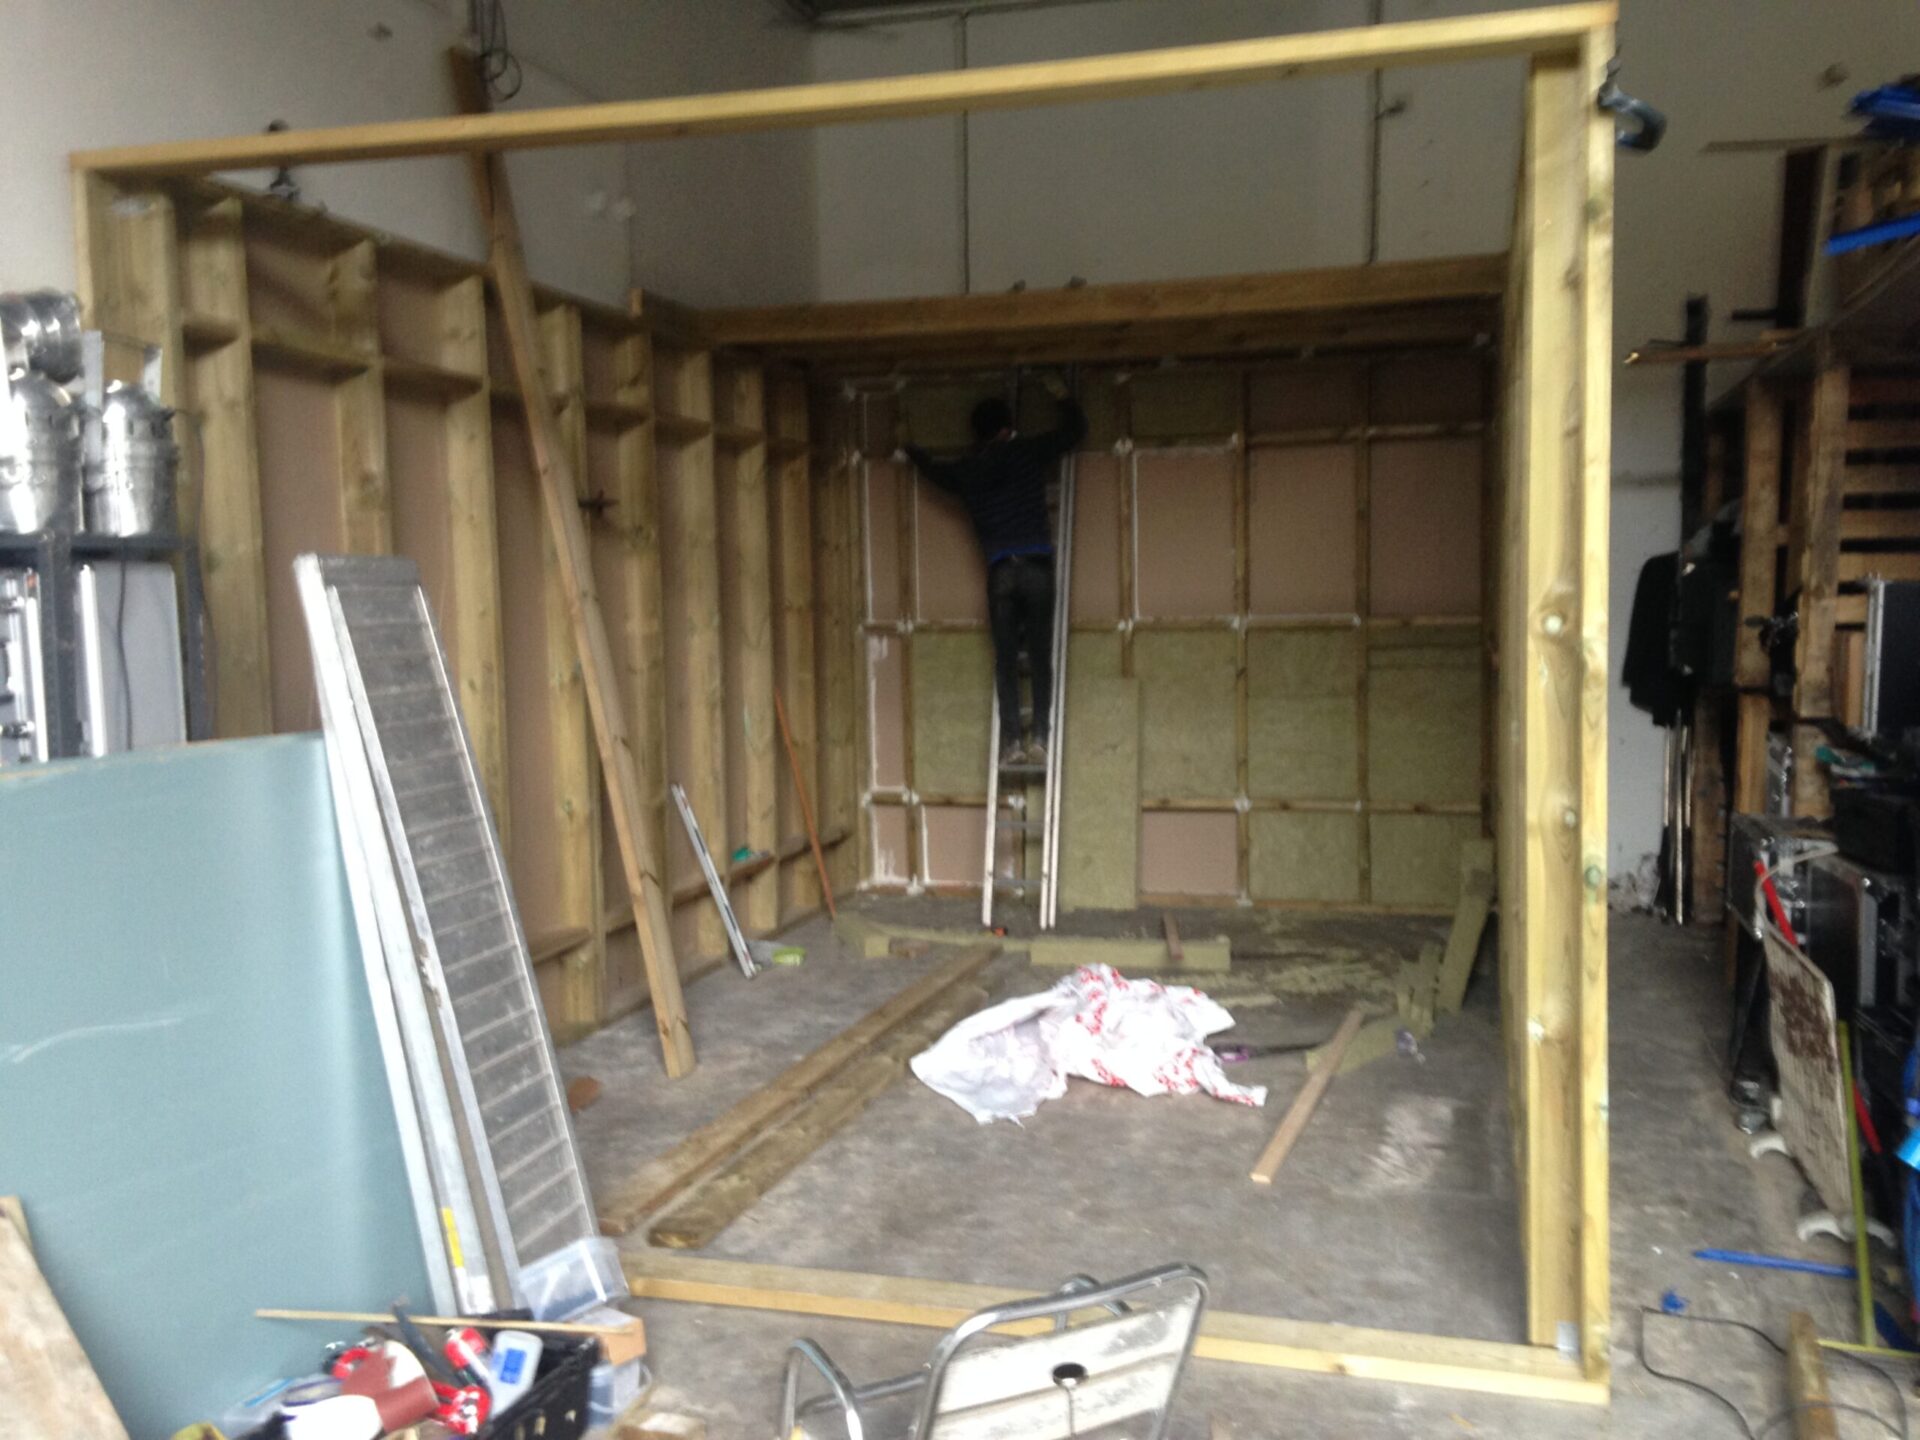
Once the structure was up I began filling the rectangular holes with Rockwool. I used RW5 for this, 2 slabs of 2″ making 4″ as shown in the diagram earlier. I have heard since that this may be overkill for soundproofing, at least in a 2 wall structure but this does seem to be a matter of opinion to an extent. Each slab had to be cut to size to get a tight fit. This took a week or so for one person and TBH was the most boring part!
Be sure to wear overalls, mask, gloves and hair coverings. Cut the Rockwool outside as the fibers get EVERYWHERE. If possible shop around online for the Rockwool slabs, I saved about 30% by doing that as opposed to going to the local shop. You may have to wait a few weeks for delivery using those online-only builders merchants but the saving is worth it IMO.
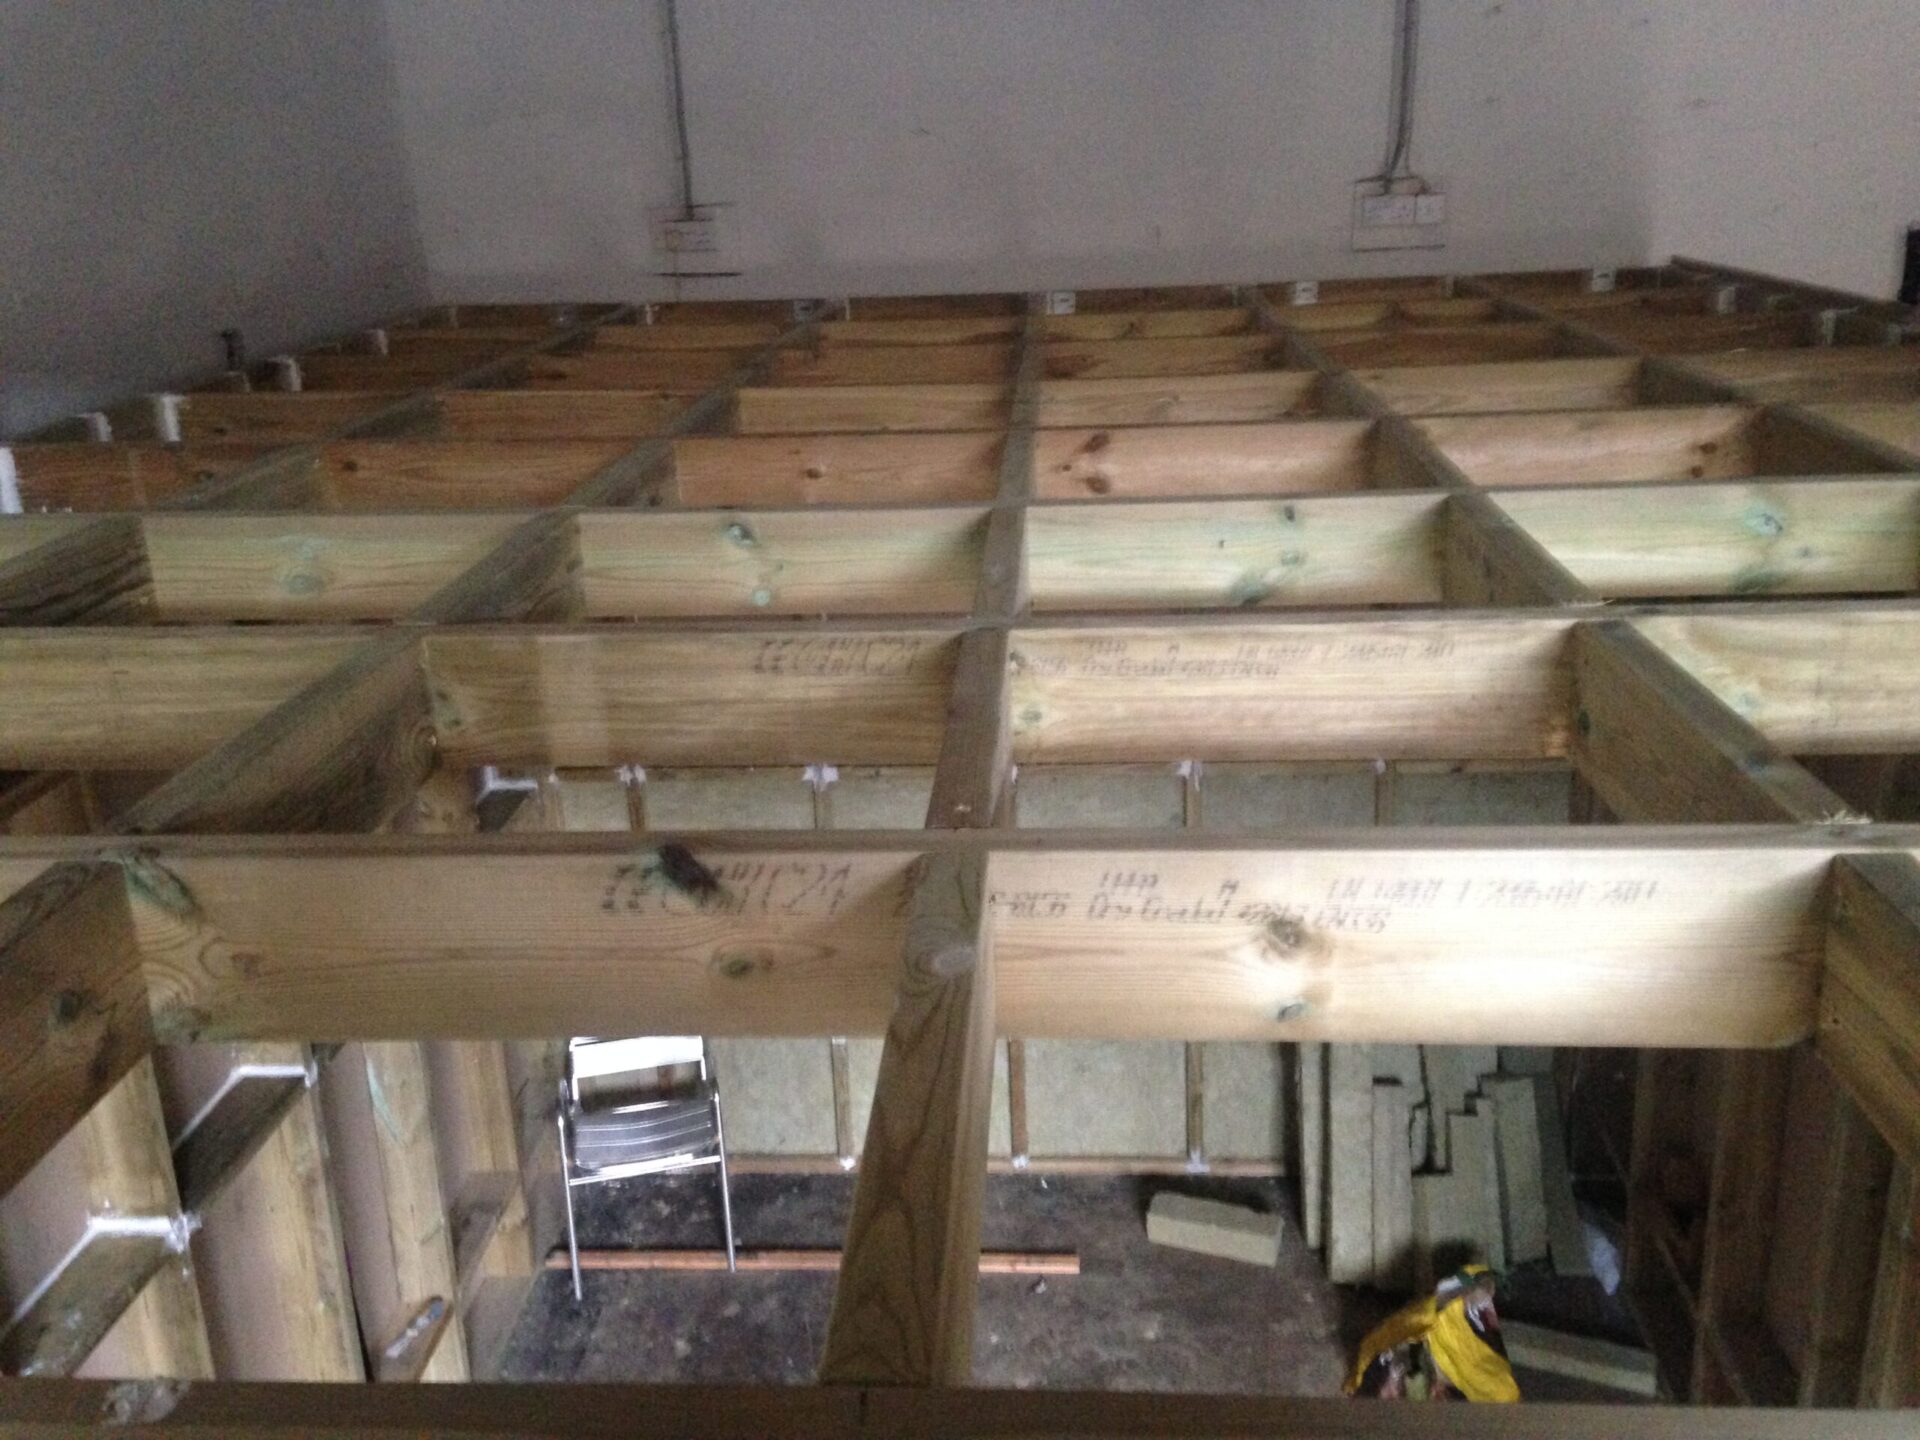
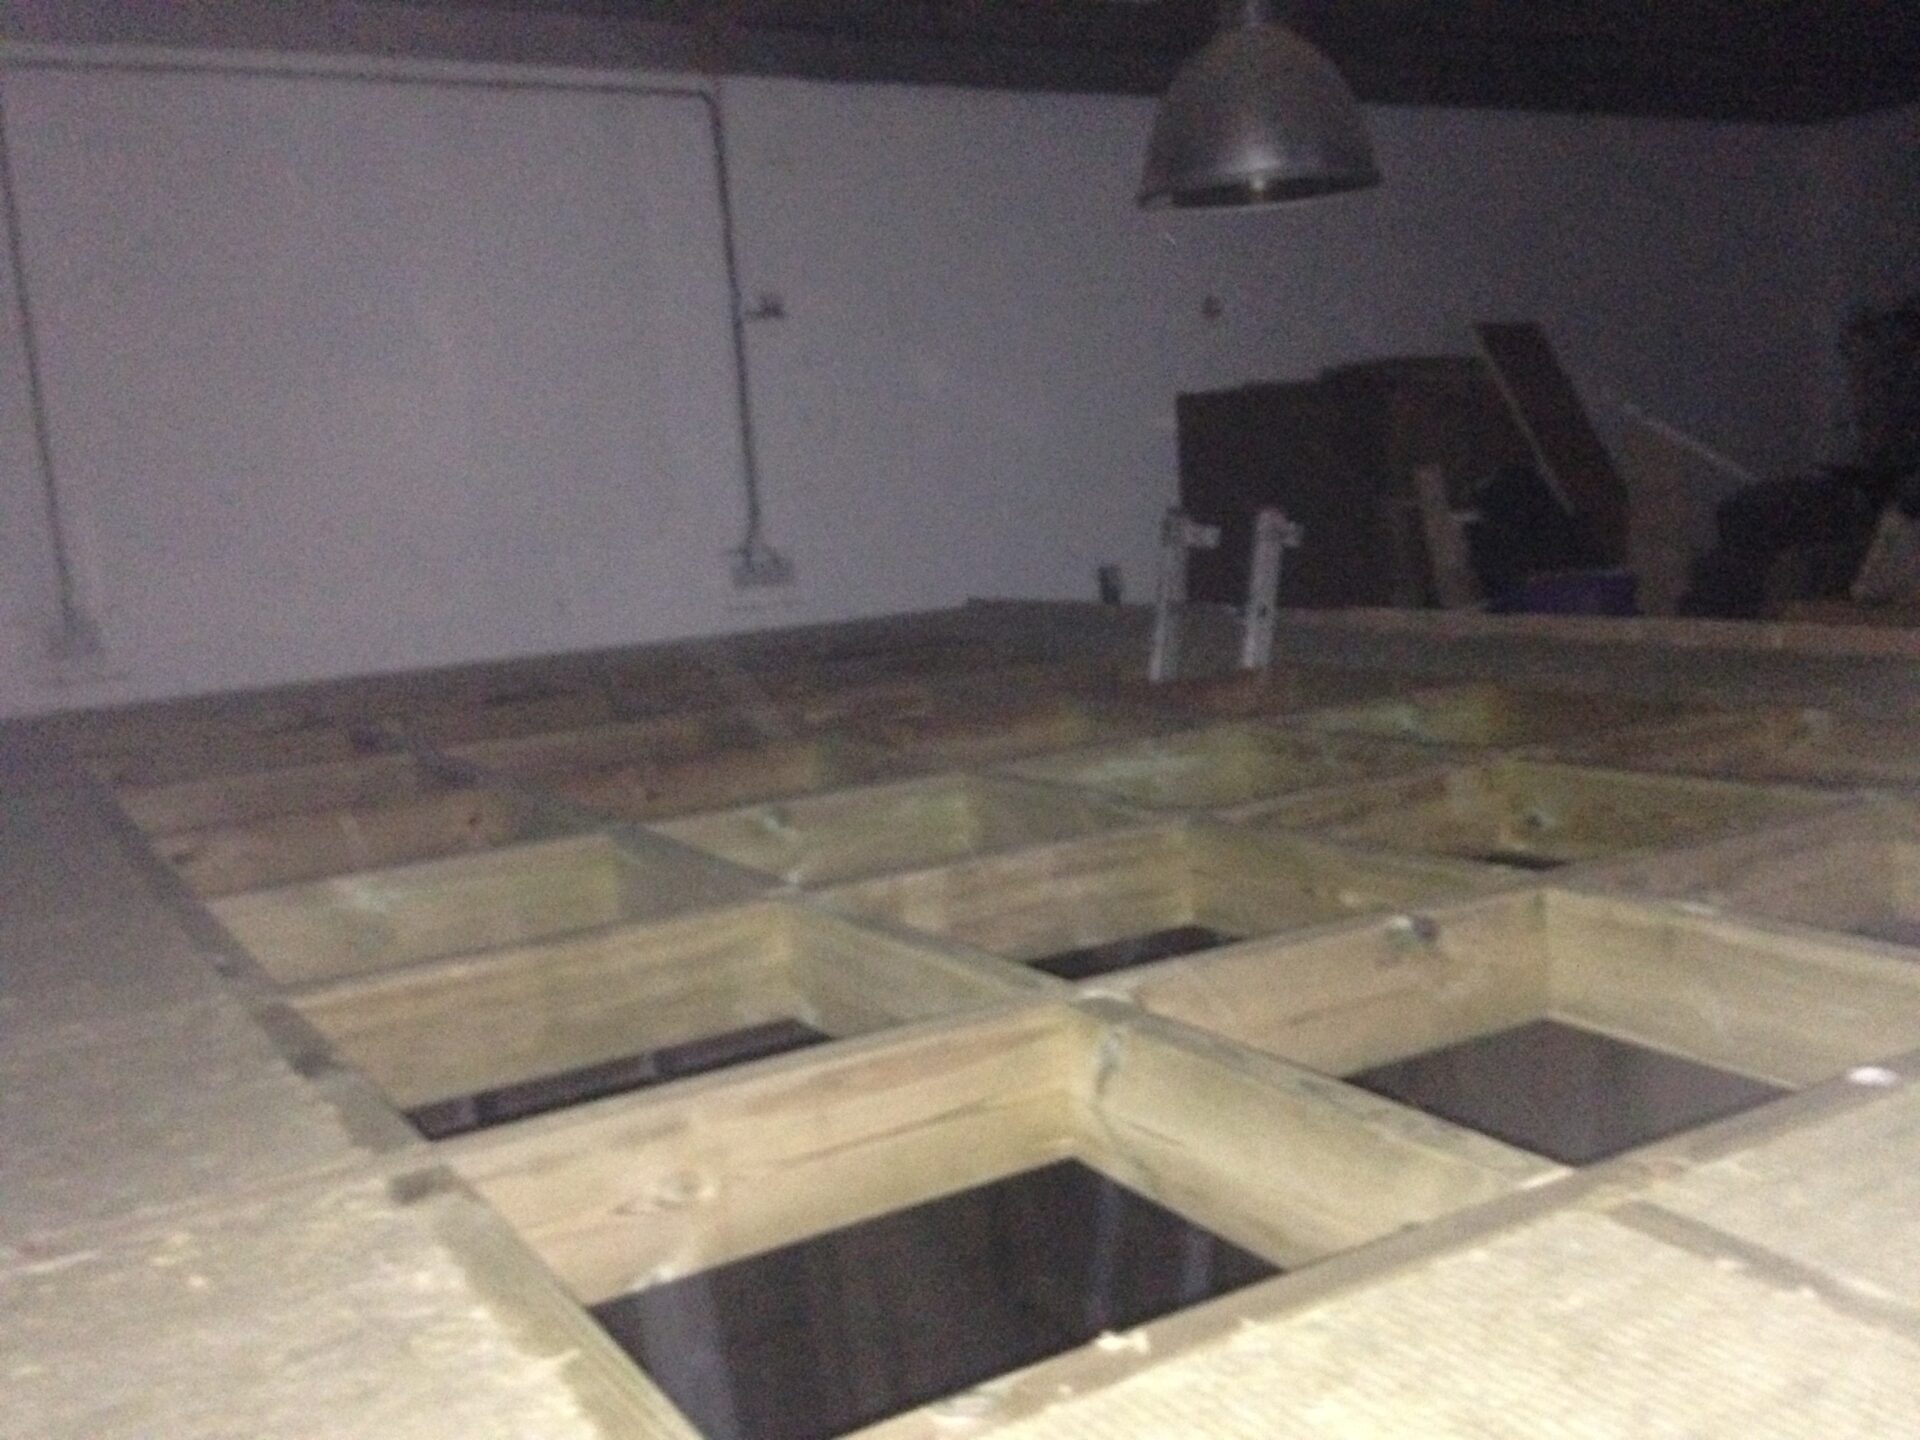
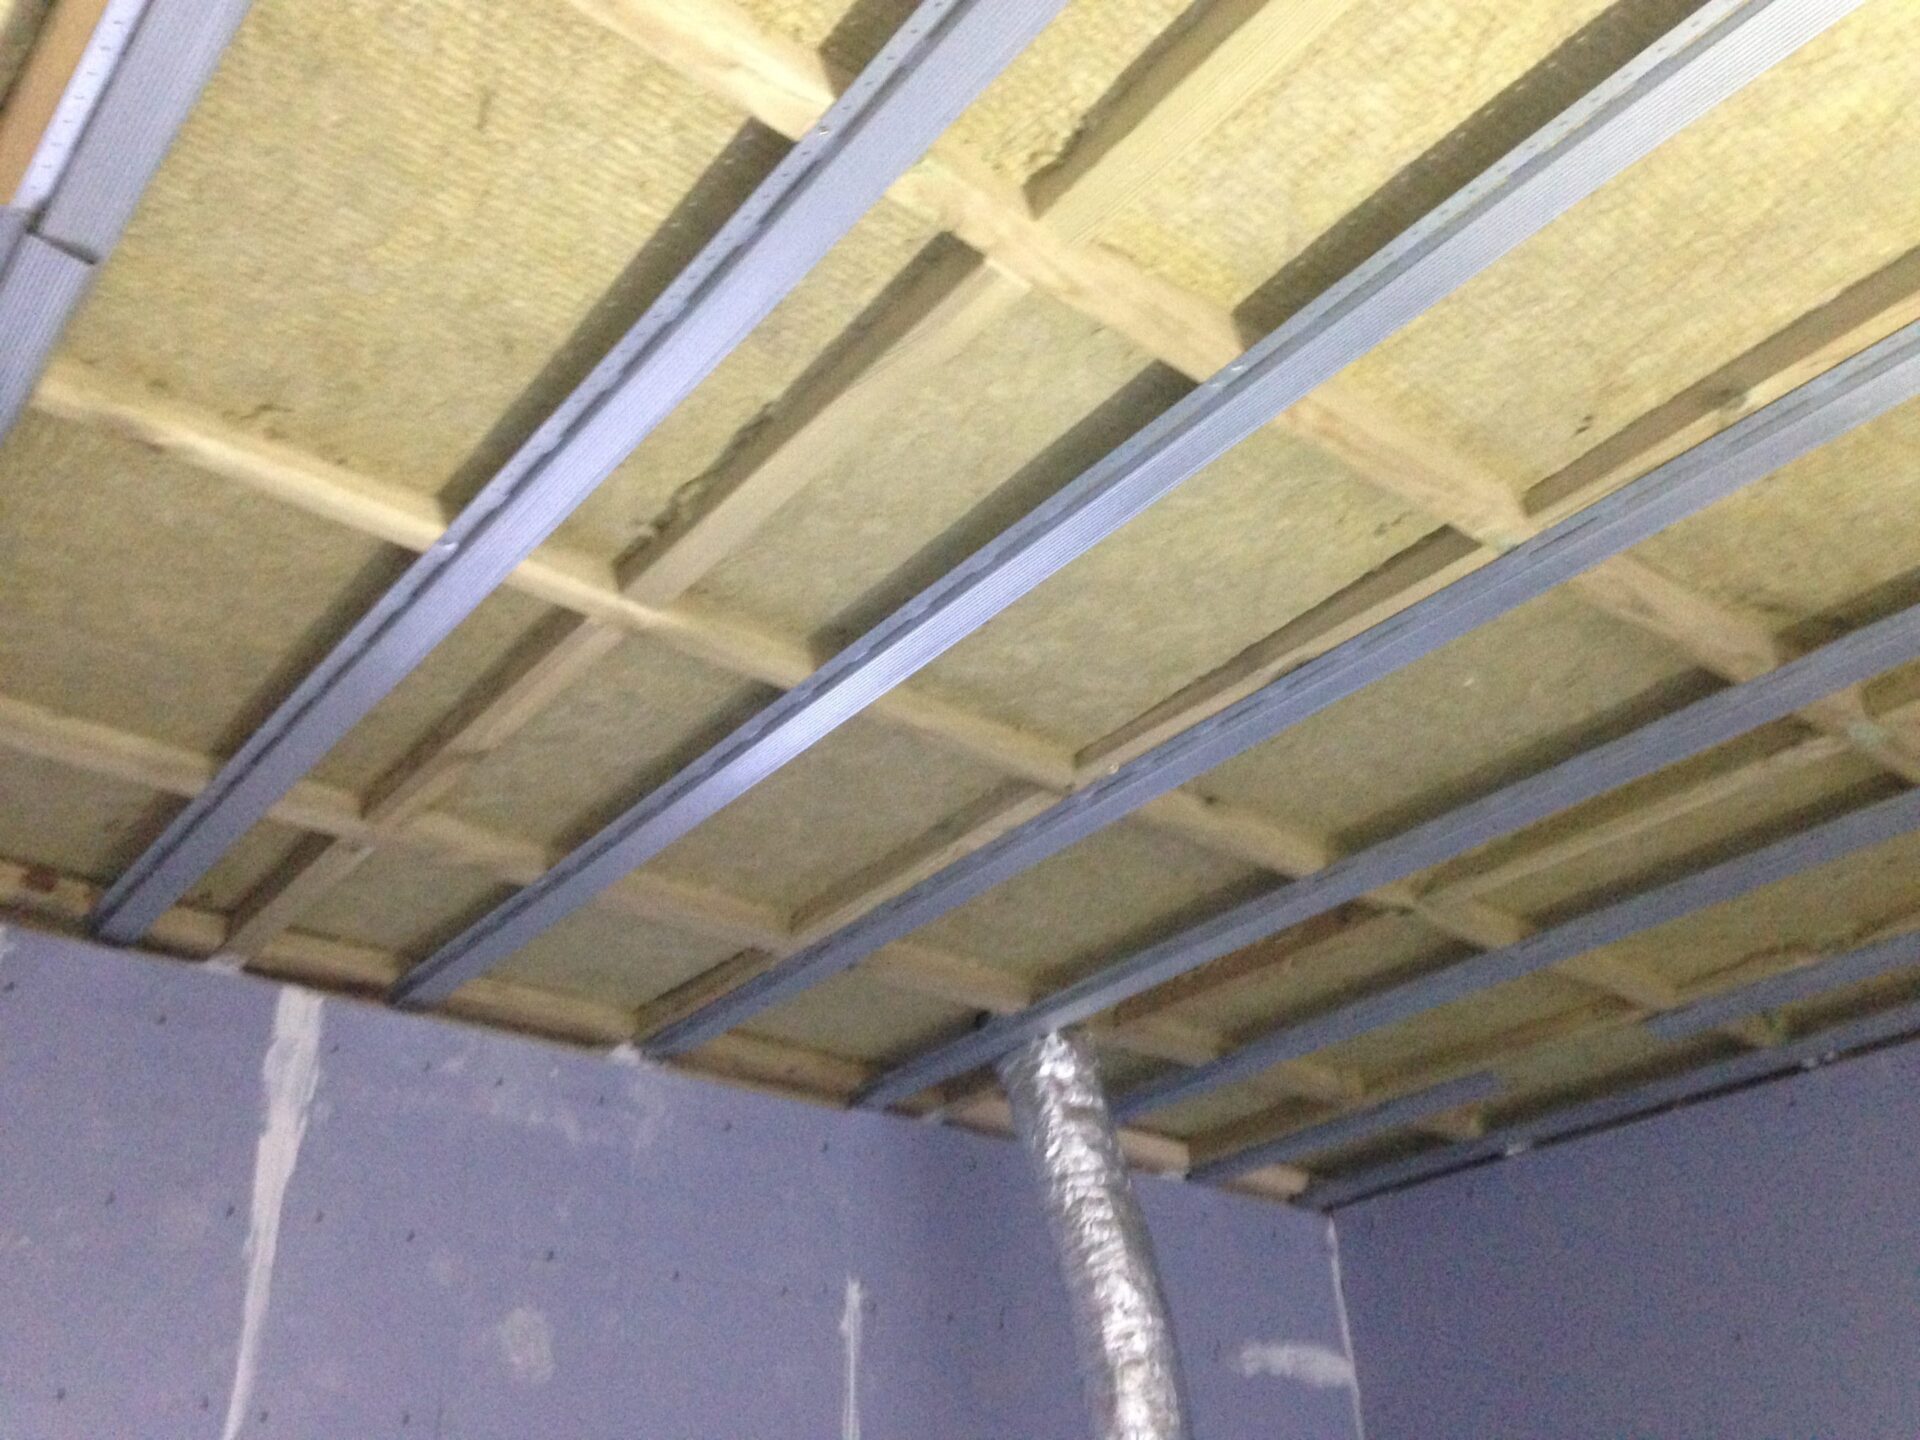
Fixing the soundproof roof
Not so many photos of this part, sorry! It took 2 days for 2 people. I used full 18mm OSB sheets butted tightly together with a bed of the trusty acoustic sealant between boards and frame. I sealed the edges once a full layer was down. The next day we got the second layer of OSB down facing at right angles to the first layer which minimised overlapping of joins. There was again a bed of acoustic sealant between the layers as with the plasterboard on the walls.
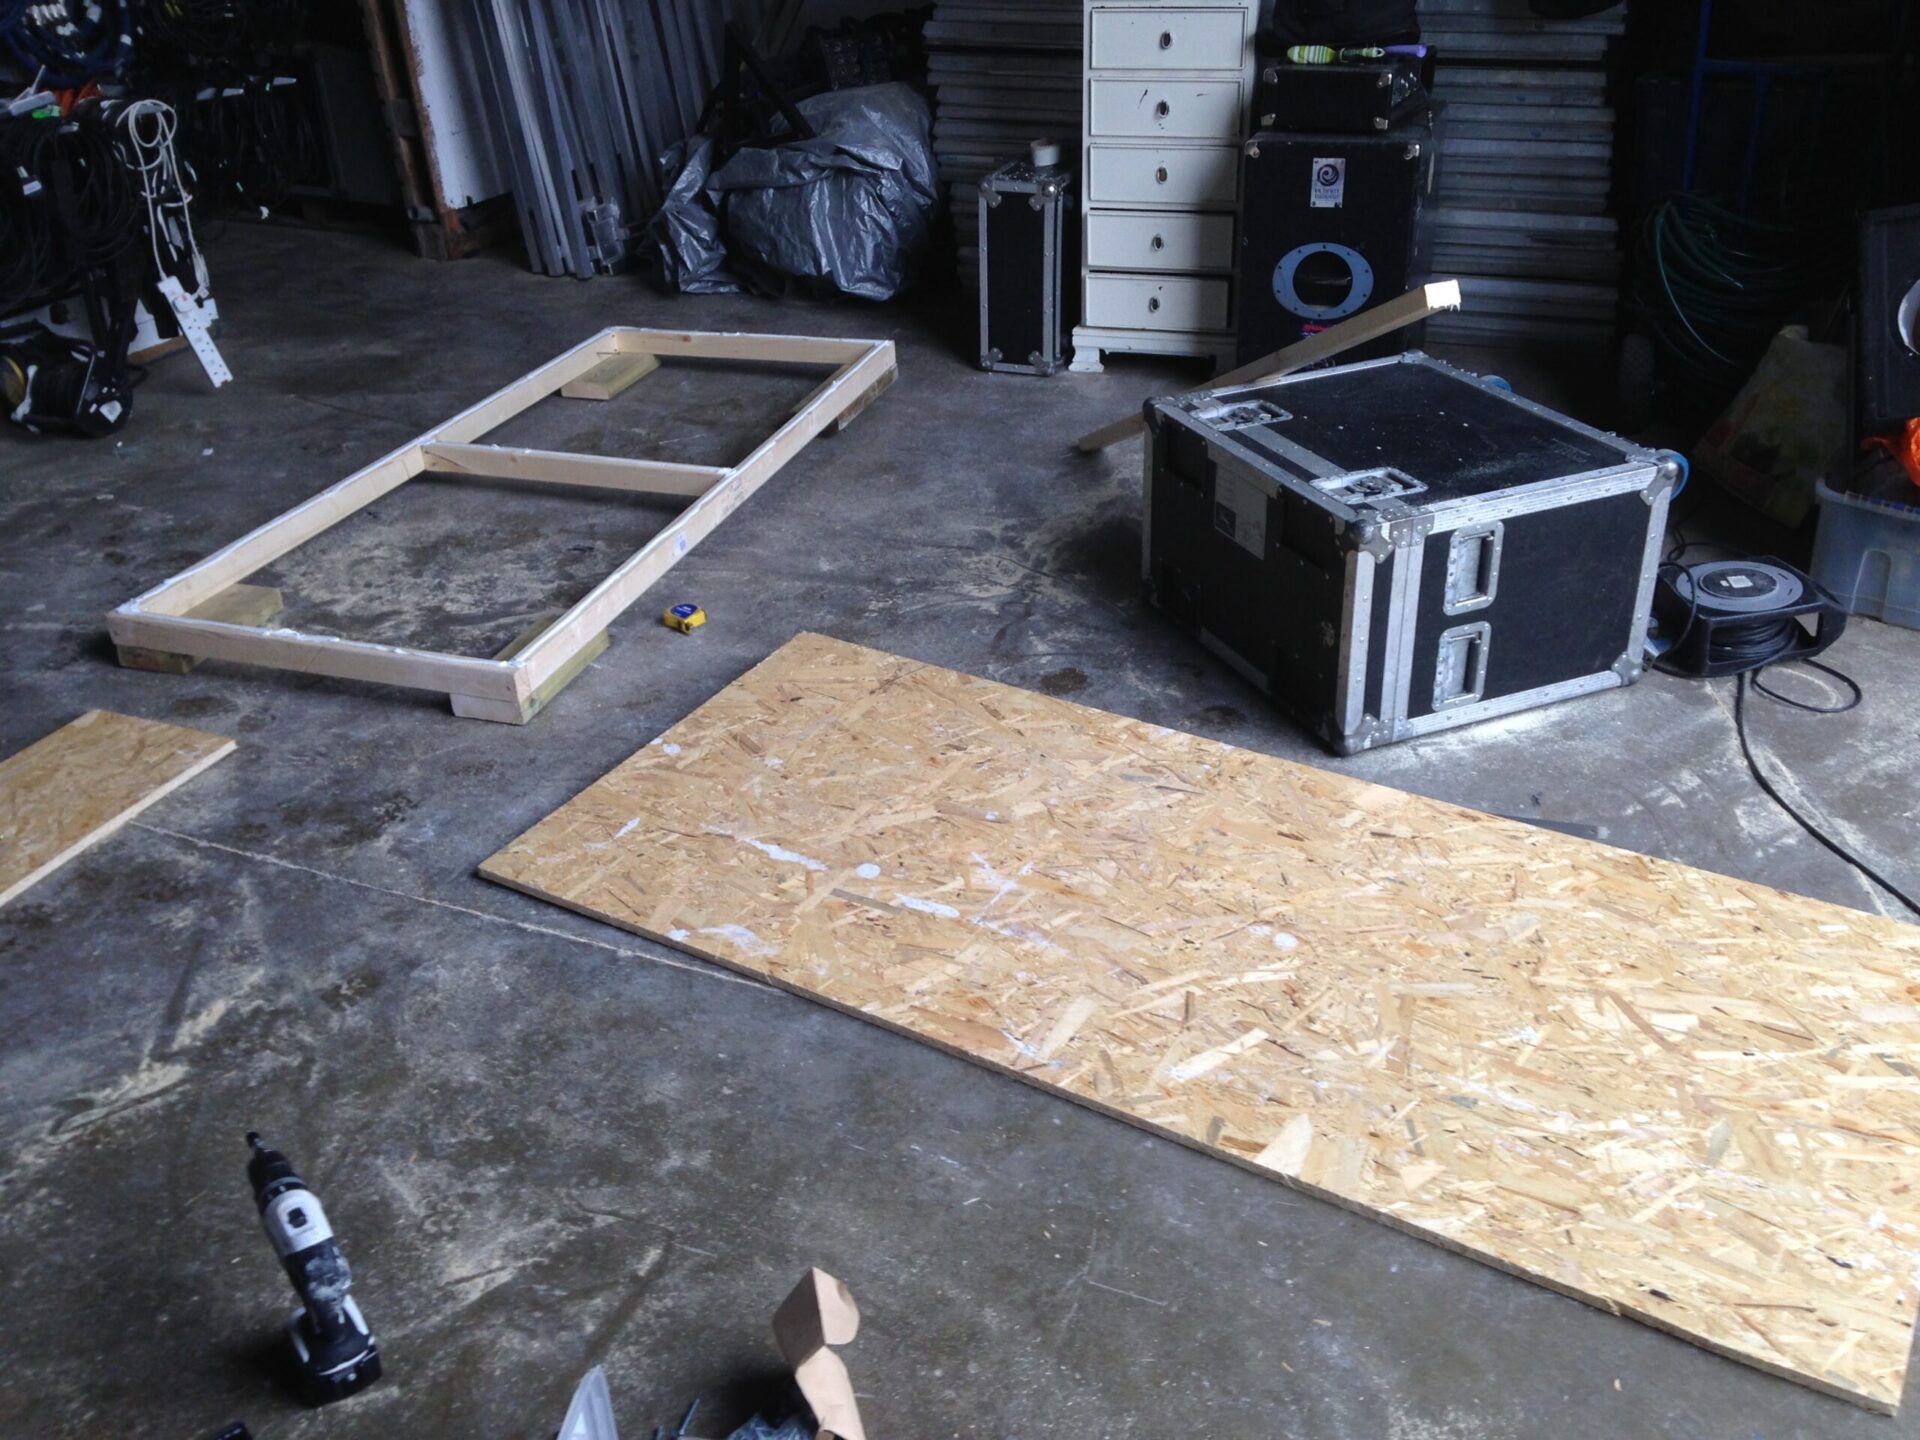
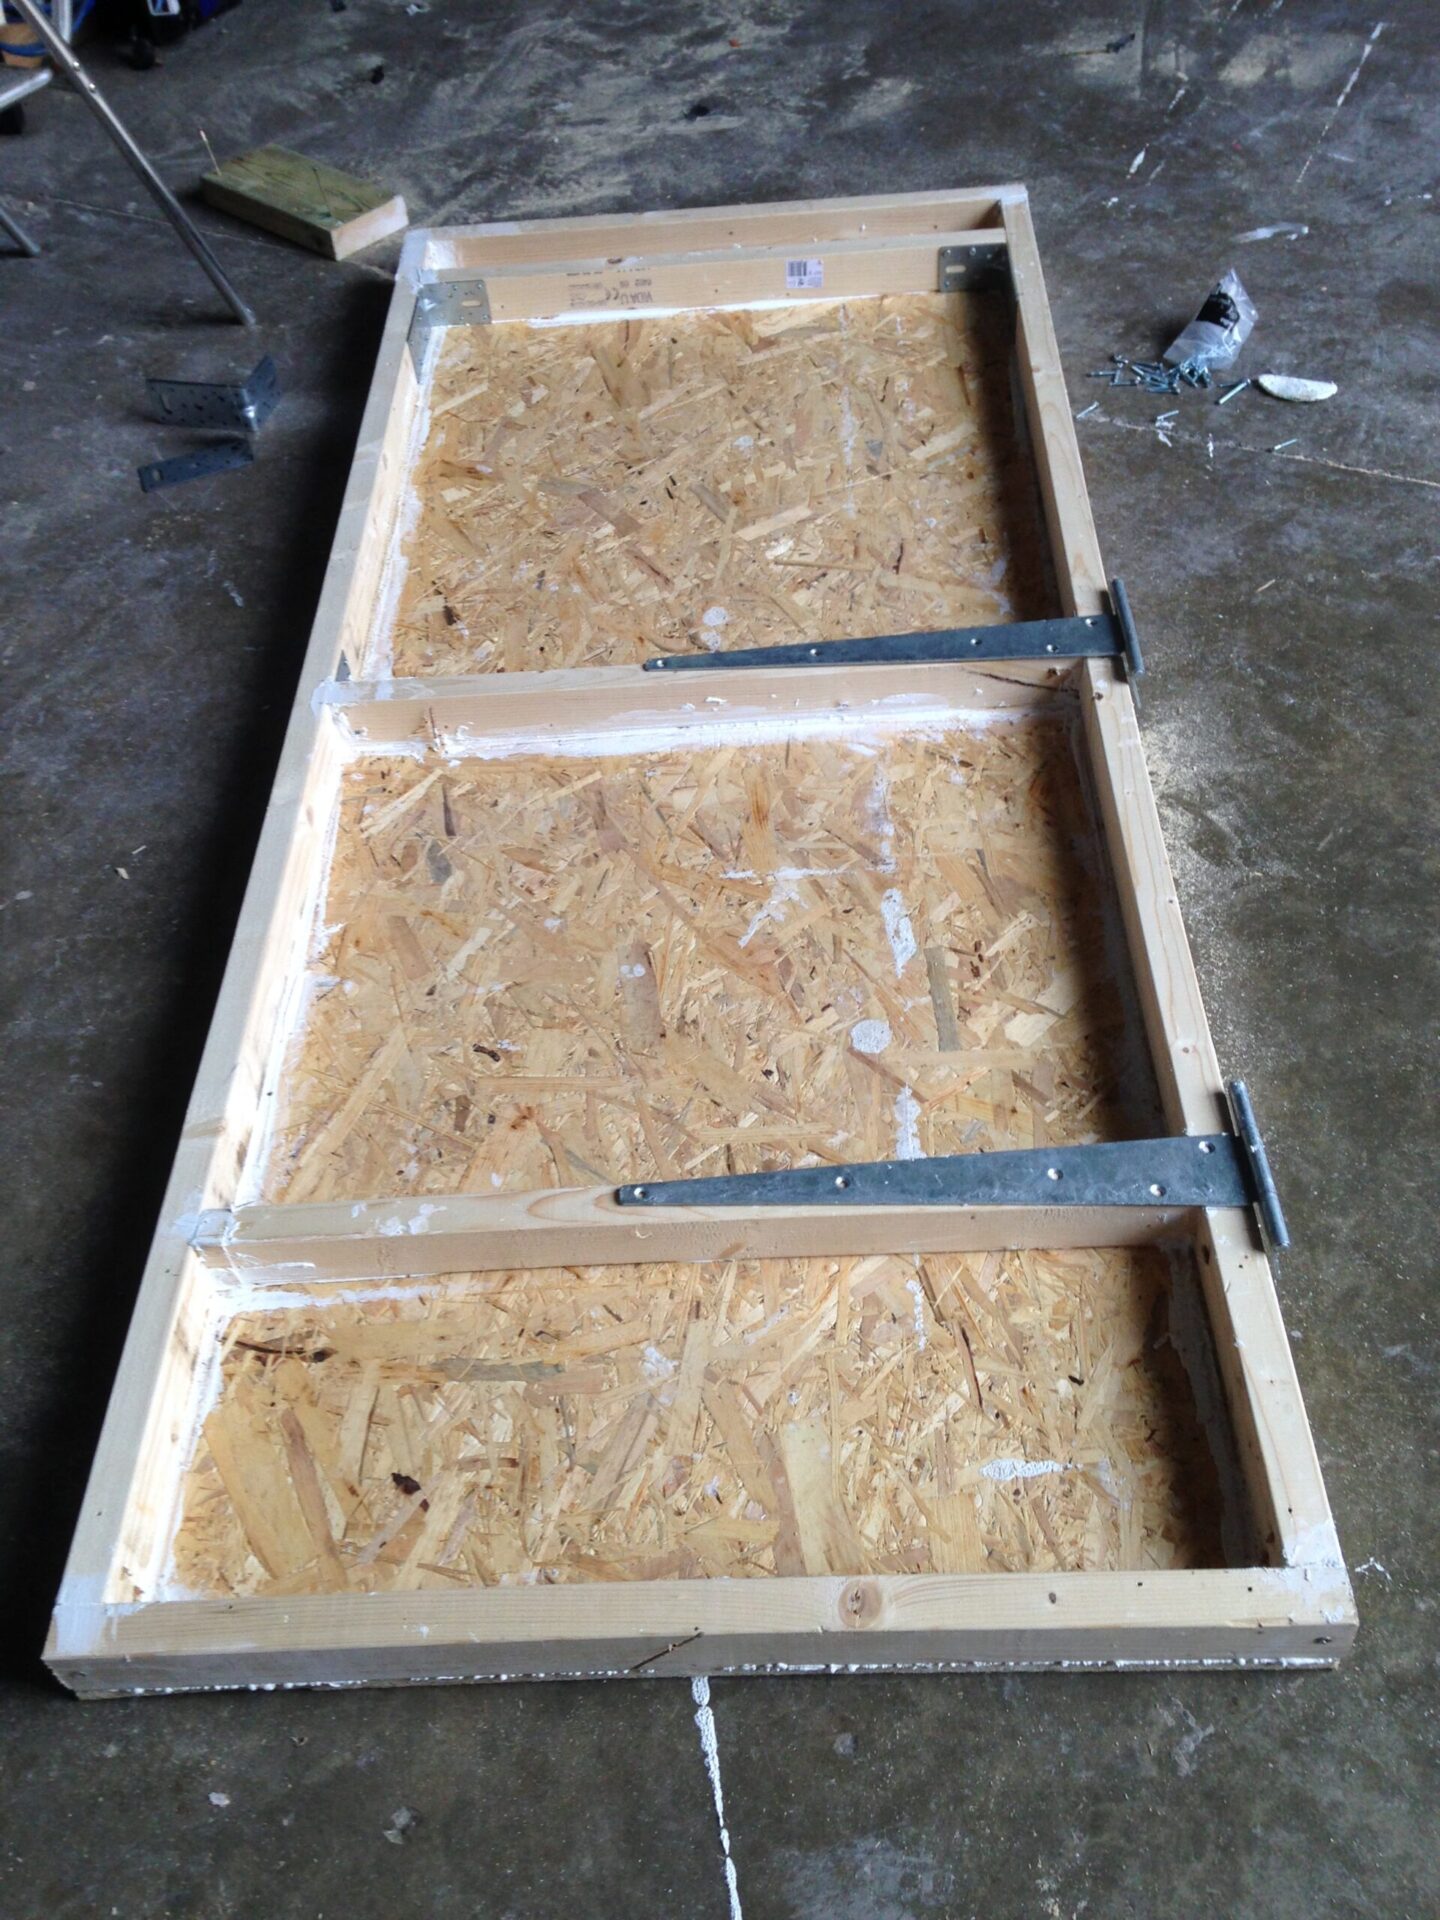
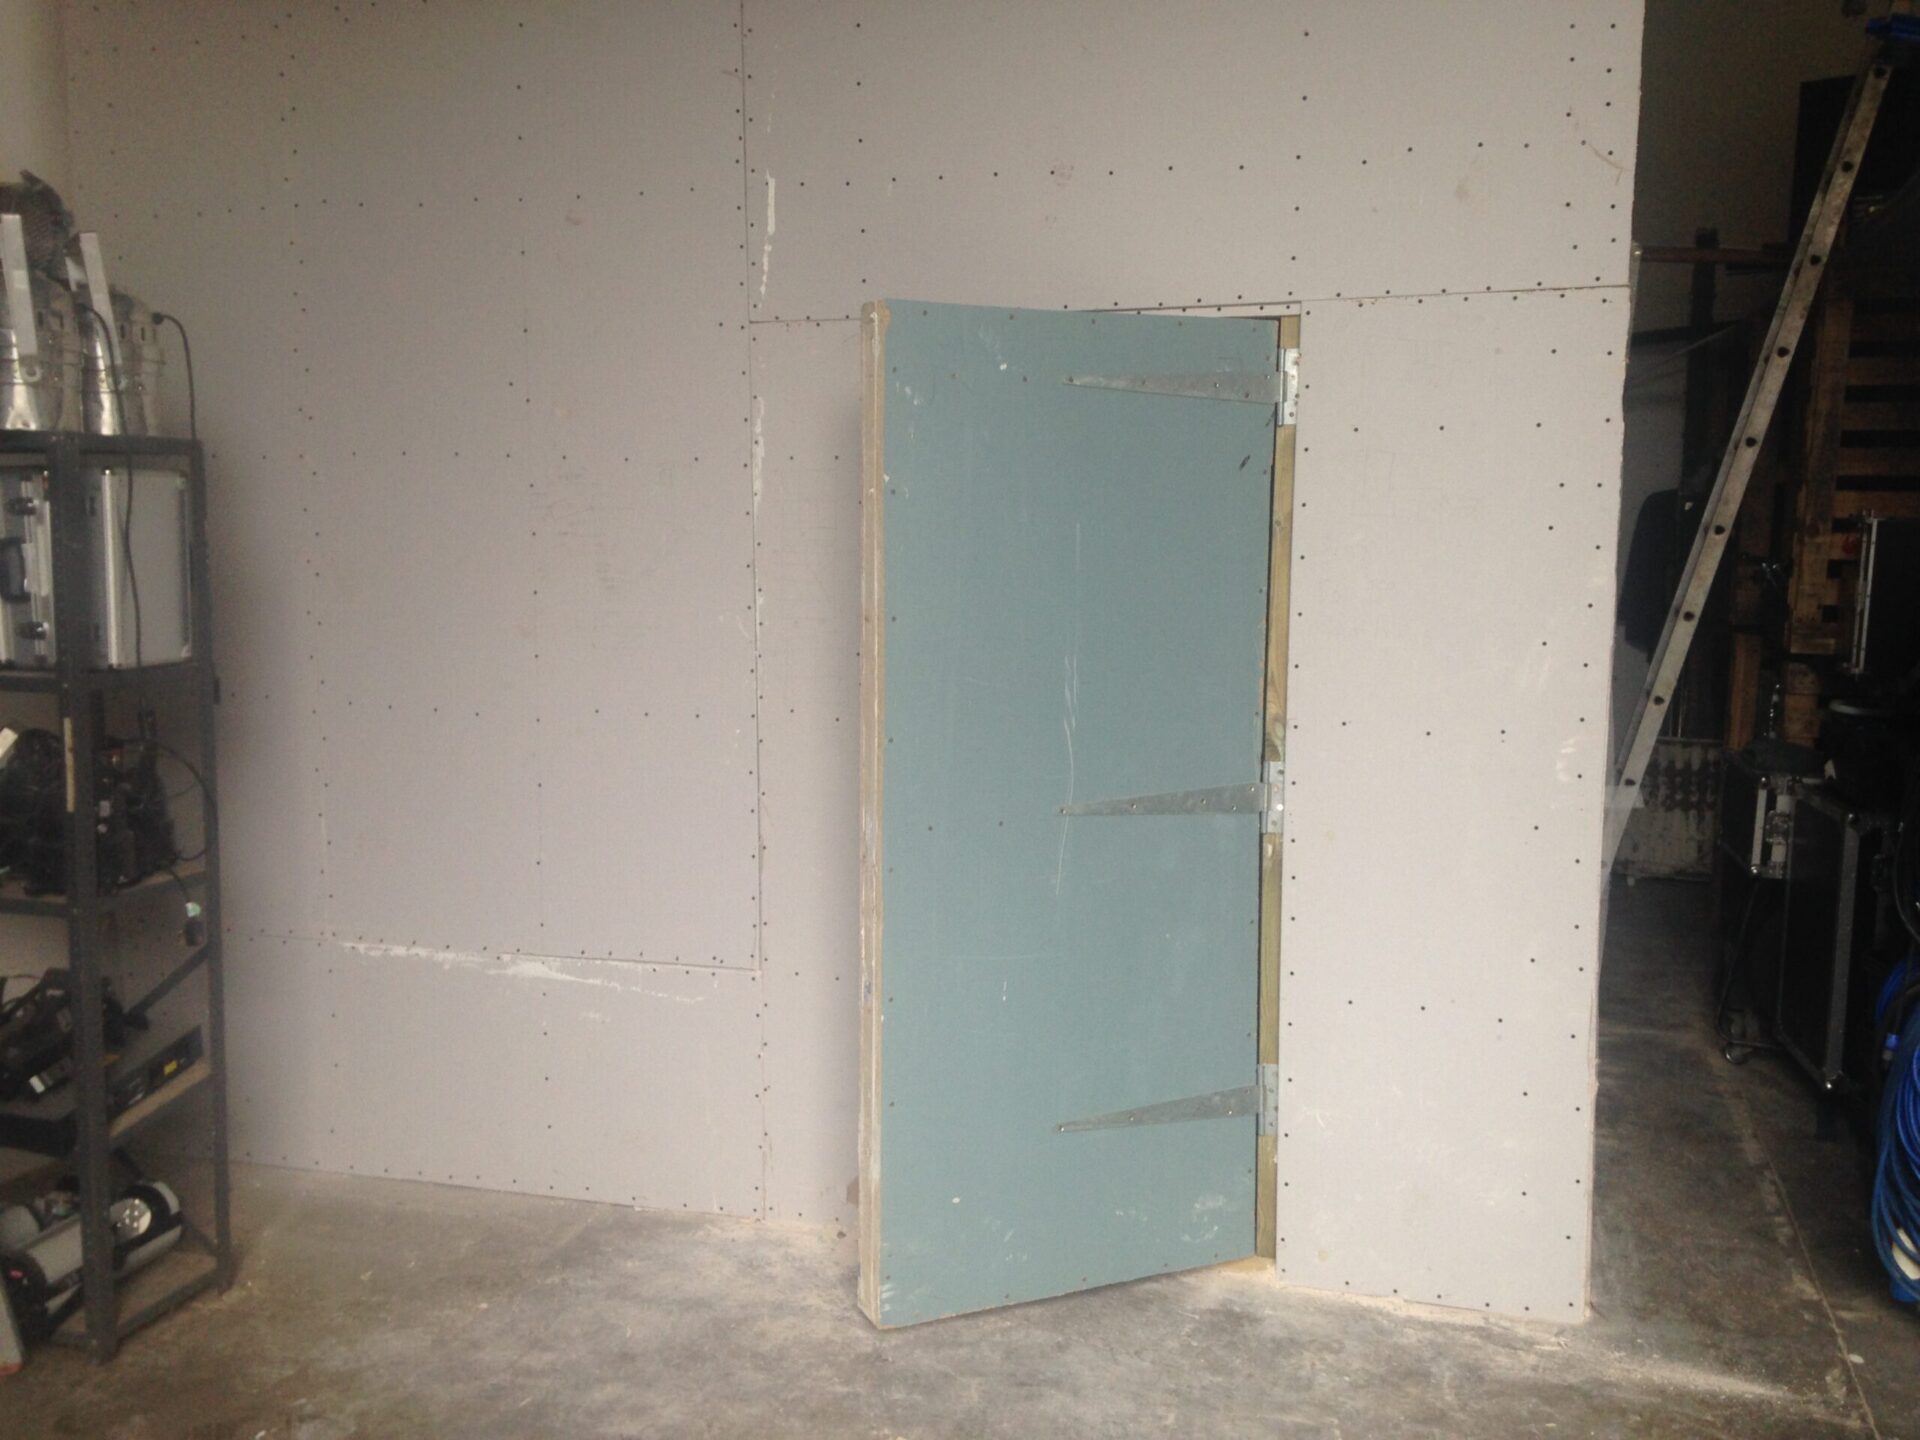
Studio door construction
The studio door is really important as it is the weak spot of the entire structure. It needs to be as thick as the walls at a minimum. I actually used 2 doors, below you can see the outer door which is the heaviest. The door is a 2″ stud frame packed with insulation. One side has an 18mm OSB sheet across and the other has a very dense 1.5″ thick slab of chipboard fixed to it. As you can probably guess by now there’s sealant used at every junction. The door is about 4/5″ thick in total and must weigh at least 50Kg! I got some heavy gate hinges from Toolstation for about £10 each.
Fitting the doors
Here’s a view from the inside below. It took quite a bit of time for an amateur like me to get this door fitting tight. First it had to close properly. This meant shaving little bits off here and there which I wanted to do without removing it. After that I built a jamb for the door to close onto using some 1″ by 1″ which you can see below left. I got some cheap seals and ran them around the inside which work well as long as there is pressure on the door.
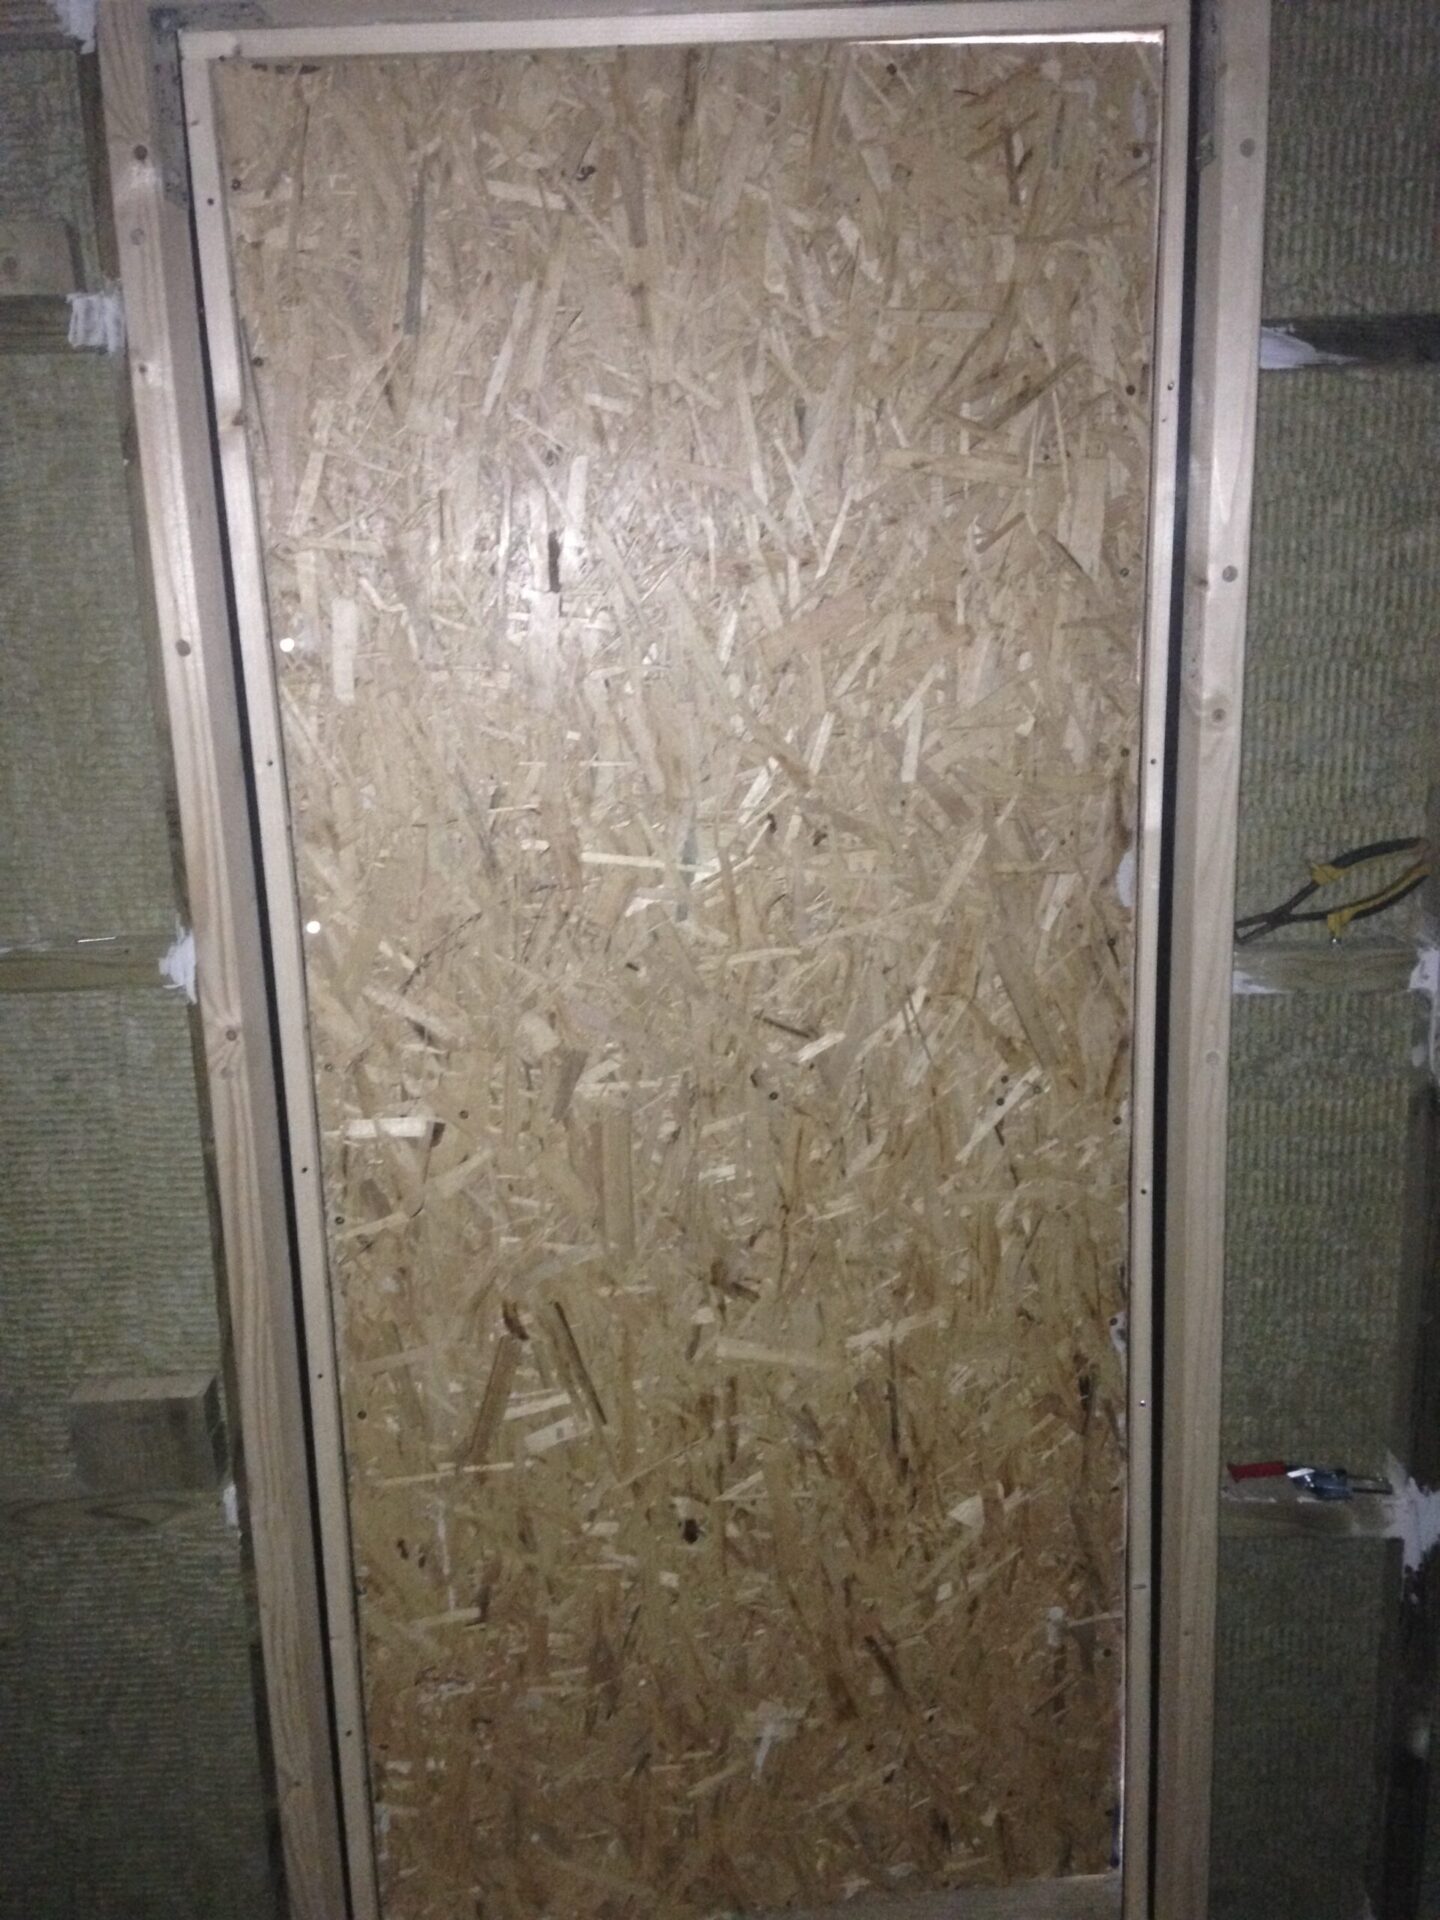

Sorry about the poor photo but you can just about see on the right that I built a second frame off the first. This was to house the second door and give an air gap of around 1.5″ between the two. I used neoprene rubber to isolate this inner frame from the main structure. This was really important as without that step, the inner door would be passing all the vibration that hit it to the timber frame and thus bypassing the walls and going straight outside the room.
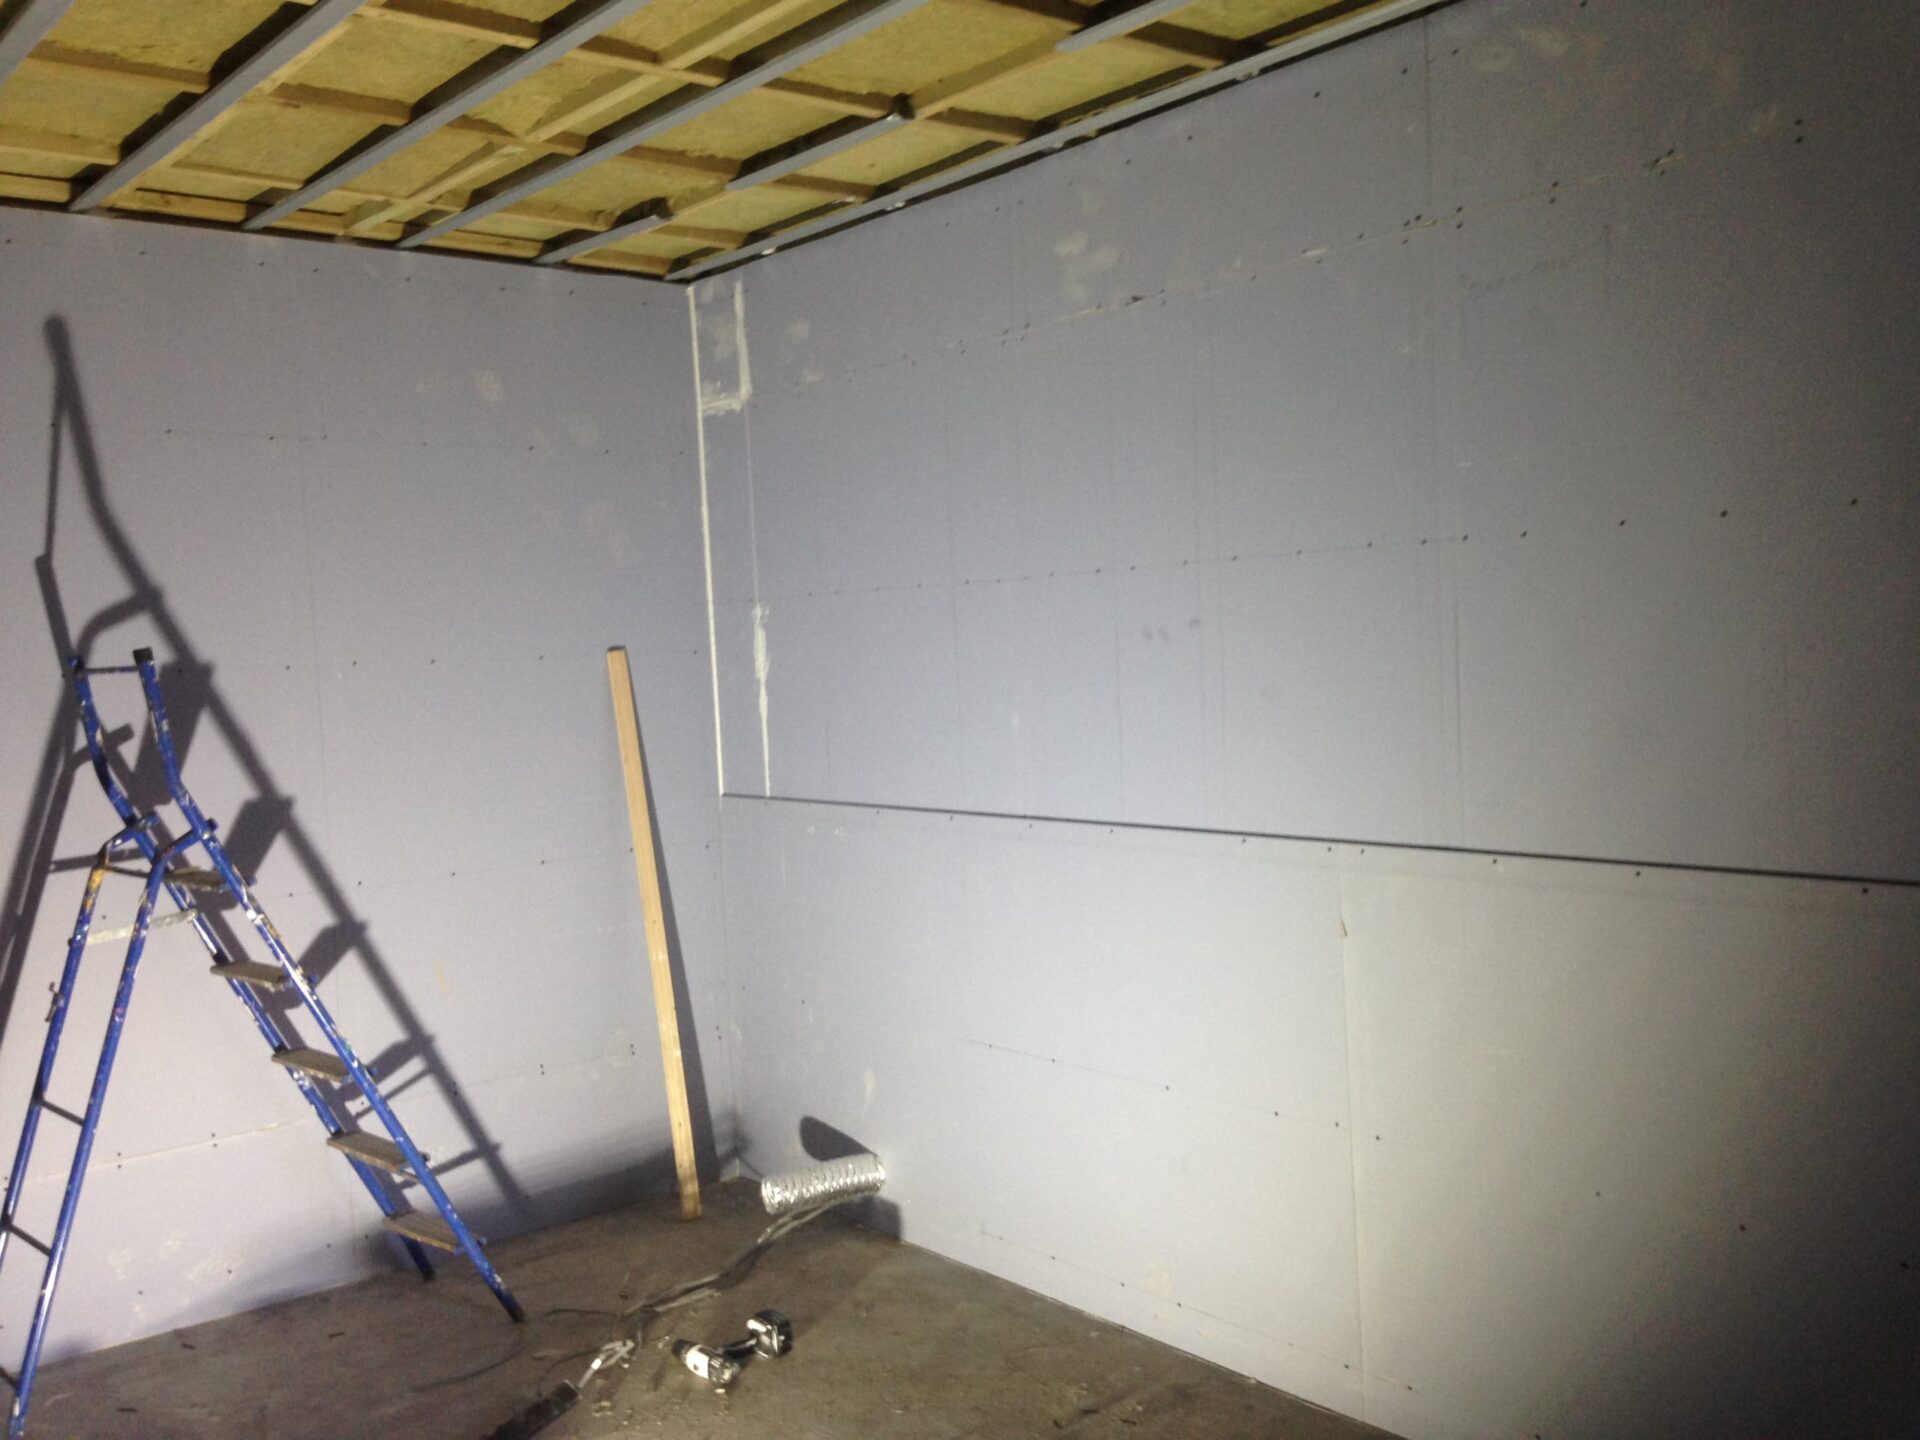
Acoustic plasterboard and resilient channels
Both of these were essential for soundproofing. The acoustic plasterboard is double the weight of standard gyproc so forms a good barrier against lower frequencies. Below you can see the resilient channels. It’s not obvious but they were incredibly flimsy. Luckily, they held up the plasterboard! The channels need to be kept away from the timber as much as possible. When both layers of plasterboard were added to the wall there was a slight bit of give. It was weirdly satisfying and easy to imagine how sound energy will be absorbed.
Each wall does not directly touch any other wall, floor or ceiling. I left a 3mm gap on every edge and filled it with sealant. I had to mark the position of the channels after adding each piece of plasterboard. Without this step it would have been impossible to find the place to screw the acoustic plasterboard.
Getting the ceiling on was tricky. It took 3 people. We built a stage inside the room so the ceiling became head height. Two people stood on the stage and lifted the plasterboard into place while the third screwed it in.
Ventilation
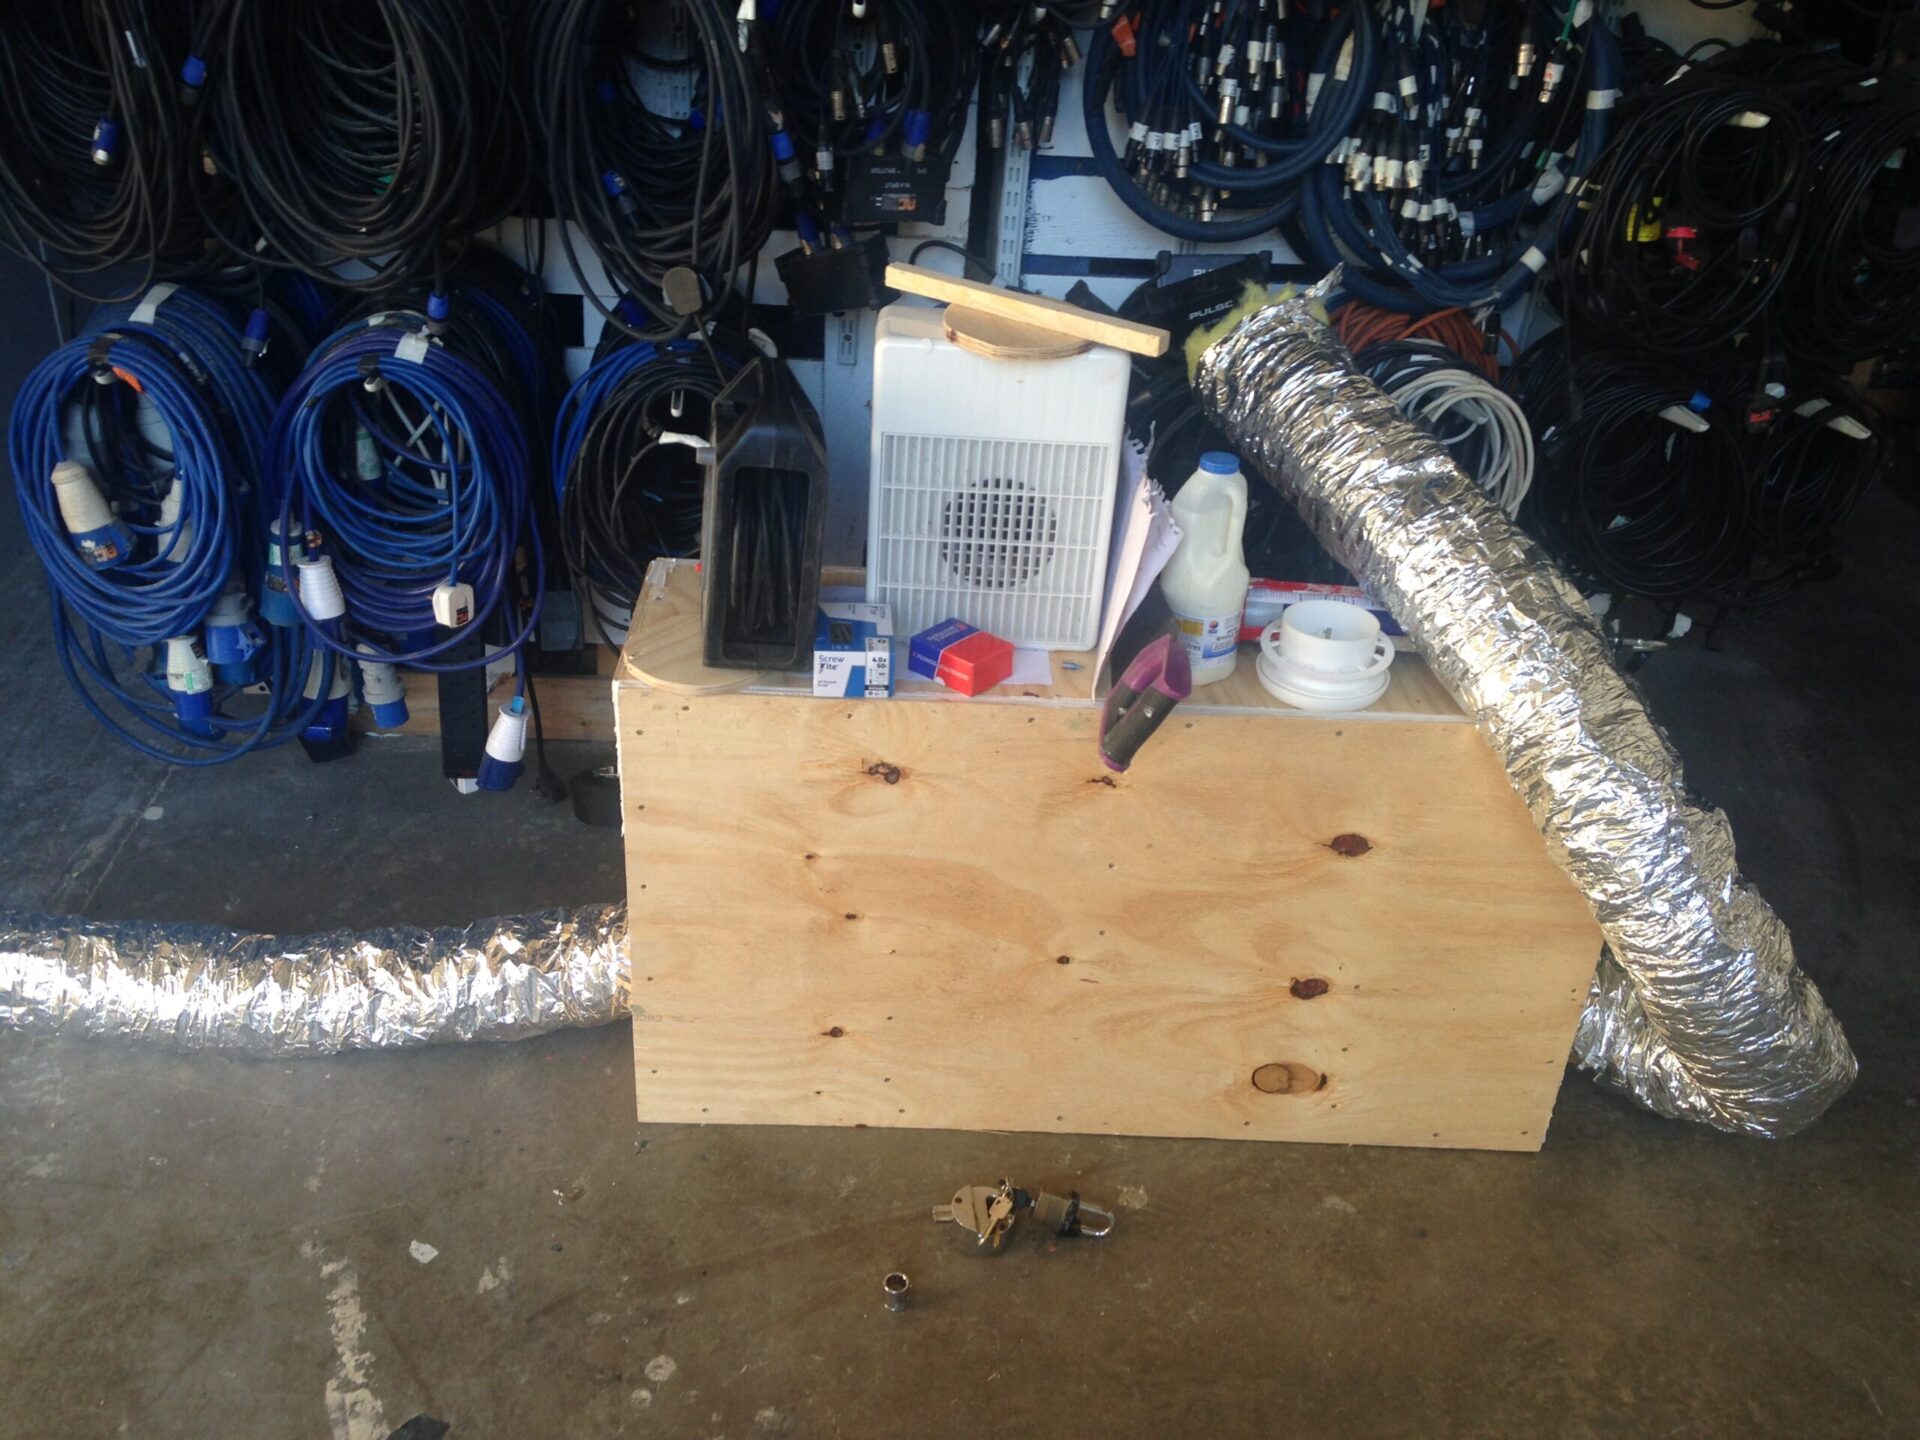
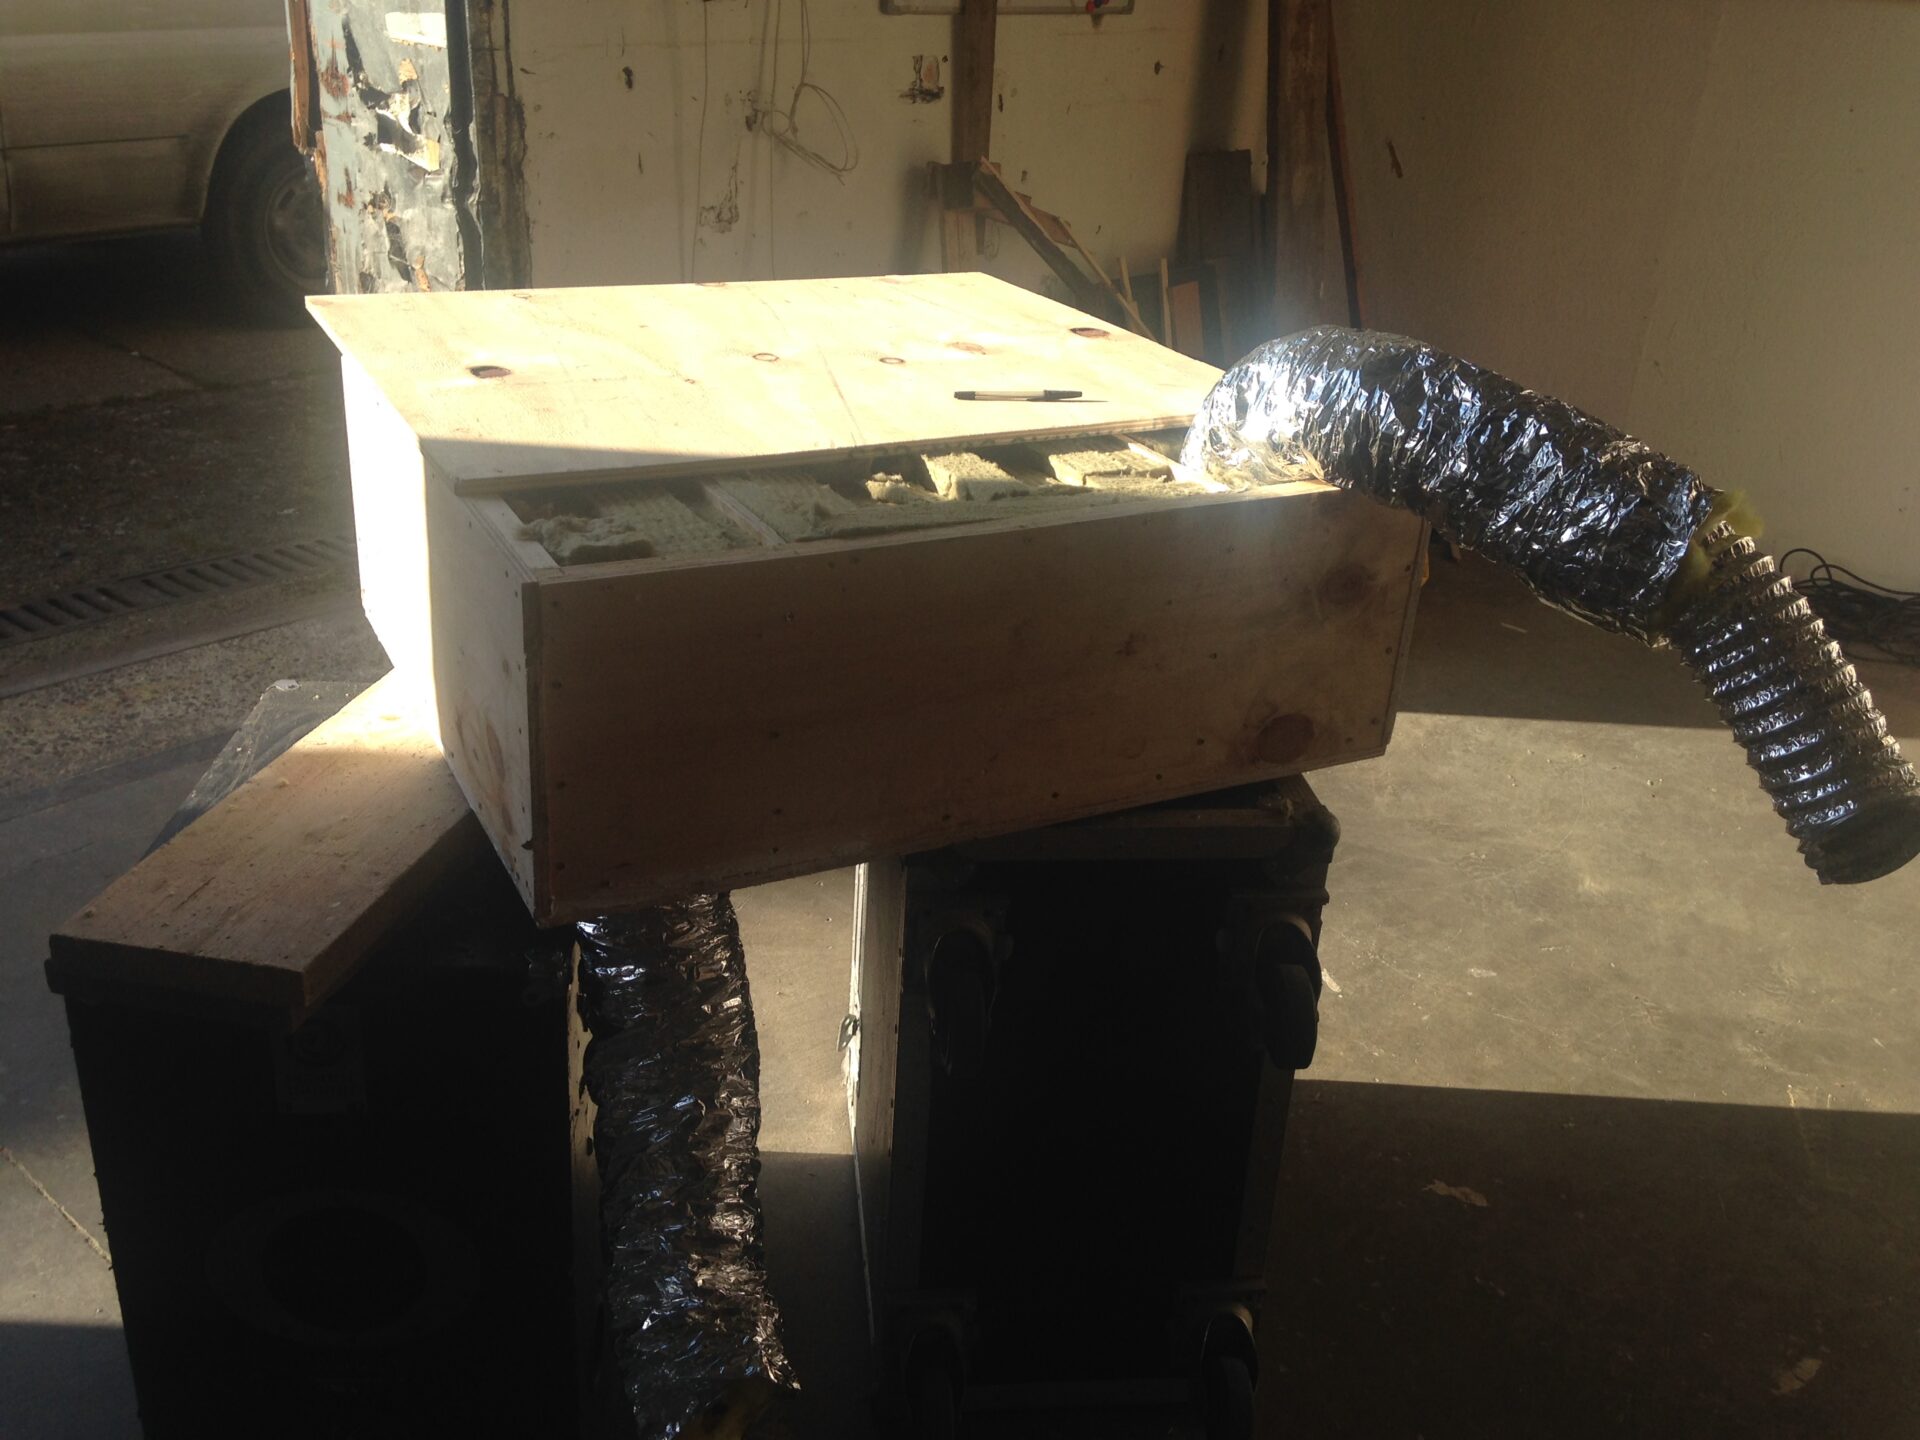
I’m glad about adding proper ventilation! I had a jam in there with a few friends one day and forgot to turn the fan on. We got tired fast. The ducting is a 4″ diameter tube inside a 6″ tube packed with insulation. I got this from TLC Electronics not too expensively.
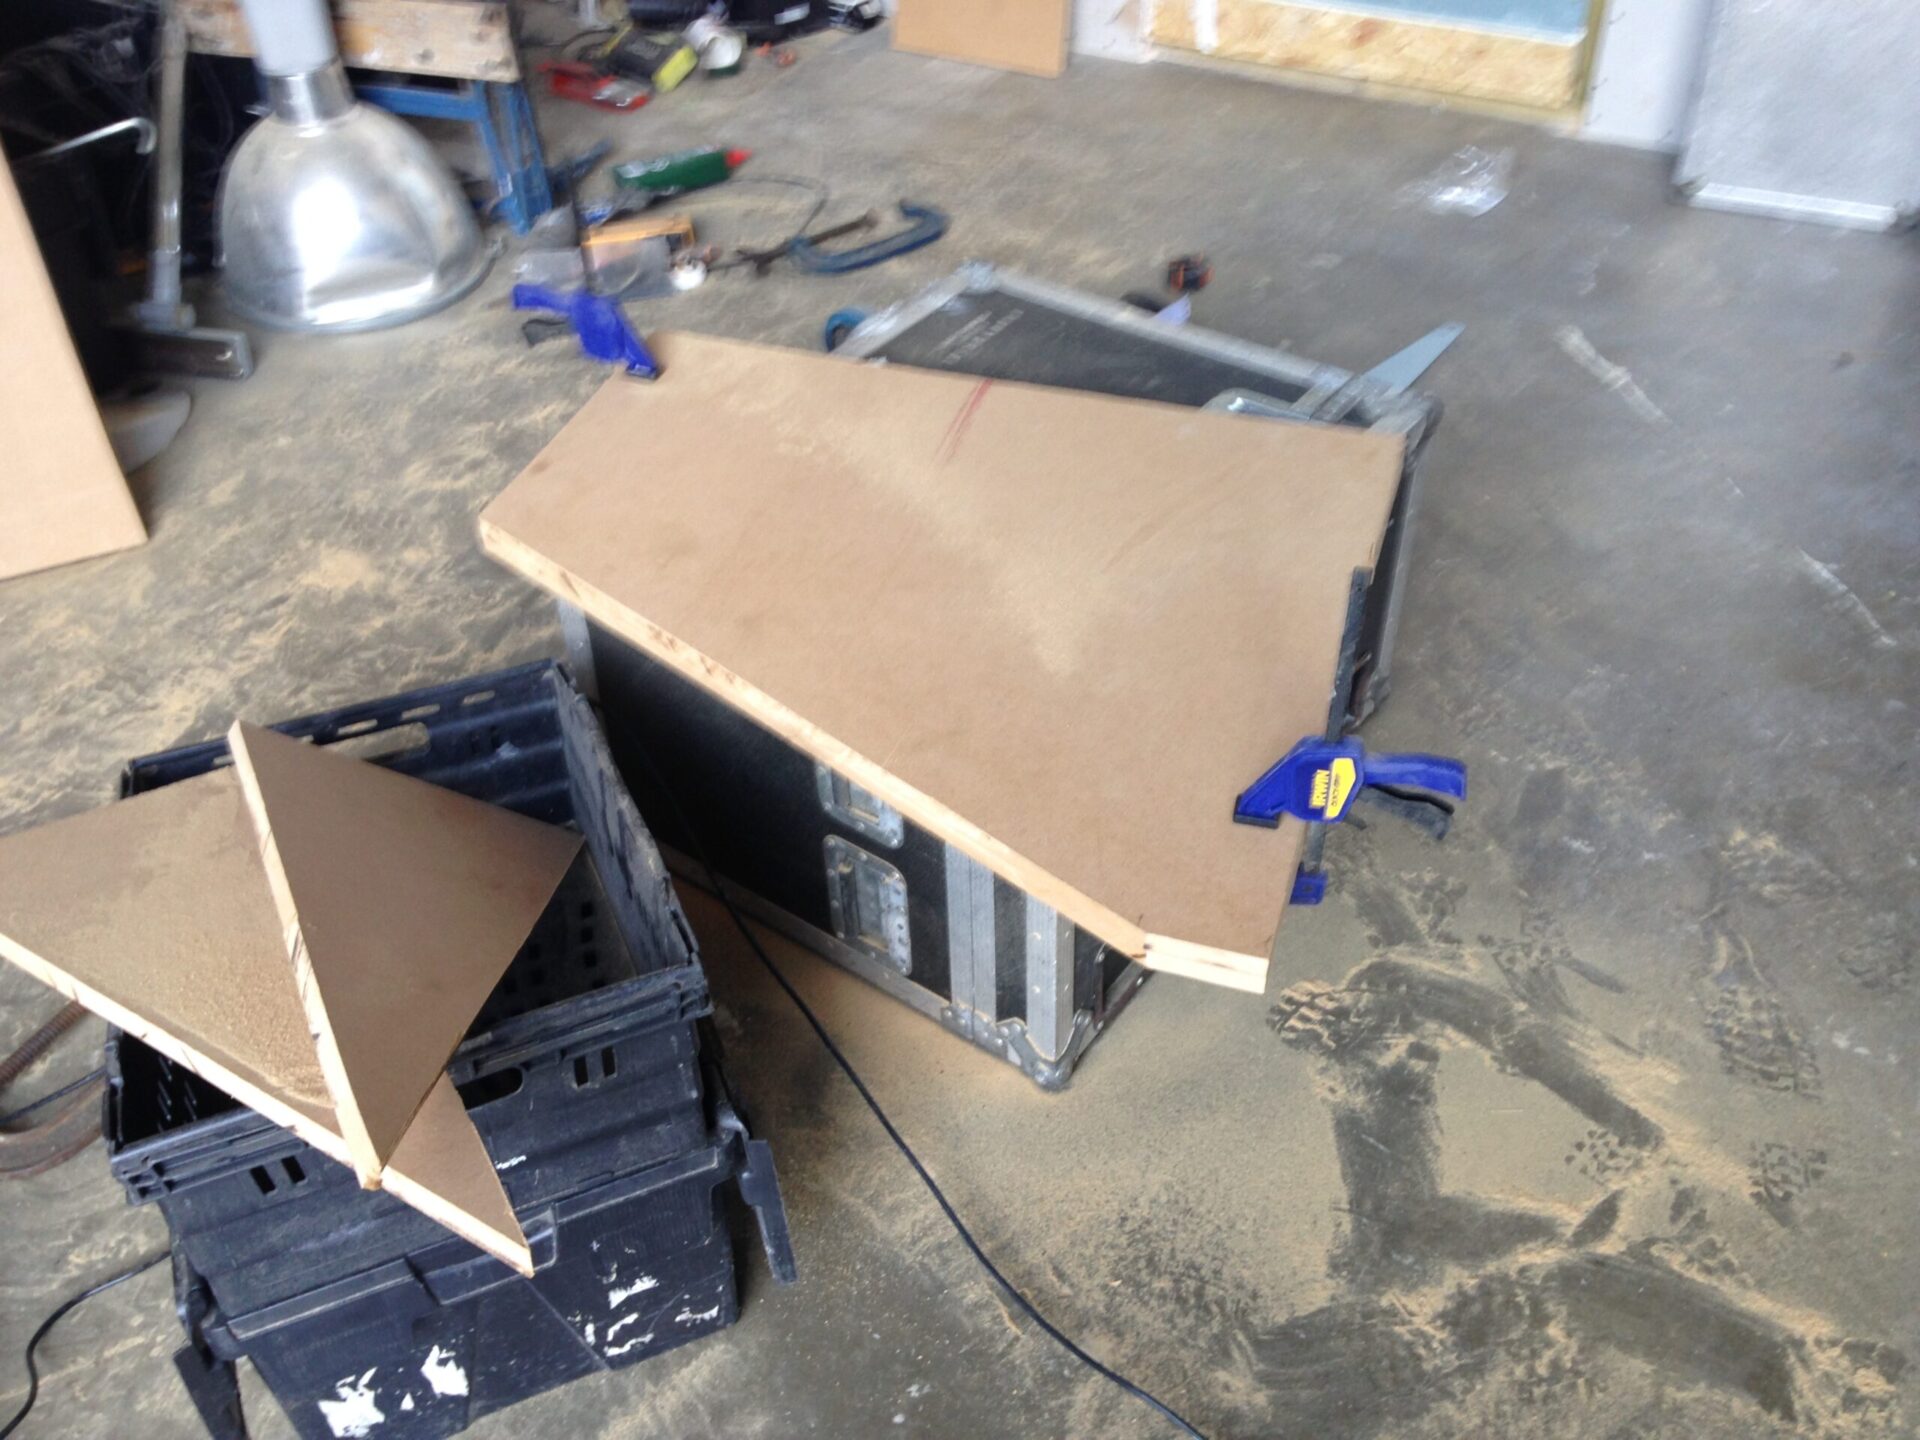
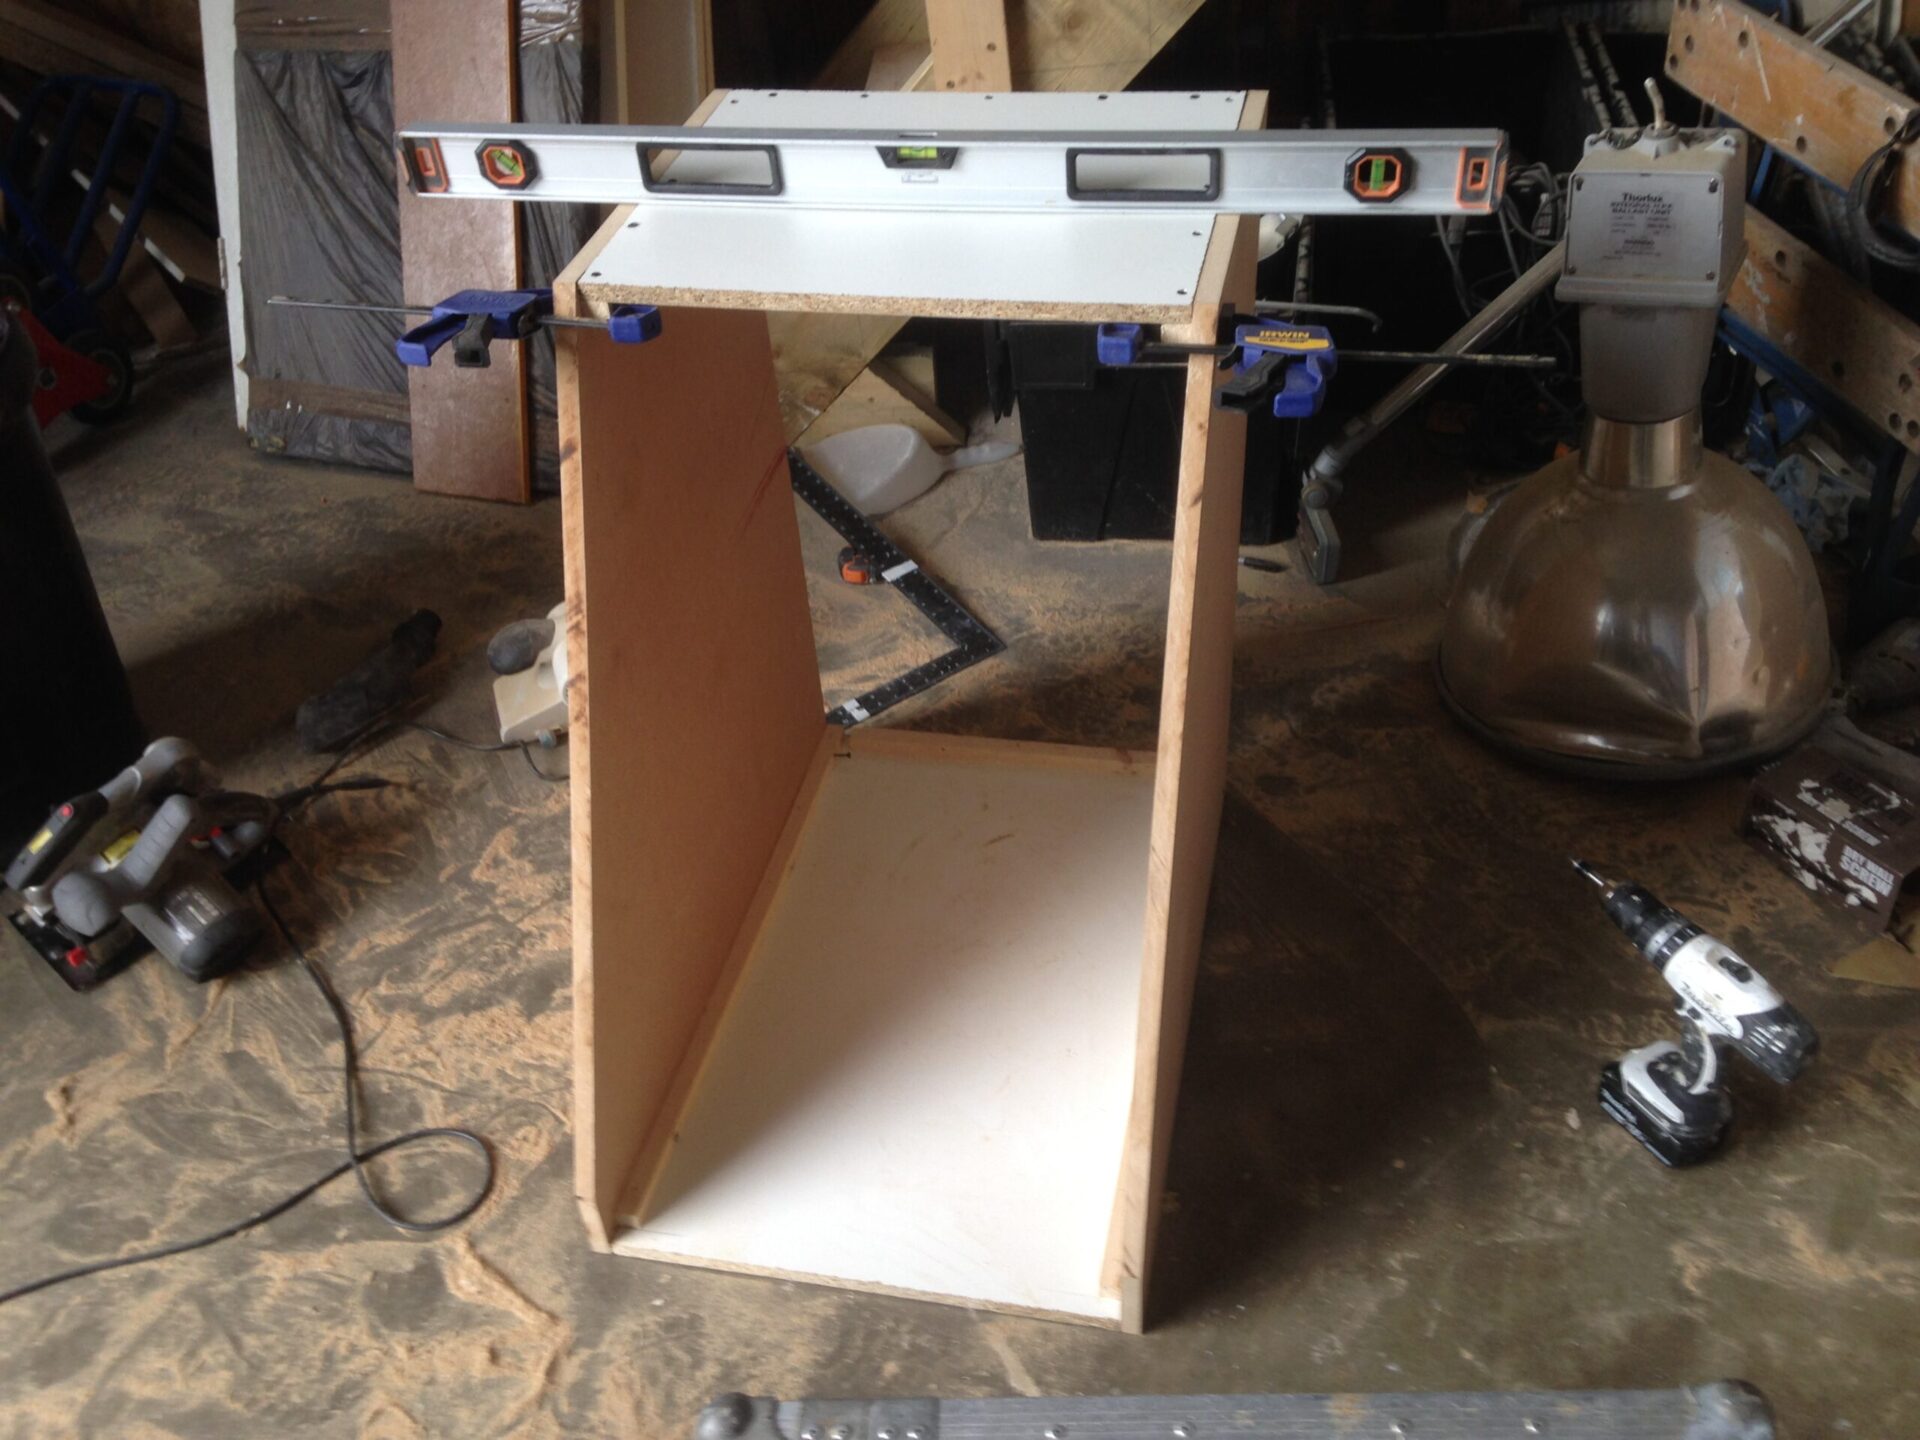
Hopefully the photos below get the idea across, there are tons of designs out there. Basically these baffle boxes sit on the outside of the room and allow air to pass through but not sound. Inside there as an S-shaped tunnel that the duct passes through. The remainder of the void is stuffed with insulation. I then cut a hole in the room and fed the tube through. A fan blows fresh air into the top corner and the used air (which is heavier) exits via the opposite bottom corner. Inside the room, a vent finishes the hole. Have a look here at what they look like inside.
Finishing up
I had some reclaim wood lying around so decided to make some furniture. It’s a bit rough around the edges but is sturdy and does the job. Then I painted the place as you can see below. You can also see the finished inside door which tightly fits around the frame with a pressure latch. I spent about £100 on a basic carpet and underlay and stuck it down with carpet tape. The next job would be to add acoustic treatment.
Costs and time
In all, I spent about £4500 on materials. Around £1000 each on timber/OSB, plasterboard and insulation. The remaining £1500 was on all the ‘bits and bobs’….screws, hinges, carpet, brackets, sealant, paint etc. Using reclaim materials could have cut this cost a lot. The project took me just under a year but I was only working on it part-time. Most of the time it was just me but on a number of days I had some friends helping. Help was necessary for the roof, ceiling and getting the walls into place. Shout out to Martin Emmons, Luke Menniss, Rachel Hinz, Jim Robinson and Dave Newton who all came for a couple of days each :p
Have a listen to some of our mixes completed in the new room:
Thanks, Neil