How to Mix a Home Recording
Music Production Tutorial #6
Today we’re going to discuss how to mix a home recording and I will show you some of the techniques I used to make some music shine in Logic X.
The tune in question is ‘Waves’ by Home, James who is actually my friend Jim Robinson. He recorded a set of cool tunes in the lockdown using a very rudimentary setup involving a single microphone, an old PC running Cubase 0.5 (sic), an acoustic duvet, and bags of inspiration/talent.
I thought this could be an ideal example of how you can glam up a recording and how a fresh pair of ears and a little know-how can improve these kinds of productions greatly.
Organisation
OK this may seem a bit boring but it takes about 5 minutes and will save many times that over the course of the mix. Lay out all your tracks in order, colour code them and set up busses and track stacks.
My favorite from top to bottom is:
Drums (red)
Bass (blue)
E Gtr clean (yellow)
E gtr dirty (dirty yellow)
AC gtr/other acoustic string instruments (Orange)
Purple (key/synth chords)
Pink (key/synth melodies)
Dark green (Backing Vocals)
Light green (Lead vocals)
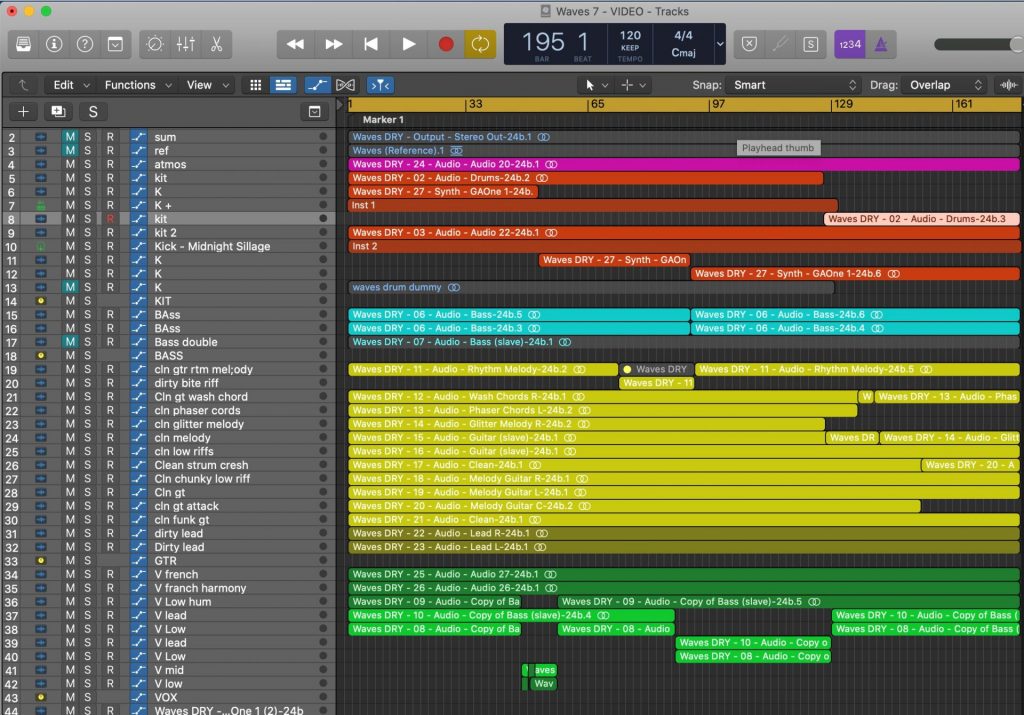
Stylish eh!
I put each of the above into track stacks in Logic X as well, this means you can minimise everything down to a few groups which just keeps things looking simple and makes working much more efficient.
Sassing Up Drum Loops
Often you’ll want to change a drum loop to fit the song a little better. In this case I wanted to add some more slap in the mid range and to organise the low end a bit more.
I used the Fabfilter Pro-Q3 in dynamic mode to emphasise certain frequencies only when they happen. I wanted one particular drum in the loop to stand out so rather than boosting that frequency constantly and affecting all the drums.
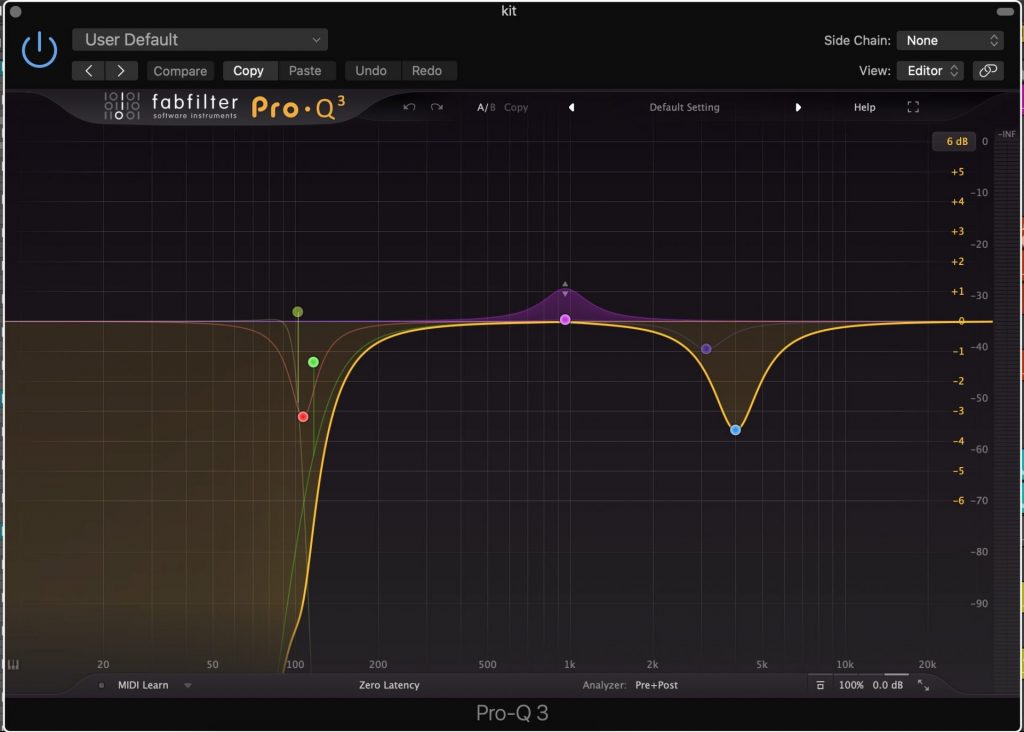
This band on the EQ acts as a multiband expander, listening only to that small range around 900Hz and suddenly boosting when there is activity in that area.
The effect is quite subtle but cool and definitely emphasises the groove nicely…..’thwack!’
I also added a very small amount of saturation using the Fabfilter Saturn which brought out some of the midrange detail in the sound.
Three Way Kick Drum
The track already had 2 kicks. There was the one in the loop plus another, meatier one underneath. Good idea but they overlapped before any processing so I swept the lows out of the loop and boosted around 60Hz on the other. I also dipped 160Hz on the meatier one to leave room for the bass and the rest of the drum sound.
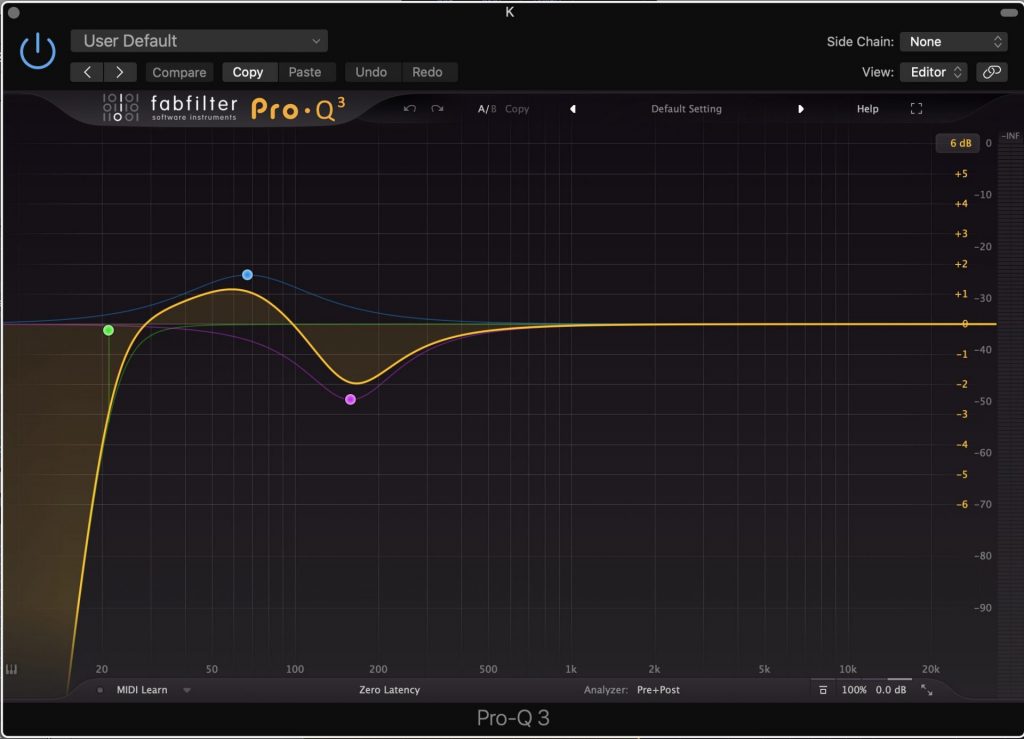
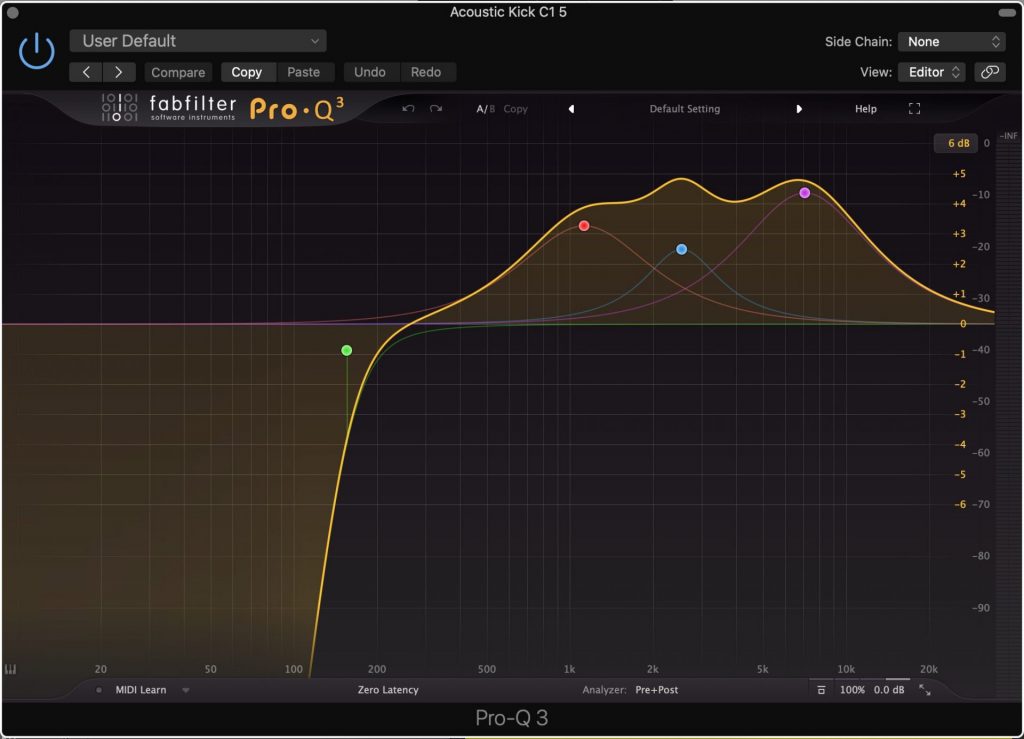
To make the drums hit harder I added another trigger to the whole song. In Logic X just select an audio track and hold Ctrl + D or go Track>Replace or double drum track.
This creates a MIDI file of all the transients. The problem is, that leaves us with transients for the snare and other hits in the loop too.
A good trick here is to go to your drum loop track and filter off everything above 80Hz or so. You should just be able to hear the kick if your filter is steep/low enough.
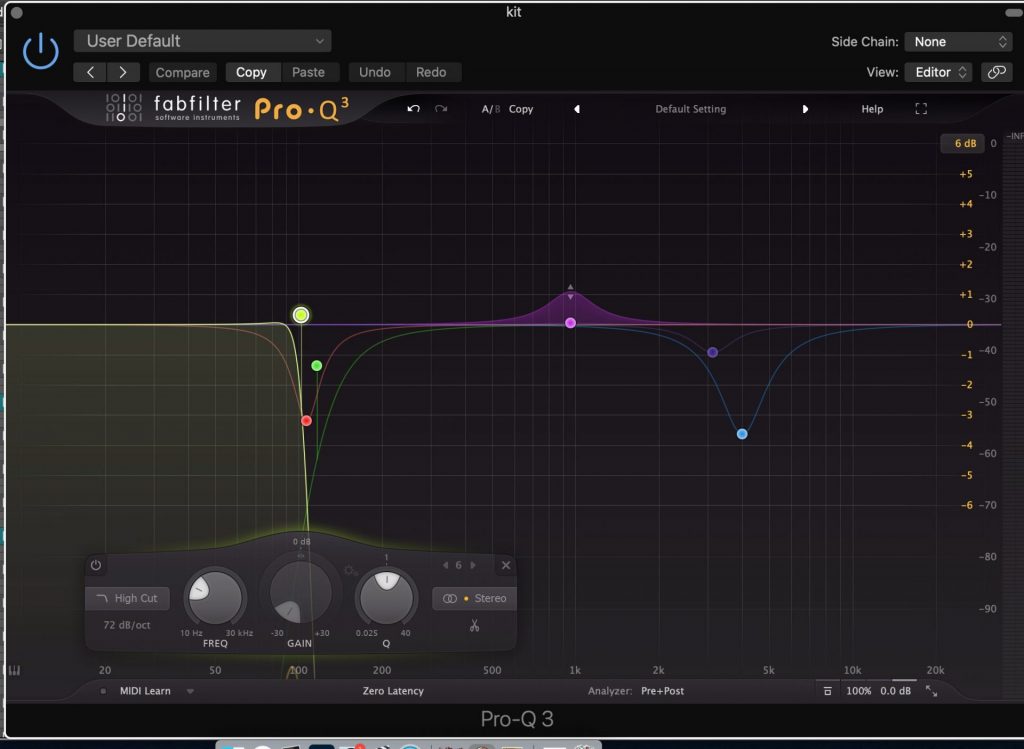
Now try running the Replace/Double function. You should end up with only the kick hits. Nice!
The sample I chose was again slappy and clicky with no low end to give that loop a lot more thwack.
How to Mix a Home Recording Using the Bass trick
Here’s quite a standard but great trick for played bass. Take your bass track and duplicate it. Filter each at the same frequency, one with a HPF and one with a LPF. Around 160Hz seems like a good place usually. That spot always feels to me like the boundary between (high) bass and (low) mid.
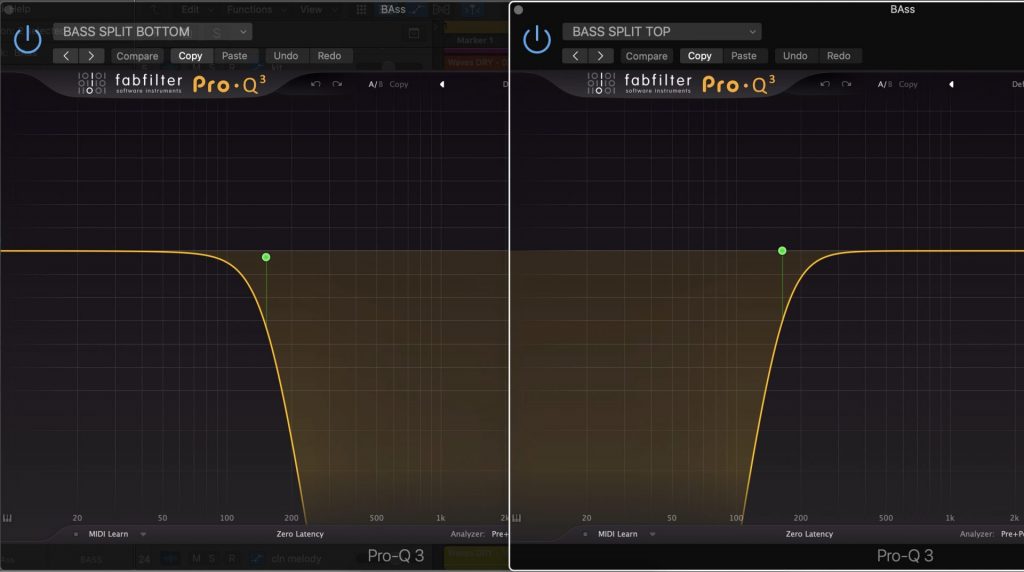
I will compress each of these individually. Not too harshly unless the top part is very clacky or too dynamic, in which case you’d want to deal with it now.
It’s important that you use different attack and release settings here. Usually I am looking for punch on the low end and detail in the top and I find longer attack settings better for the sub and shorter for the top.
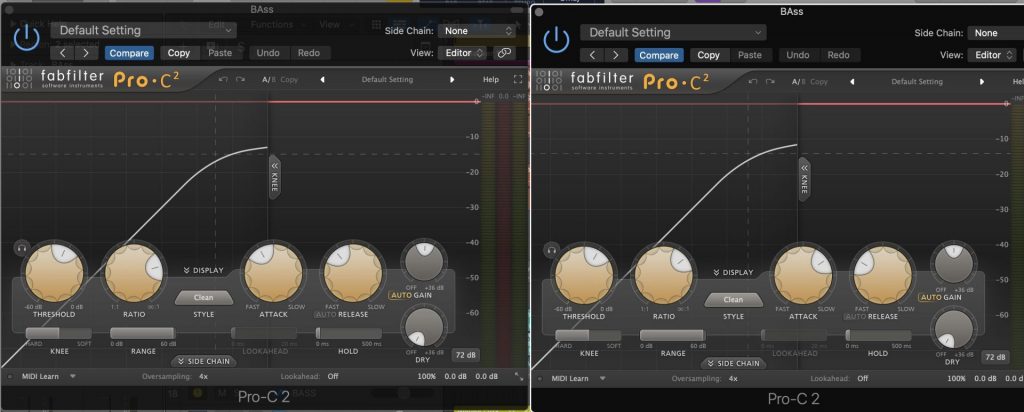
I’ll also have a shorter release on the top often but as always you make these decisions with your ears. The aim is a result that doesn’t sound compressed and emphasises the features that each part is bringing to the table.
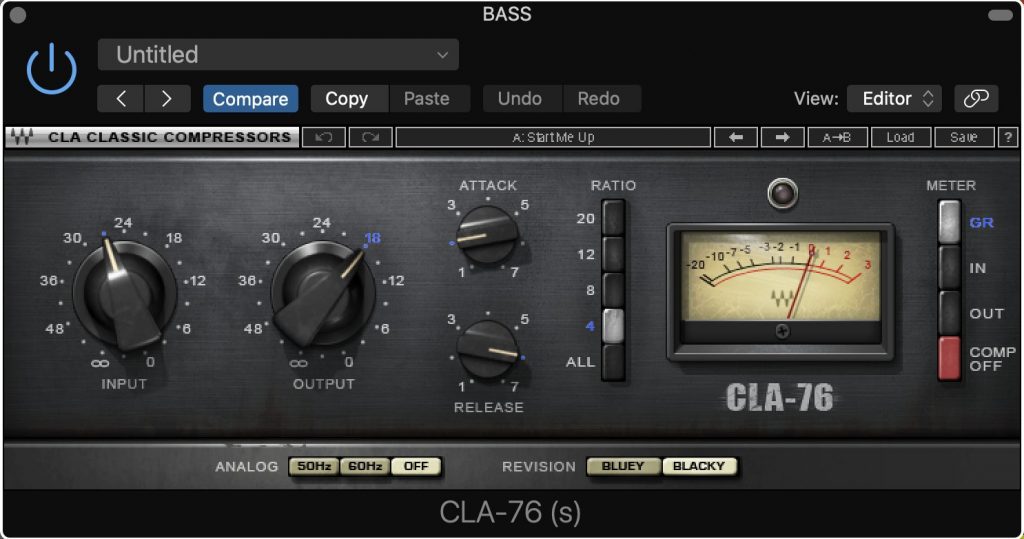
When you’re happy, blend them together and compress and EQ them as one. You can obviously balance the two bass tracks to get a general shape of bass/detail. I will generally use an 1176 plugin, using the attack and release settings to affect the feel of the bass I the track. It’s important to do this with the track in (not solo’d) so you can feel those relationships alter.
How to Mix a Home Recording – Automation City
So, on to the guitars. Jim is a guitarist so there are about 13 tracks of them noodling away. This is common with home recordings from guitarists and have done a fair share of that myself.
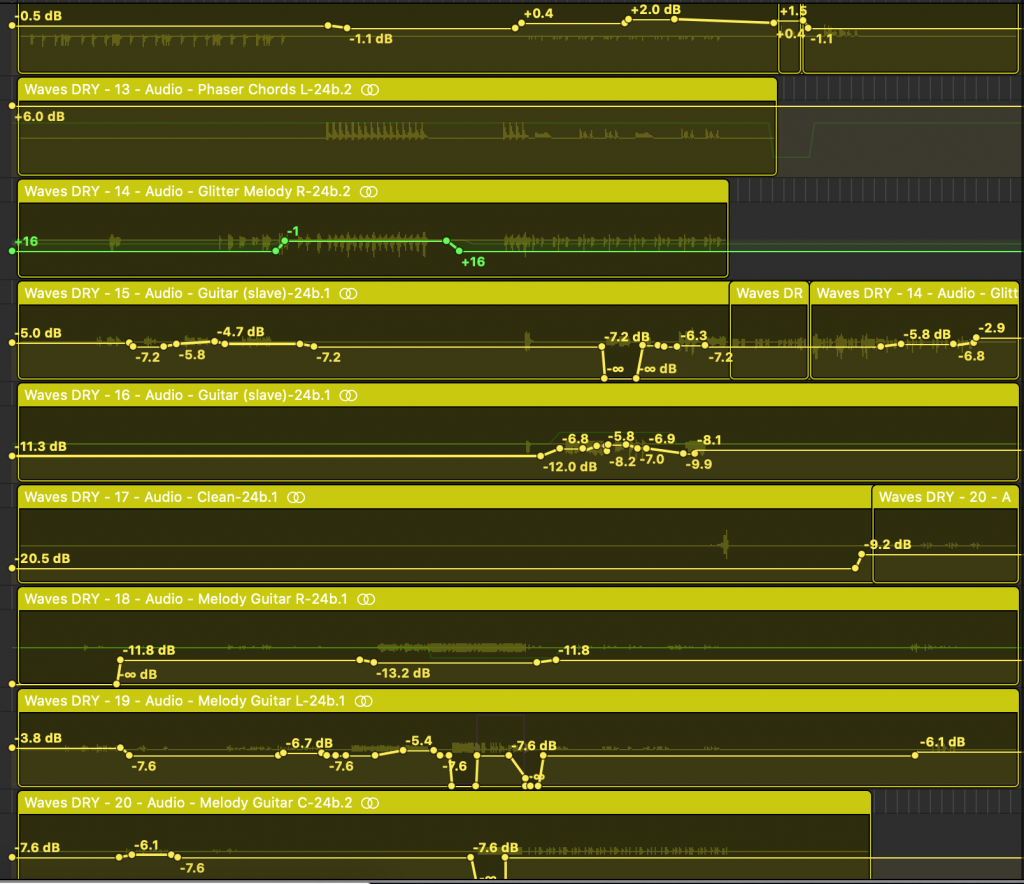
The key is to find the melodic thread between the parts (assuming there is one there!) and let the guitars tell the story of the song by coming to the forefront of the mix when it’s each part’s chance to speak. I felt a strong story so used a lot of automation (see above) to get the parts into prominence at the right time. It takes a while but the results are well worth it, the mix feels more dynamic and alive with a very distinct singular melodic thread. Read on for more on how to mix a home recording.
Tone Council
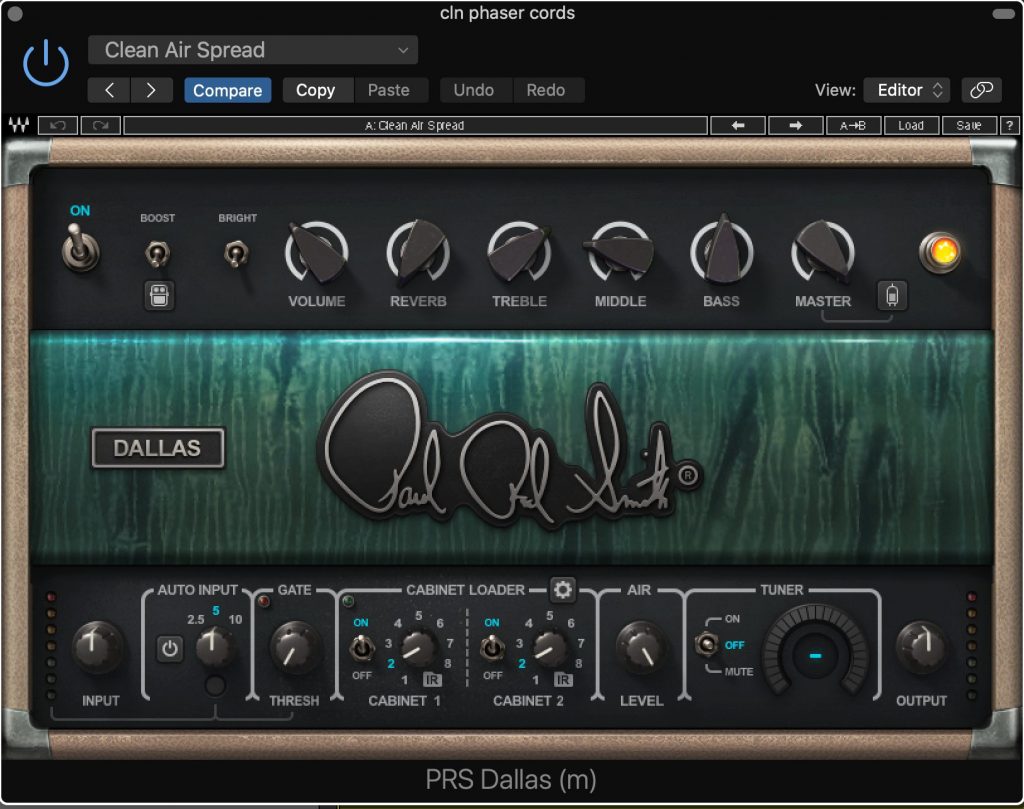
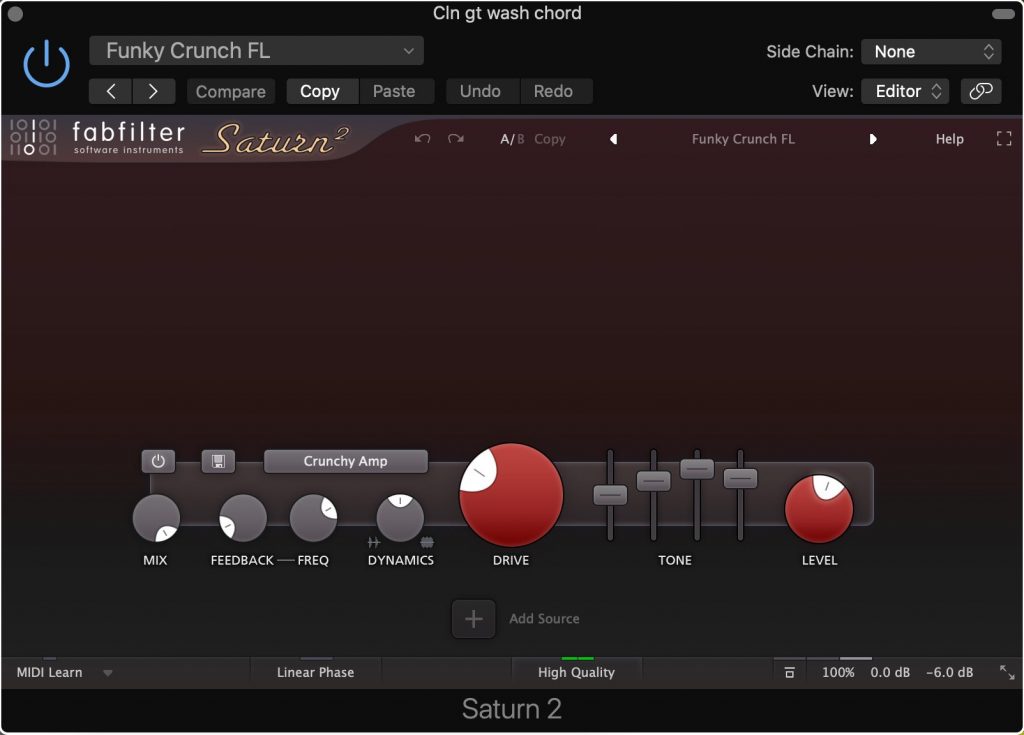
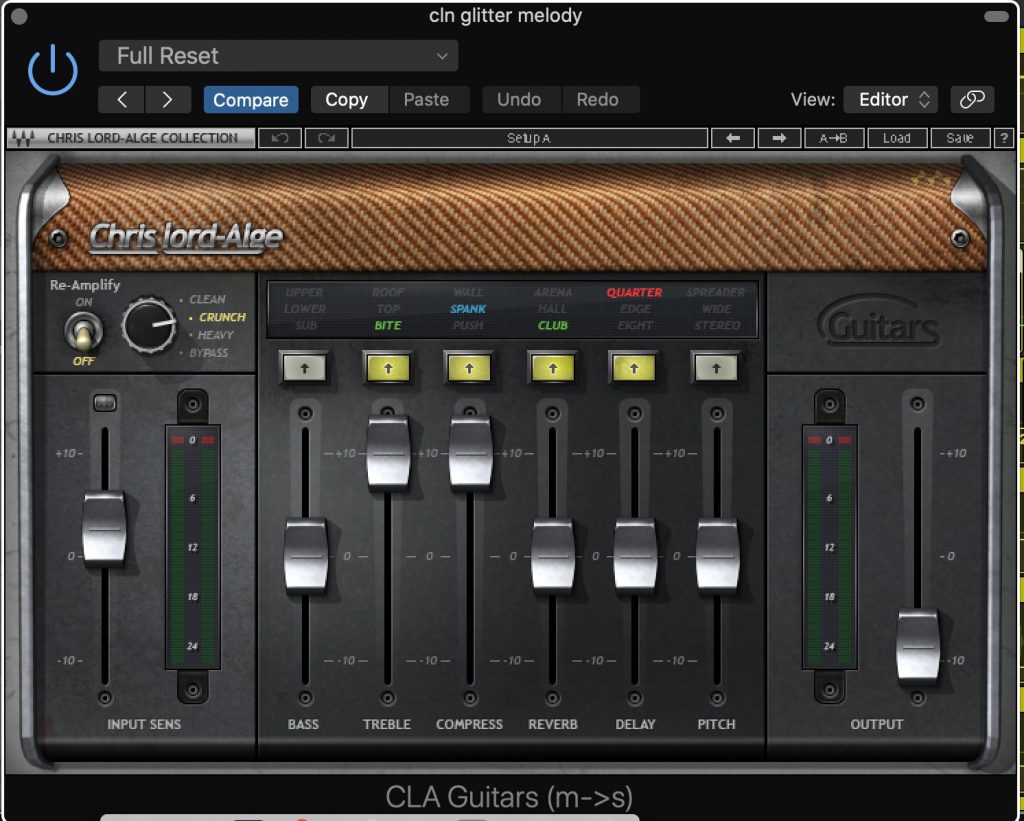
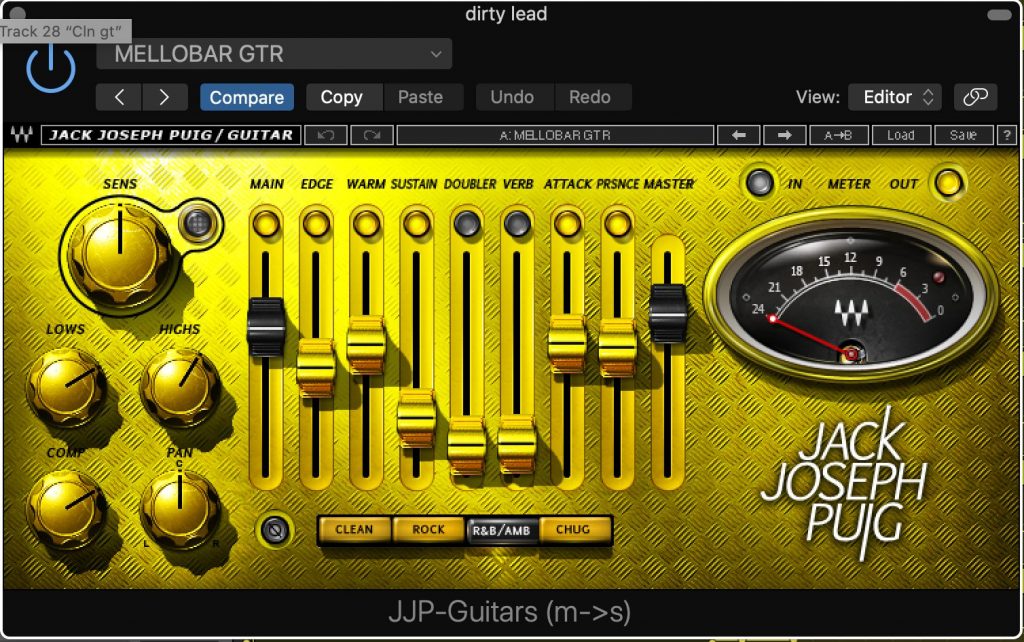
The tones of the guitars needed addressing to give each part an improved sound and individual sonic identities. I used the Fabfilter Saturn, Waves PRS, CLA and JJP series guitar modeling tools for this.
I find the PRS amp modeler to be the most realistic. Noticeable especially in the way it responds to dynamics in playing so I used this for most of the roles where I wanted it to sound like the original guitar being recorded going through a nice amp. (see video)
The Saturn, CLA and JJP are a lot more processed sounding. They seem to give you complete packages of guitar sound+FX ready to use. They’re quite a lot more cartoon-like but they do get you to quite classic and cool places very quickly!
To craft the individual sounds I did a fair amount of processing, check the video for the fine detail here!
Vocal Samples
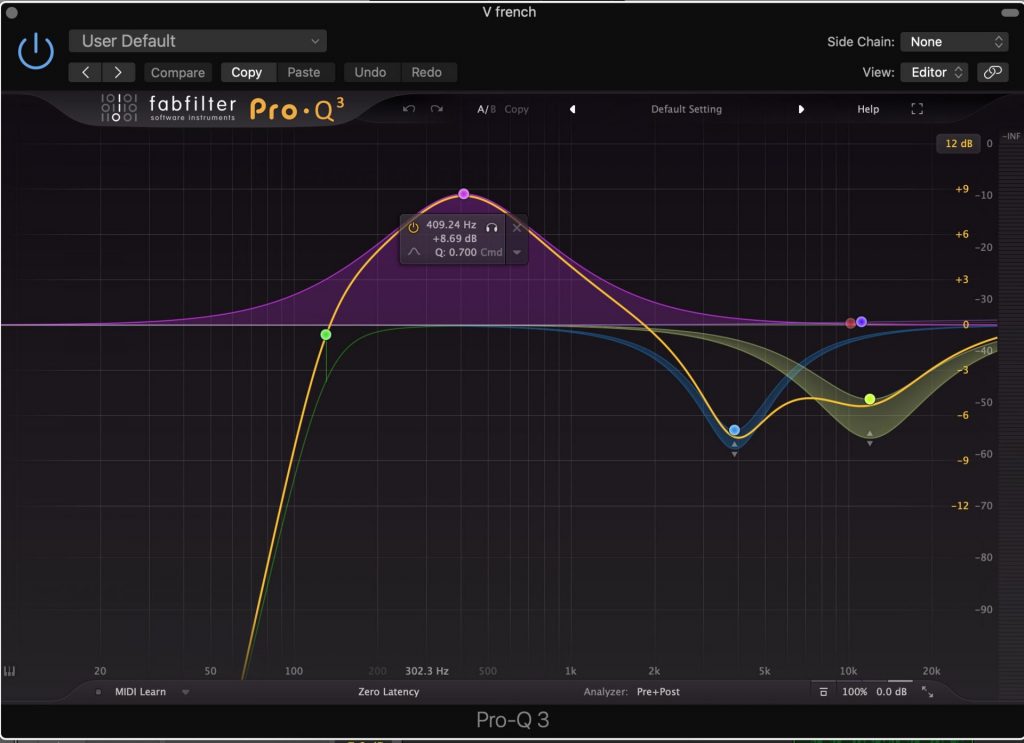
The shaping of these vocals was actually fun. It sounded like the emphasis on the vocal was in the upper mids and it was rather harsh. It cuts through the mix alright but I was looking for body in the mids to punch through.
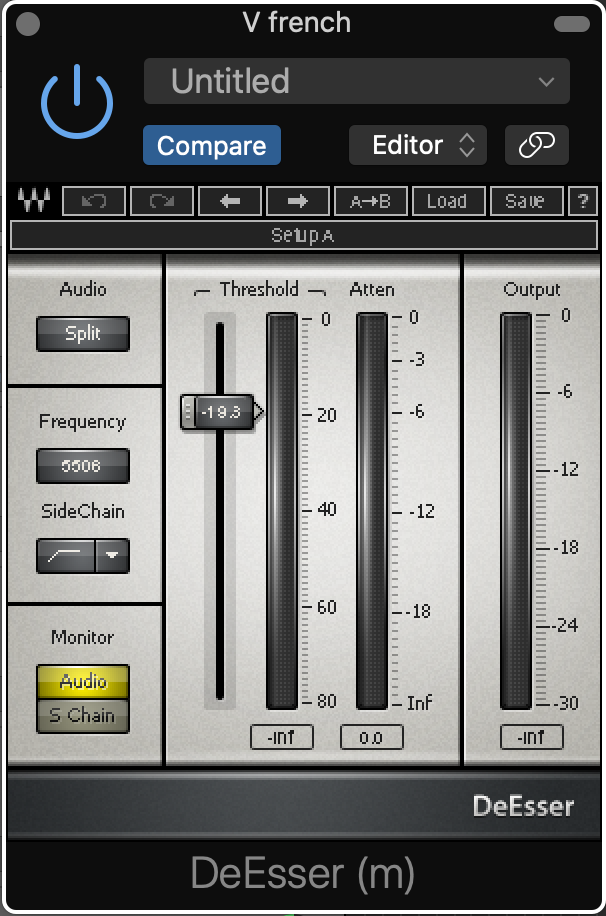
Firstly a de-esser was used on frequencies above 5K. Then I went for it with the EQ big time to flatten out the high mids and highs as well as boosted the mids extravagantly! It sounds bad in isolation -way too boxy, but in the mix it works really nice.
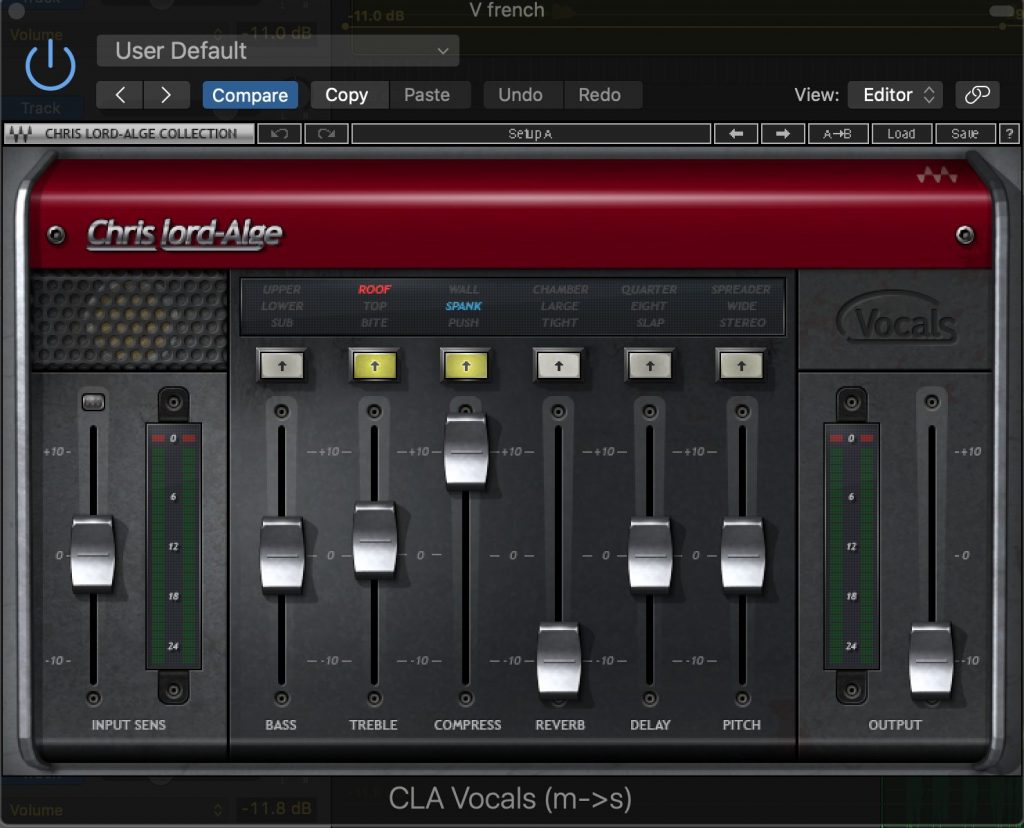
When I had the general shape of the vocal I used the CLA vocal to sweeten the tone a little with the preamp. I also used the ‘spank’ setting on the compressor there and added some ‘roof’ top end to compensate for all the frequency-specific harshness cuts.
How to Mix a Home Recording Summary
So in the end I was pleased with the results. So was Jim more importantly:
“…they sound ******* awesome! Sounds like all the parts are more high fidelity somehow. There’s a sense of space in the mix, like all the instruments have more clarity. Sounds louder and more punchy too, like more compressed in a phat way!”
So that was good. In the end I think the objectivity of another person helps a lot with mixing. It’s amazing what you can do to something recorded at home with fresh ears and knowhow. I hope this helped you find out how to mix a home recording.
There’s a lot more detail in the video!

